While working on a video in iMovie, I wanted to add an image to the center of a title clip. There are 3 steps involved with adding a picture to an iMovie background:
- Drag the image above the existing title card
- Click on the image clip and then on the Video Overlay Setting Icon above the preview screen
- Select the Video Overlay Setting (there are 4 options, examples of which are shown below)
Step 1: Drag the Image above the existing title card
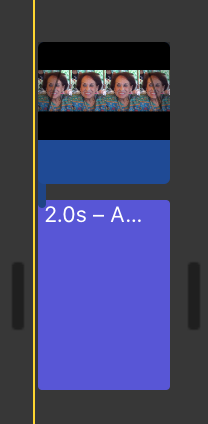
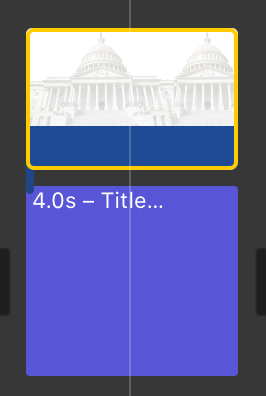
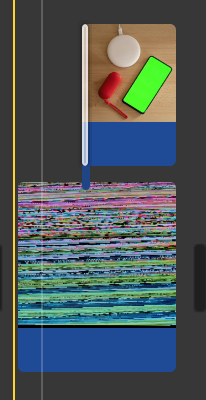
Do not drag the image on top of the title card clip, instead, drag the image into the row above the existing title clip. See the screenshot below as an example:
Step 2: Click on the Video Overlay Settings
Click on the image clip so that it is outlined in yellow.
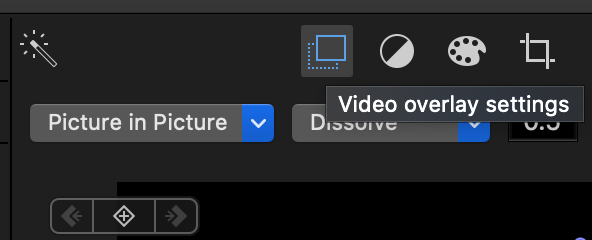
Then, click on the Video Overlay Settings icon above the preview of the clip.
Step 3: Select the Video Overlay Setting
The first select box on the far right outlines the 4 different overlay options:
- Cutaway
- Green/Blue
- Side By Side
- Picture in Picture
Cutaway
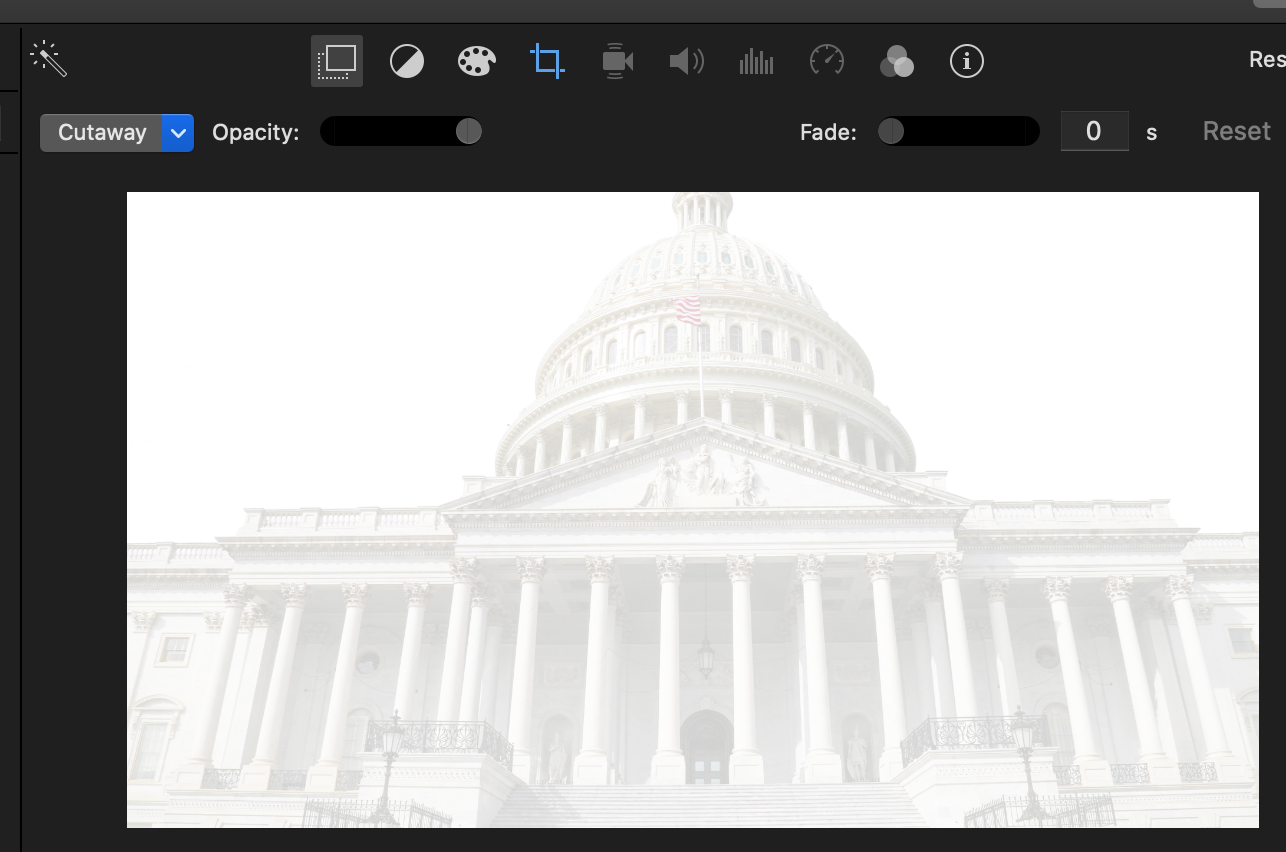
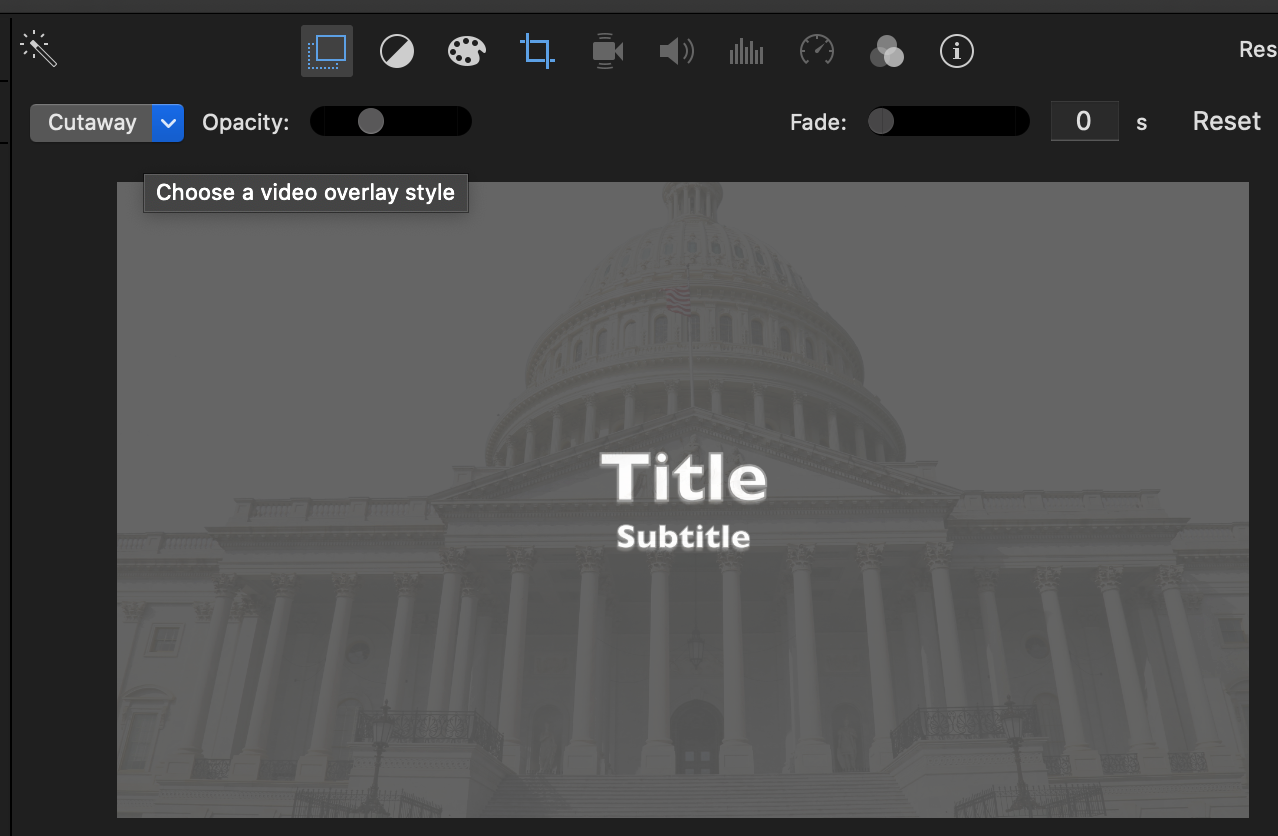
This allows you to cut to an image – meaning that the image clip above the existing clip will fill up the entirety of the screen and will be shown over top of the existing clip.
If you want to show the clip below it, you can slide the opacity field to the left. See the screenshot below as an example:
Green/Blue Screen
For the Green/Blue overlay option, you can superimpose an image or video on top of another clip as long as a portion of the overlayed image is covered in a green or blue screen.
For example, see the screenshot below:
If we change the visual overlay setting to Green/Blue Screen, the image below will be shown in place of the green screen. See the preview below:
Split Screen
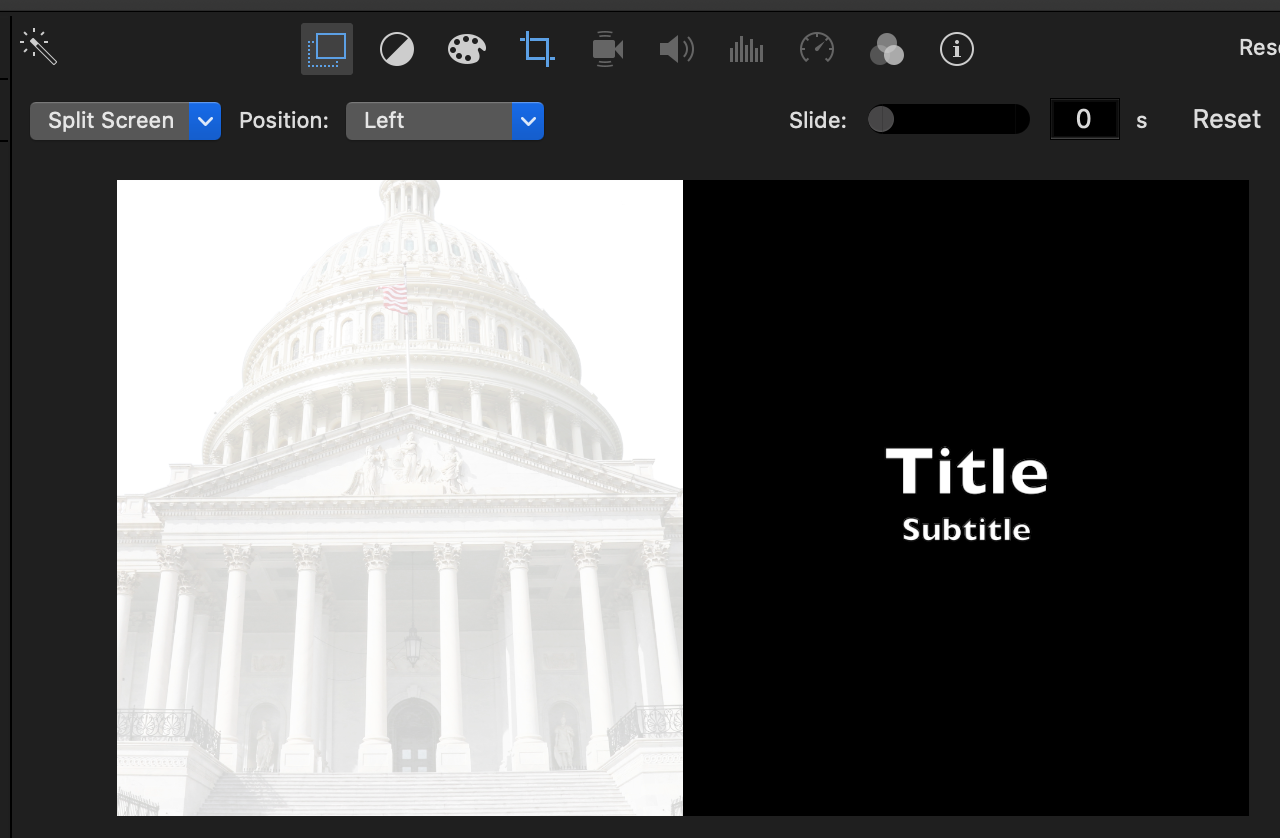
Split screen simply shows the two clips side by side. See the screenshot below as an example:
Picture in Picture
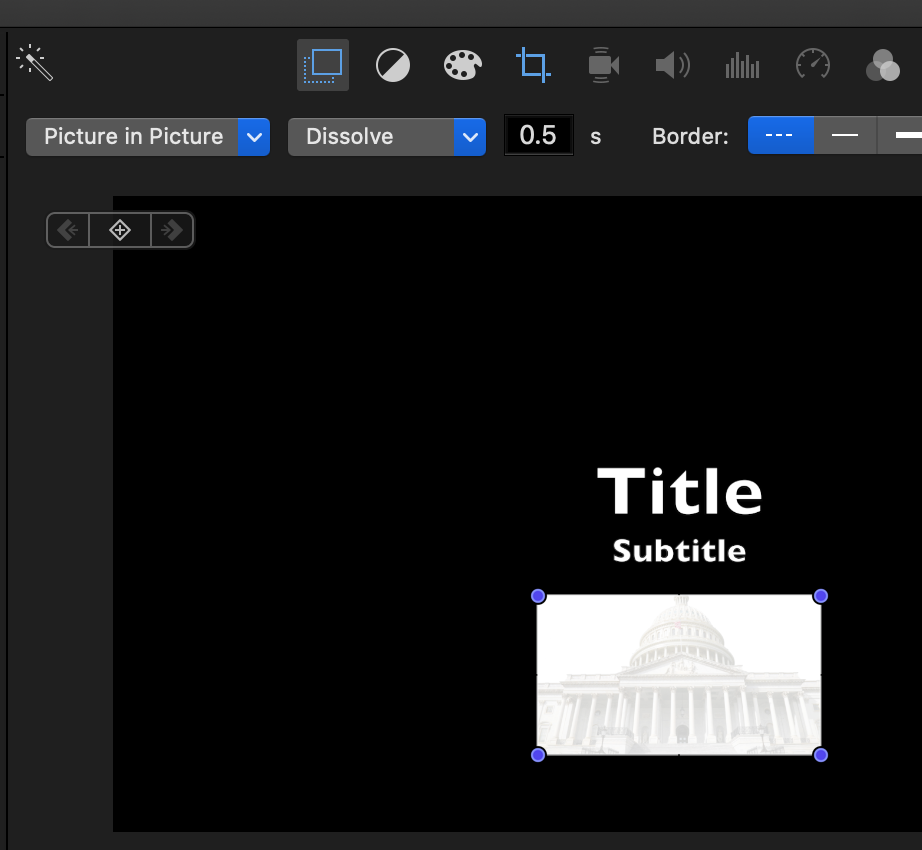
In my case, I wanted to use picture in picture as I wanted to be able to place the image on a specific part of the clip without affecting the text in the clip. See the example screenshot below:
