A Terms of Service and Privacy Policy plugin – blahhhhhhhh… how exciting! We hate dealing with all of that junk too but this plugin makes your life a tonnnn (2,000 lbs.) easier and it’ll protect you from litigation (we’re not lawyers so we can’t guarantee this). This plugin takes “a version of Automattic’s Terms of Service and Privacy Policy, both available under the Creative Commons Sharealike license” and replaces their information with your information. In case you didn’t catch that, this is huge!!! This plugin allows you to automatically create terms of service and privacy policy documents. Gone are the days where you buy a terms of service or privacy policy template, gone I say!!
FYI, Automattic is the company made up of the people who actually created WordPress, no big deal. So, this plugin will allow you to automatically create Terms of Service and Privacy Policy content that specifically references your business and your website.
Please remember that we are not lawyers and do not give legal advice. We are software developers. If you find yourself in a legal situation lawyer up and get yourself protected.
Install the Auto Terms of Service and Privacy Policy WP Plugin
Click that beautiful button below to download the plugin. “That’ll wake ya up in the mornin.”
Most Recent Auto Terms of Service and Privacy Policy Zip
Login to your WordPress Admin Dashboard (yourdomain.com/wp-login.php).
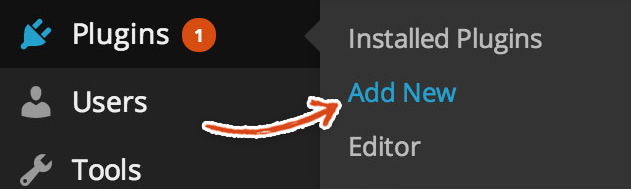
Hover over Plugins in the left sidebar and click Add New.
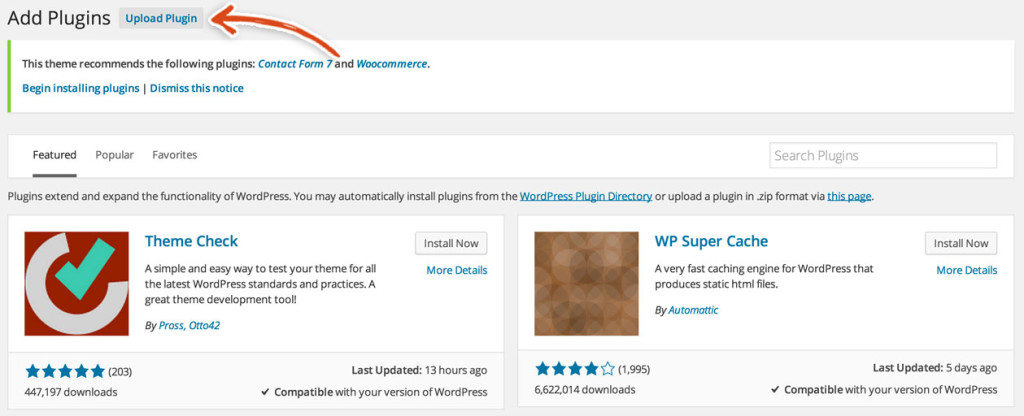
Click on the Upload Plugin button at the top of the Add Plugins page.
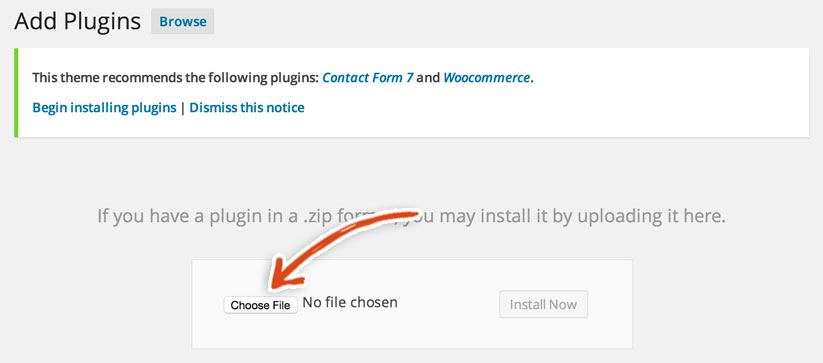
Click the choose file button and choose the Auto Terms of Service and Privacy Policy zip file.
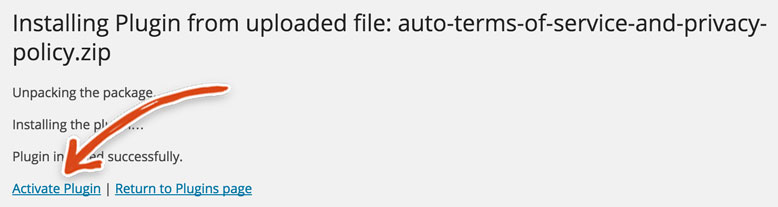
Activate the Auto Terms of Service and Privacy Policy WordPress Plugin. Click the Activate link once the plugin has been successfully installed.
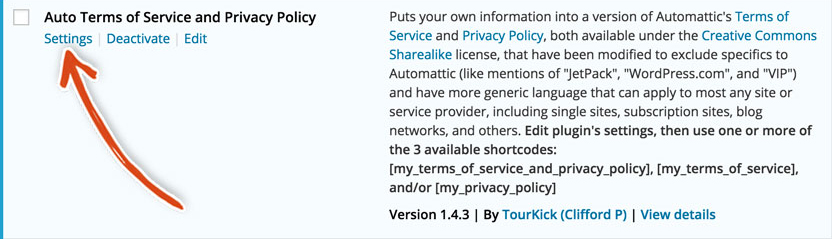
You should now see the Plugins page – since the Auto Terms of Service and Privacy Policy plugin has been activated. Click on the Settings link in the Auto Terms of Service and Privacy Policy row.
Now, you need to fill out your information! This is to make sure that all references to your company/website related information in the terms of service and privacy policy are replaced by the plugin with the information that you provide.
We’ll hold your hand through the process because we know you’re scared. Your hand feels a little sweaty… It’s OK, nothing to be ashamed of, it happens to all of us 😉 .
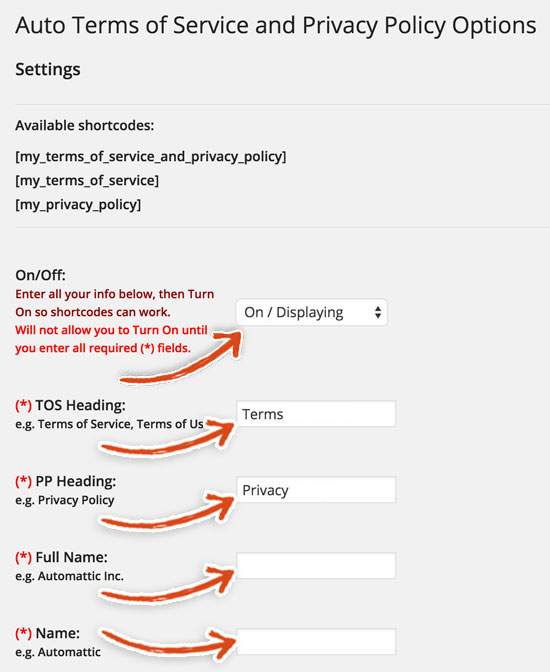
- On/Off: Switch this to On/Displaying. This must be done so that we can add the shortcode to the Terms and Conditions and Privacy Policy pages in later steps.
- TOS Heading: This is the title that appears at the top of the terms of service content. We’re going to set this to Terms but feel free to name this whatever you like. We made this equal to Terms because Terms of Service looks redundant on the page that we created.
- PP Heading: This is the title that appears at the top of the privacy policy content. We’re going to set this to Privacy but feel free to name this whatever you like. We have it named Privacy because it doesn’t look as redundant as Privacy Policy does on the page.
- Full Name: This is your company’s full name including the business extension (LLC, Inc, etc.). They use the example of Automattic, Inc.
- Name: This is your company’s name minus business extension. They use the example of Automattic.
Don’t be scared – we were frightened too – keep filling this bad boy out!
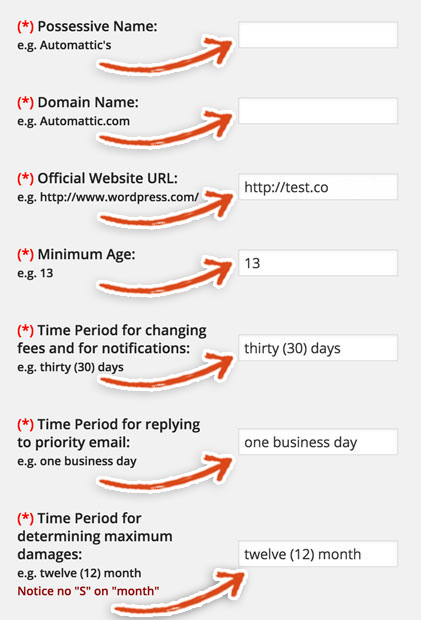
- Possessive Name: Enter the possessive version of the name that you entered above. In English grammar, you use apostrophe s (’s), also known as possessive ’s, to show that something belongs to someone or something else. So, if your website’s name is WPLauncher.com, you add an apostrophe s to get the the possessive version of the name; ie WPLauncher.com’s. In other words, since my brother and I co-founded WPLauncher.com, we are WPLauncher.com’s co-founders – we belong to WPLauncher.com.
- Domain Name: Include the domain name of your site without http://www. Their example is Automattic.com.
- Official Website URL: Add the domain name of your site with http://www. e.g. http://www.automattic.com.
- Minimum Age: Enter the minimum age of a user on your site. For example, 13.
- Time Period for changing fees and for notifications: Enter the time period that you provide users for changing your site’s fees and for notifications. For example, thirty (30) days.
- Time Period for replying to priority email: Give your customers a break down of how long they should expect to wait for a response to a priority email. The amount they provide is one business day.
- Time Period for determining maximum damages: This is the time period for determining maximum damages. Make sure NOT to include an S after month. For example: twelve (12) month.
Last part – the finish line is near!
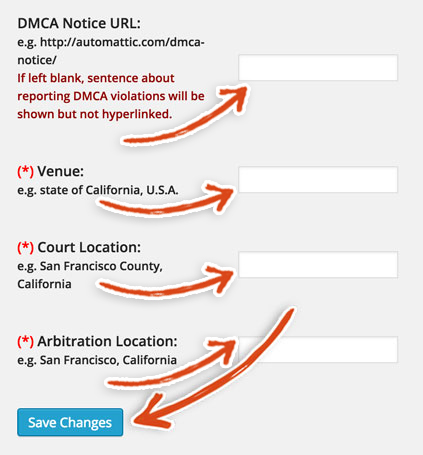
- DMCA Notice URL: We’re going to leave this field blank. If you want to link to a DMCA notice page, make sure to create that page and add the url to it here. Their example is http://automattic.com/dmca-notice/
- Venue: List the state where your company resides and ideally where you live. If you are out of the United States list your region and country or just country. Their example is State of California, U.S.A.
- Court Location: List the county where your company currently resides. Their example is San Francisco County, California.
- Arbitration Location: List the city where your company currently resides. For example, San Francisco, California.
Click the Blue Save Changes button!
You can stick a fork in this step – it’s done!
We’ll show you how to add the Terms of Service and Privacy Policy pages generated by this plugin in a later step. When you see the generated content you’ll scream PHEWWWW and will wipe your brow. You’ll also talk to a higher power (or your version of a higher power or lack thereof) and say please give Ben and Lee tons of good juju for helping me not have to write this or pay a lawyer to do this. We love the love 😉
You get to move onto your next plugin, where we’ll show you how to add Facebook Comments to your post pages. We know it gets kinda old but seriously you’re going to feel really accomplished when you complete all of the steps involved in creating this blog and you’re going to have a beautiful blog at the end of it. You can use it to share your ideals, your hopes and your dreams (or just random things you like) with the world!