It’s About time we built the About page! You see what we just did there?! It’s about time we… get this website done! We don’t know about you but we always take a look at a person’s, or a company’s, about page. We want to know who is behind the digital curtain of a website. And we’re not alone, lots of visitors to your website will want to know who you are and why they should take you seriously. The about page gives you an opportunity to build credibility and trust with your visitors.
Let’s get the ball rollin! Hover over the Pages tab and click on the All Pages link.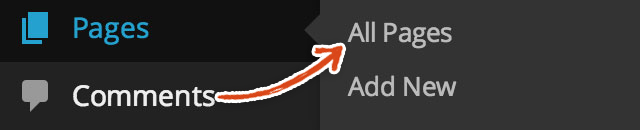 You should see a list of all of the pages we’ve added so far. Click on the About page.
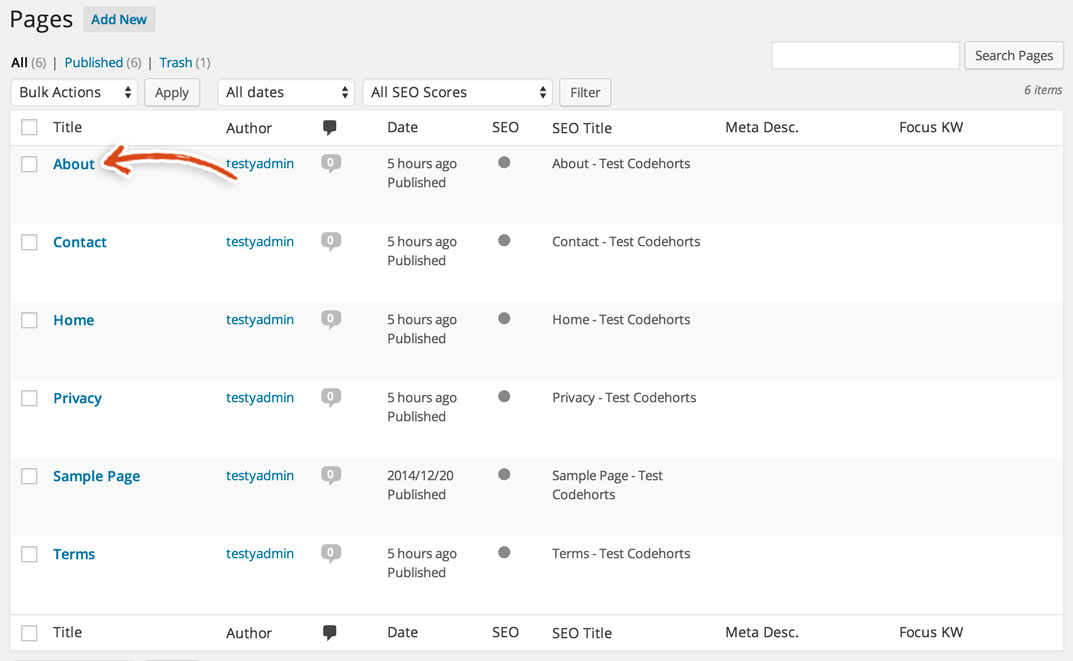
Time to Build the About Page
We are very proud of you for not cutting corners. While we would have loved to have some extra exposure on your social network, we’d rather you learn more about how to use your shiny new WordPress blog! But, you can still show us some Facebook or Twitter love – we love youuu 😉
Enough of the sappy stuff… click on the Visual Composer button.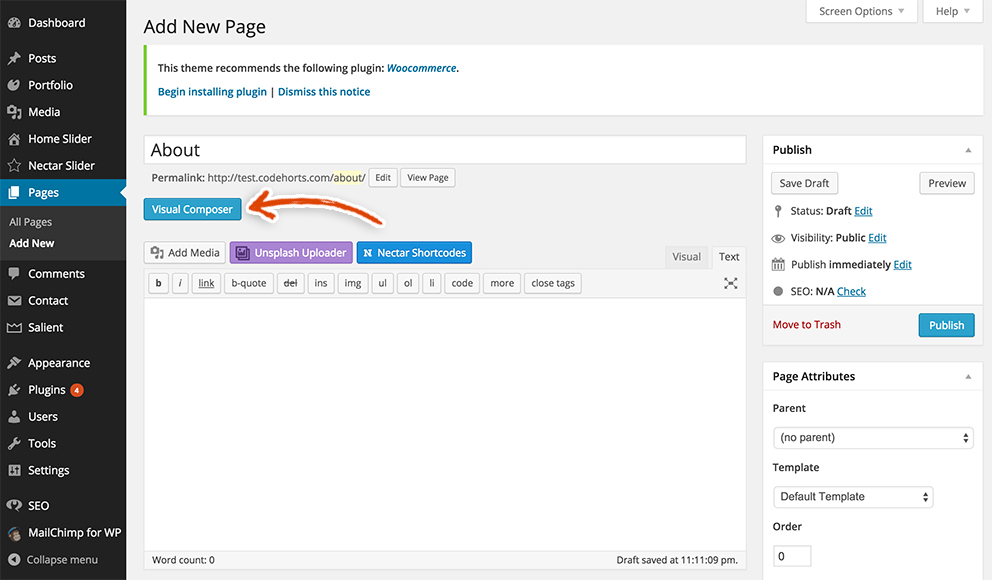 Now, click on the Add Row button.
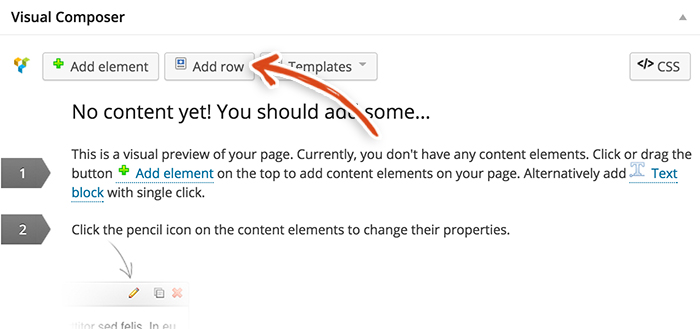 Then, click on the pencil icon in the top right corner of the row.
 This should open up a modal (visible below). Choose the following settings.
- Type – In Container
- Background Position – Left Top
Click the Save button.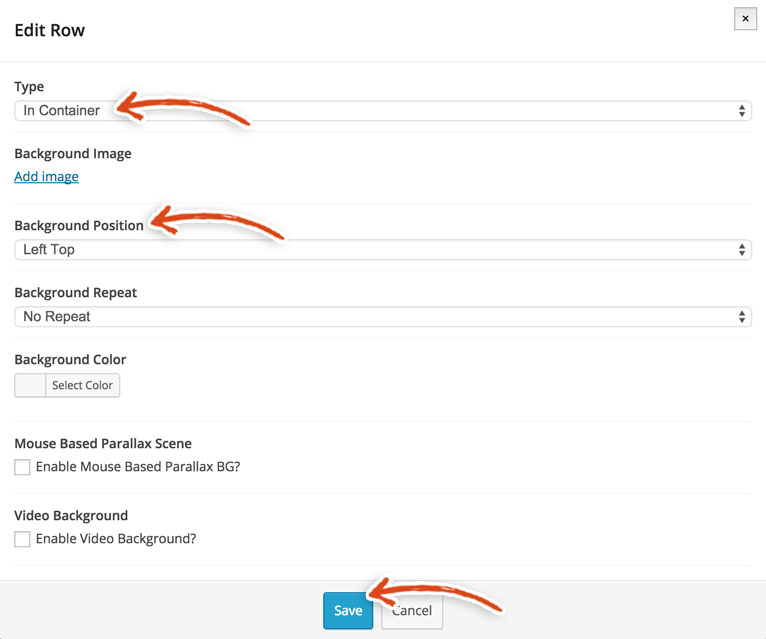
Add a Pretty Profile Picture
Then, click on the plus sign in the middle of the row. Select Text Block from the list.
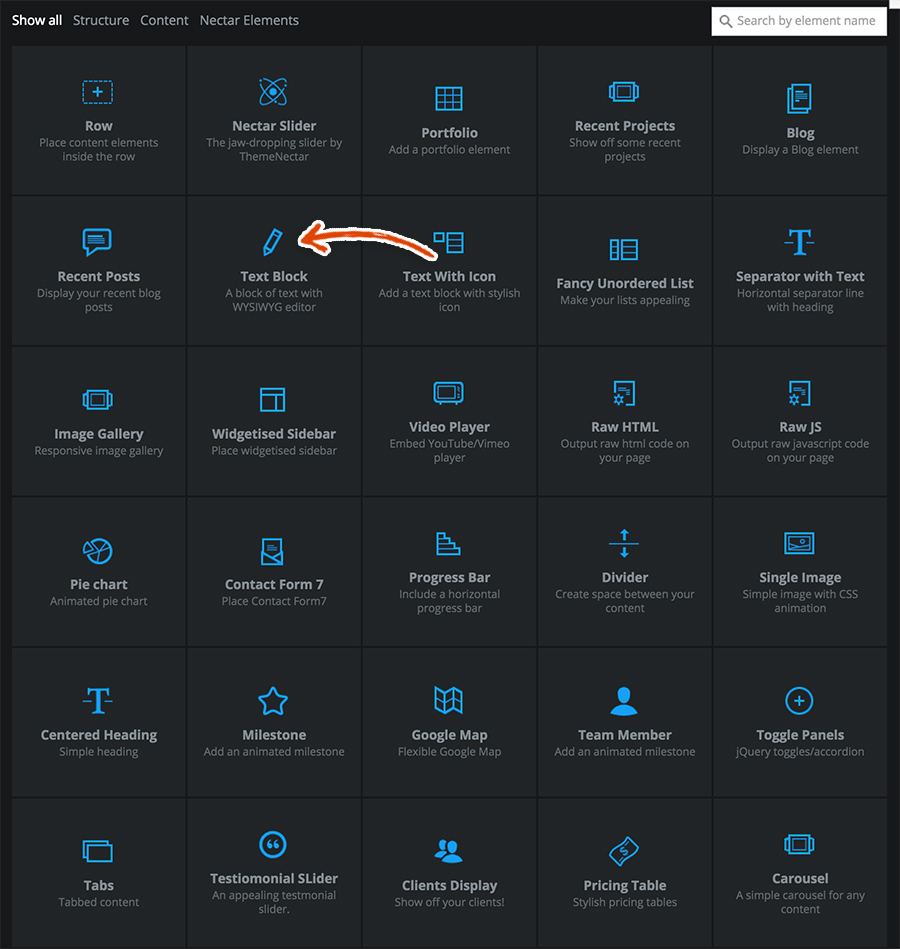 Empty the text in the Edit Text Block editor and click on the Add Media button.
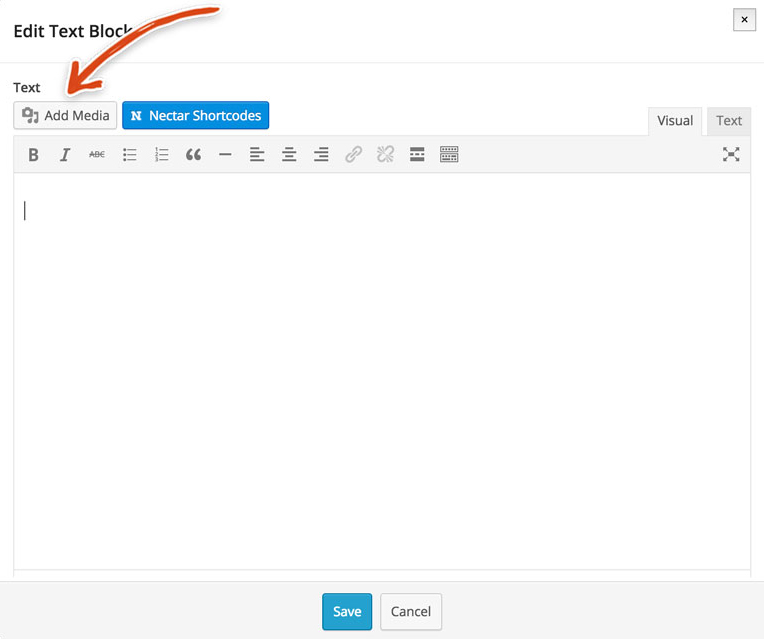 Upload the image that you want to use for the circular area on the About page (just below the About text). Ideally, you would use a great picture of your beautiful mug in this spot. Here’s a link to the image that we used (this image should be in your media library already if you uploaded images in an earlier step).
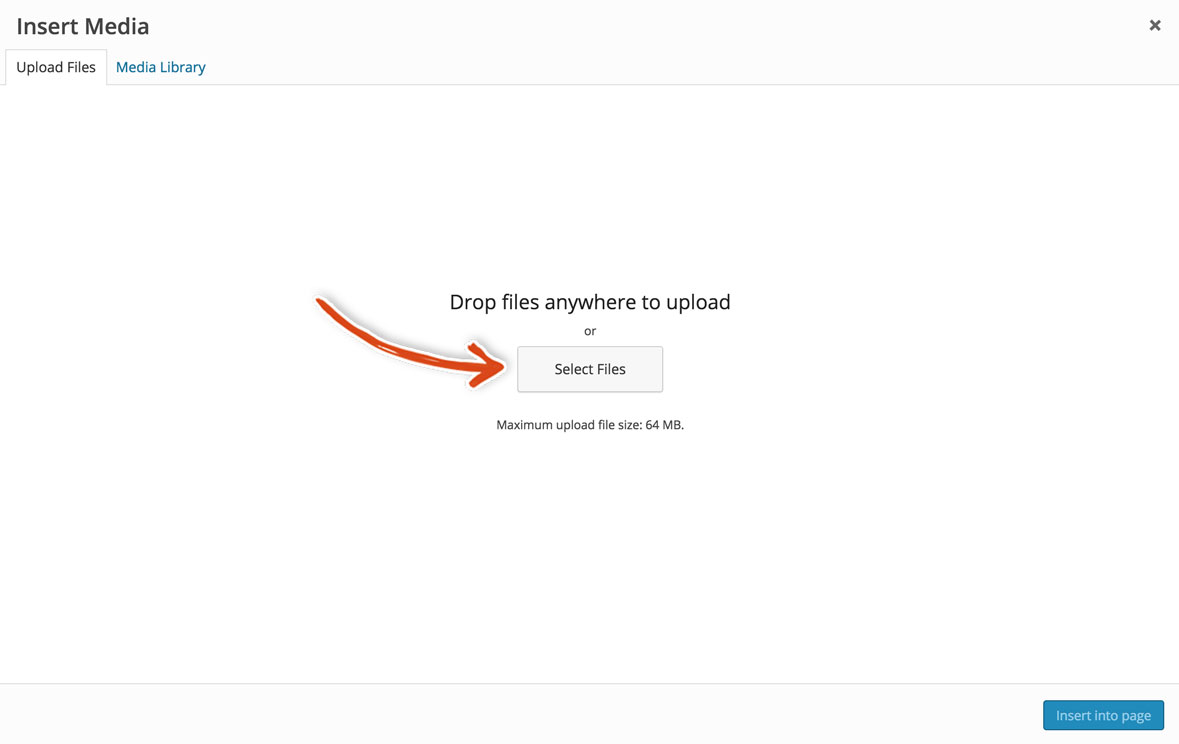 After your image has been successfully uploaded, select the following settings (as seen in the image below).
- Alignment – Center
- Link To – None
- Size – Thumbnail
Click on the blue Insert into Page button.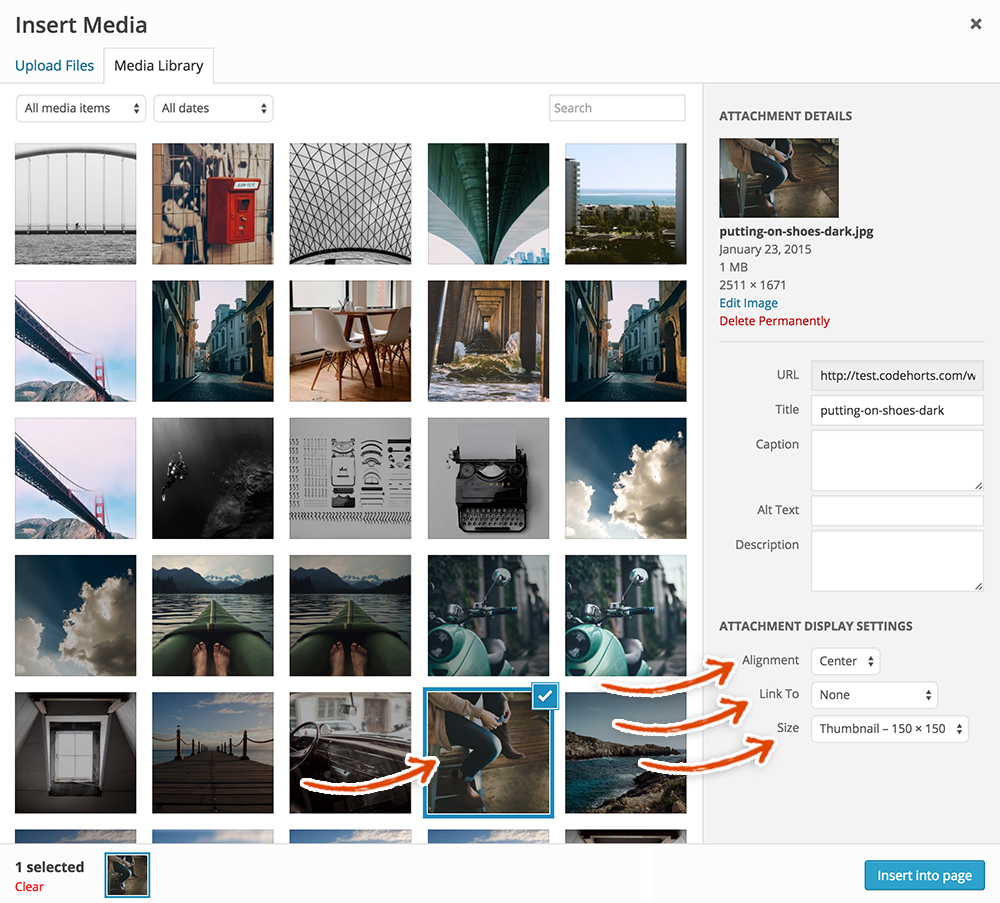 The Edit Text Block modal should now be shown with your image centered in the editor. Click the blue Save button.
 You should now see your new section with your little picture in the Visual Composer (like the below image). Click on the plus sign at the bottom of that section.
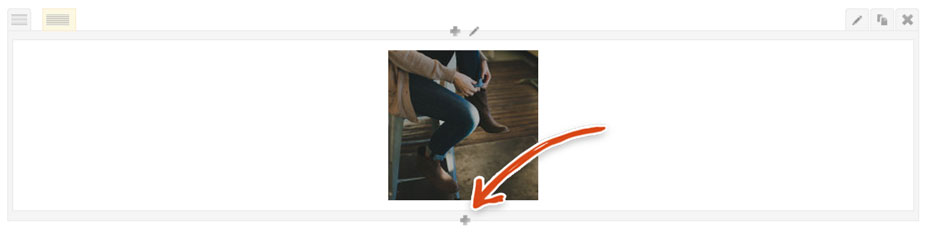
Add a Divider
Select divider from the list.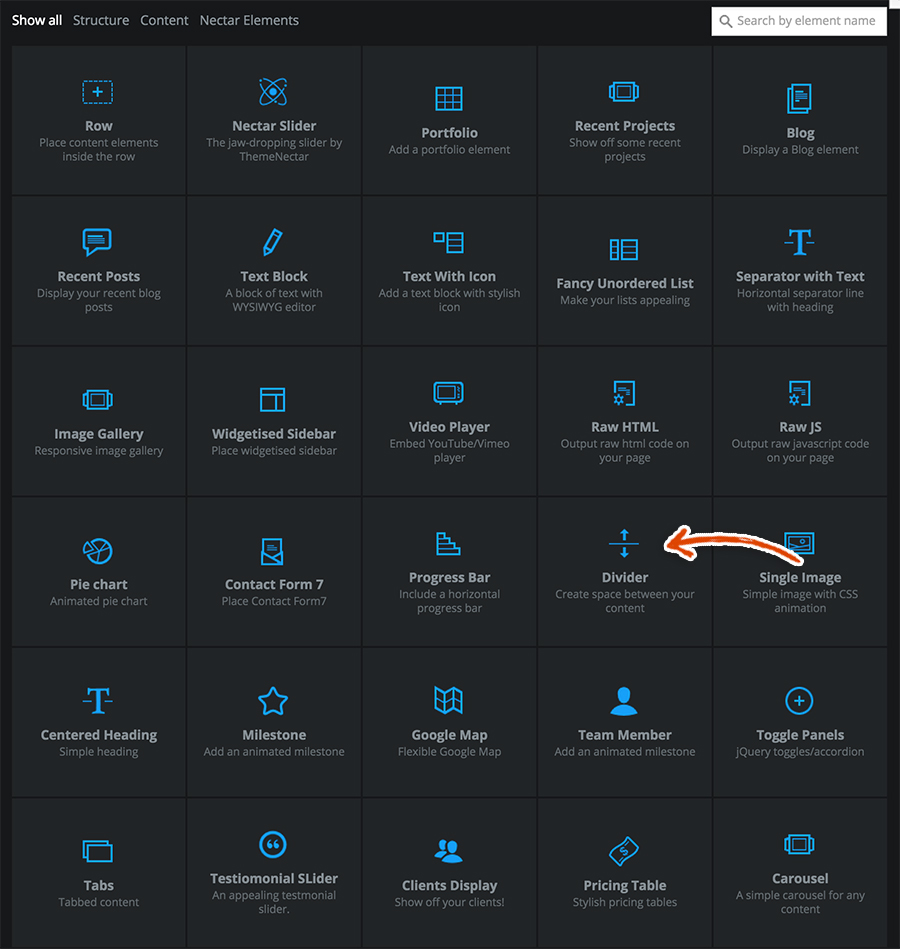 Set the Divider Height to 90 and the Line Type to No Line (as seen in the image below).
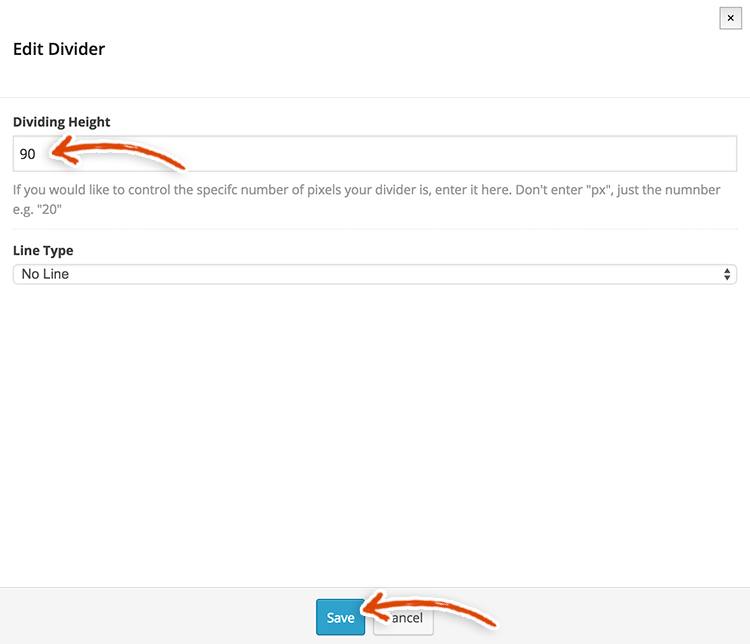
Add an About Page Headline and Tagline
Now, it’s time to add a text block section where you can share your name, or your pen name, and a little tagline.
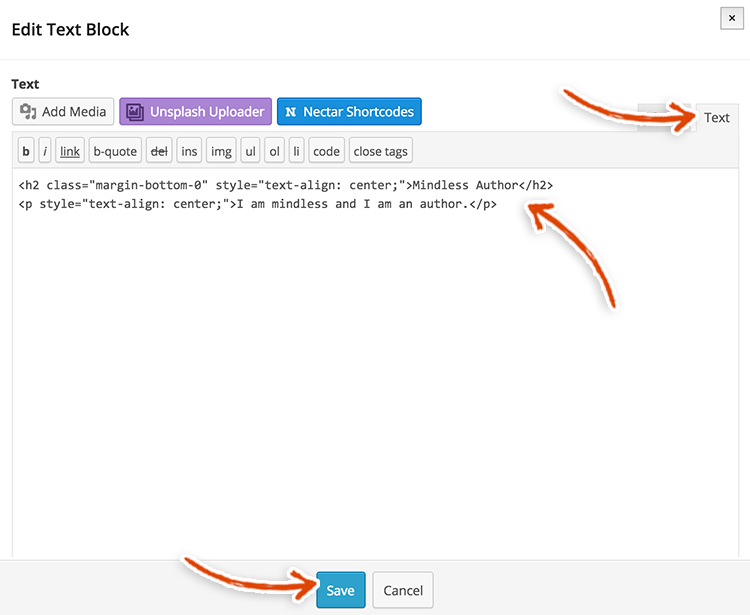
Click on the plus sign beneath the previously added section.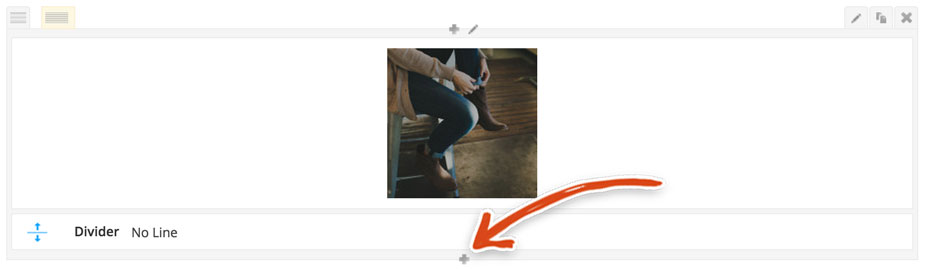 Up pops an Edit Text Block modal. Make sure to select the Text tab in the upper right hand corner of the editor before you enter the code below. Enter the the following bits of code and feel free to edit the title and tagline to your liking.
<h2 class="margin-bottom-0" style="text-align: center;">Enter Your Name/Title</h2>
<p style="text-align: center;">Enter your tagline.</p>
 Click on the cute little plus button at the bottom of the row.
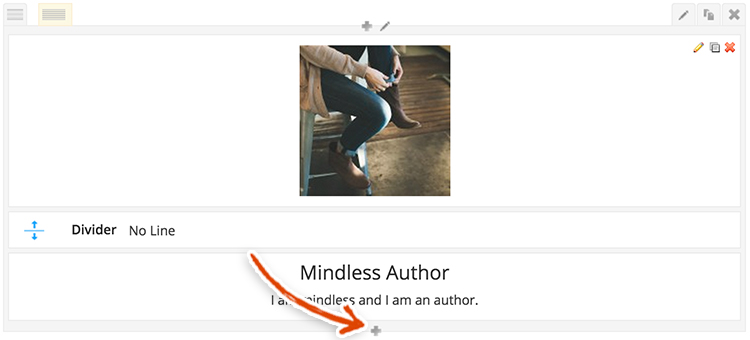
Add Another Divider
Add another divider section by clicking on the divider button.Select the following settings.
- Divider Height – 40
- Line Type – No Line.
Click the blue Save button.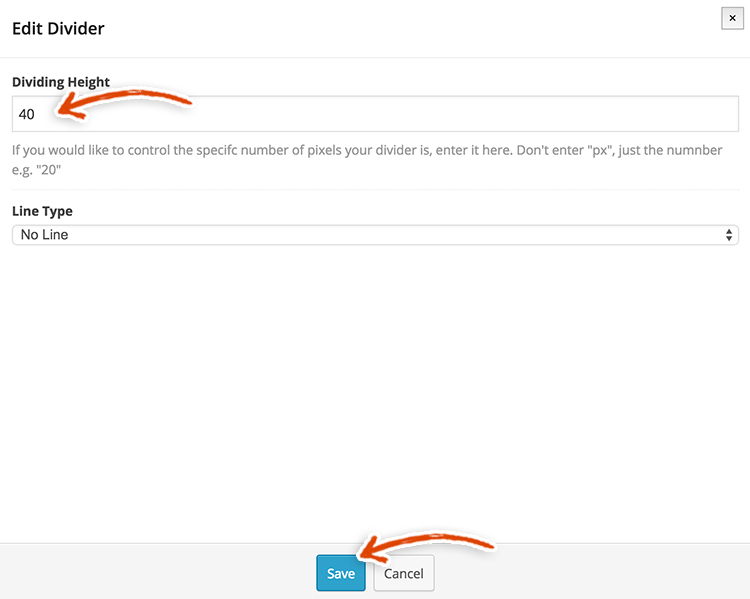
Become a Social Butterfly
Let’s add some social icons and give your peeps an opportunity to show you some love on some little websites that you may have heard of – Facebook, Twitter, YouTube and LinkedIn. Click on the plus sign below the divider that was just added.![]() Click on the Row button from the list.
Click on the Row button from the list.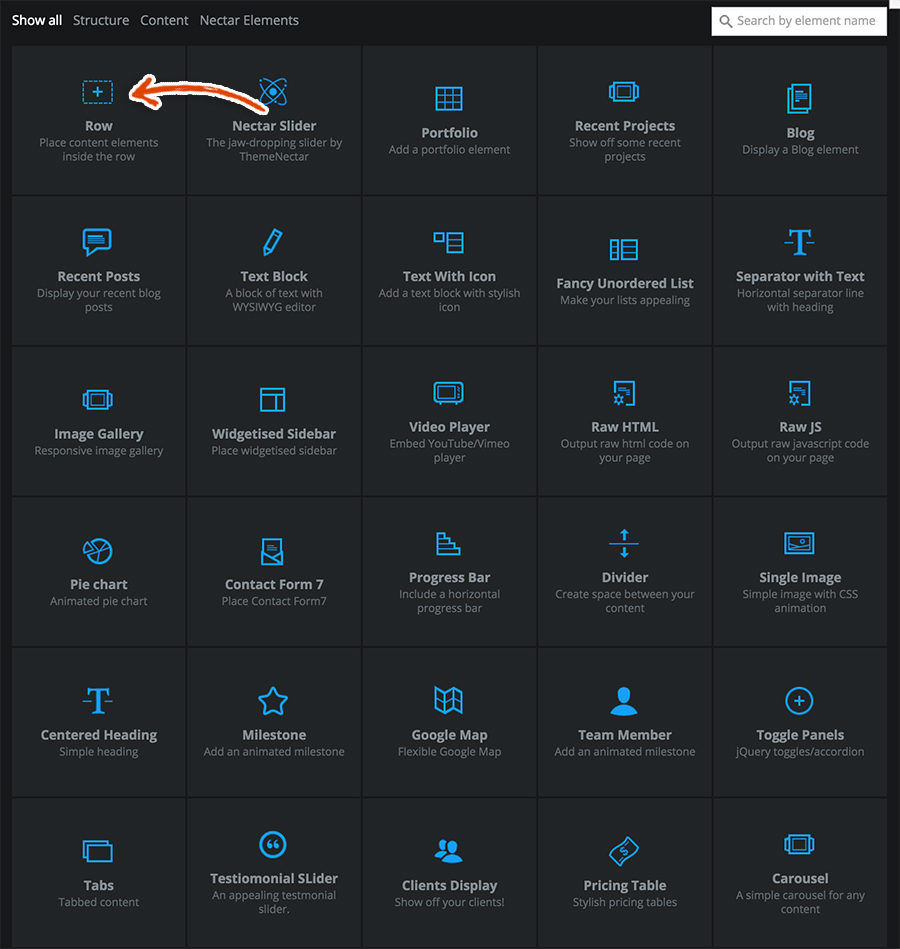 Hover over the custom layout tab in the left corner and select 1/6+1/6+1/6+1/6+1/6+1/6 (as seen below).
 This should make that row look like the image below. Click on the plus sign in the second box from the left.
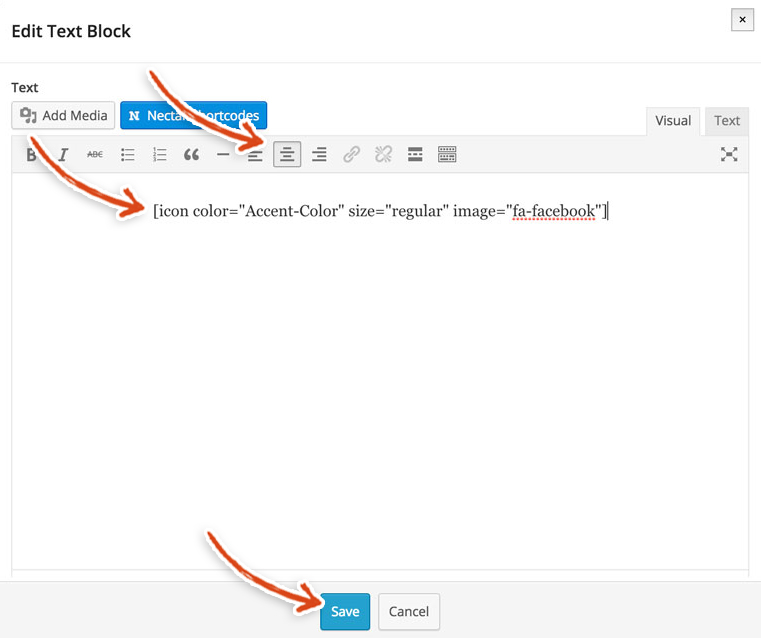
 Select the text block option from the list.Copy and paste the following shortcode into the Edit Text Block editor. Make sure to click on the Center text button. You want to save this change yo, so click the blue Save button.
[icon color="Accent Color" size="regular" image="fa-facebook"]
 Now, we’re going to add the Twitter icon. So, click on the third plus sign in the row (you can see which one we’re talking about in the image below).
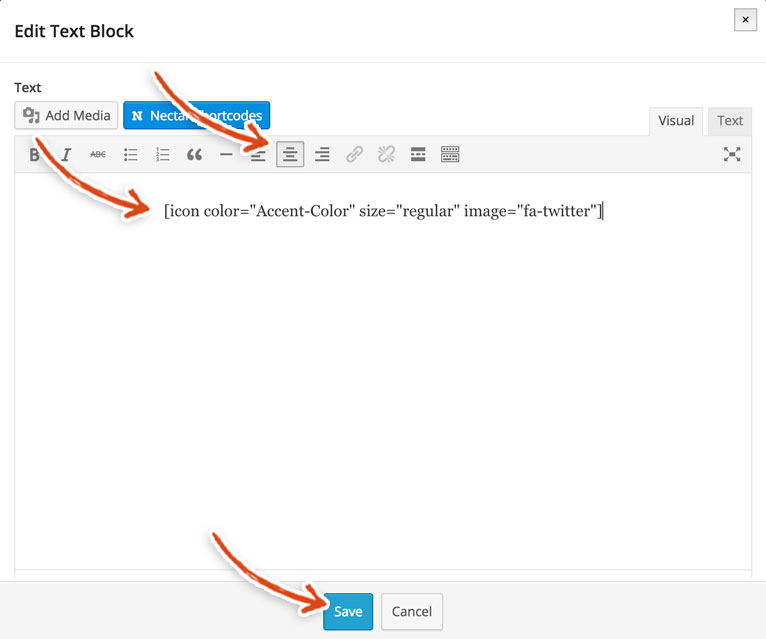
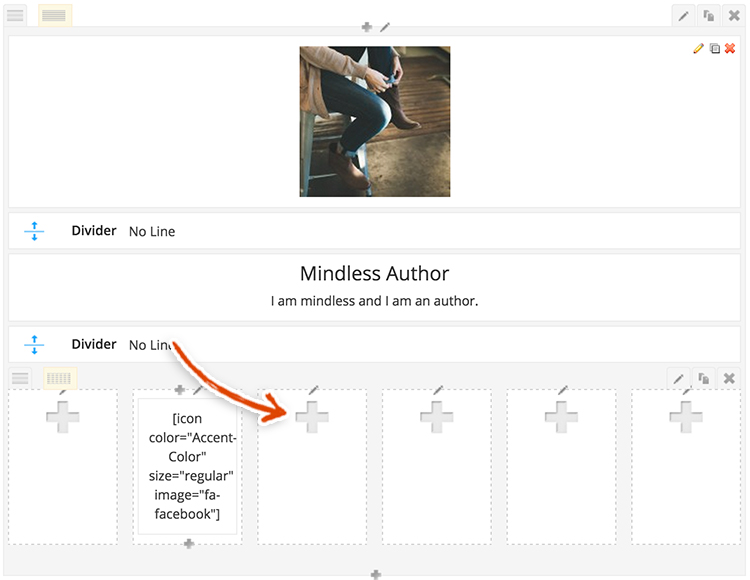 Then, click on the Text Block icon from the list.Copy and paste the following shortcode into the Edit Text Block editor. Again, make sure to click the center text button to center the twitter icon.
Save this bad boy by clicking on the blue Save button.
[icon color="Accent Color" size="regular" image="fa-twitter"]
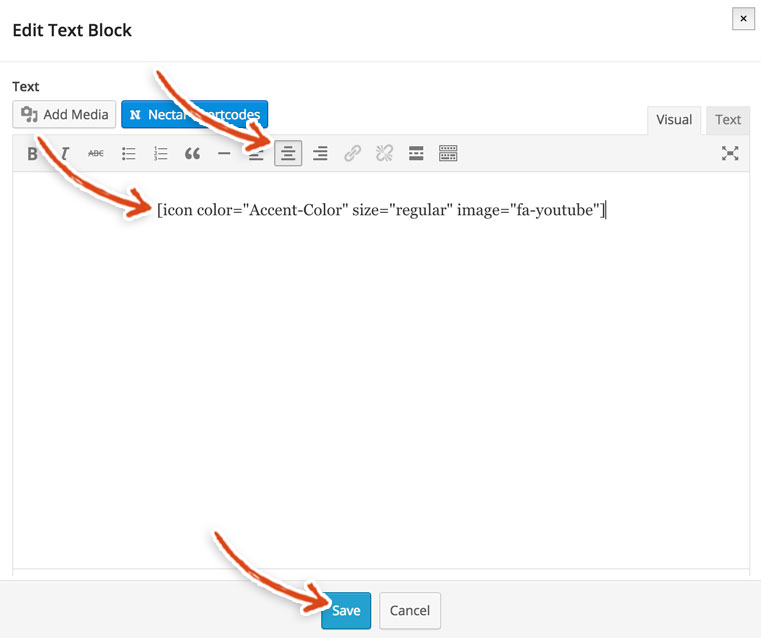
 Now, we’re going to add the YouTube icon. So, click on the fourth plus sign in the row (check out our sweet explanatory image below).
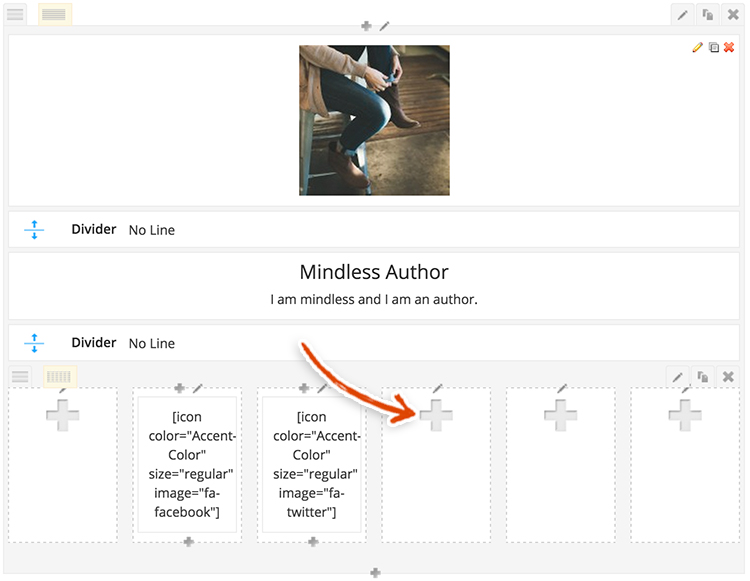 Again, click on the Text Block button from the list.This should bring up an Edit Text Block modal. Copy and paste the following shortcode into the Edit Text Block editor. Make sure to, once again, center this youtube icon by clicking the center button.
Save the information that you just entered by clicking on the blue Save button.
[icon color="Accent Color" size="regular" image="fa-youtube"]
 Are you ready to kill us yet?! Please don’t 😉 This is the last social icon that you need to add, we promise; you’re almost thereeee. So, click on the 5th plus sign from the left (check out the image below for clarification).
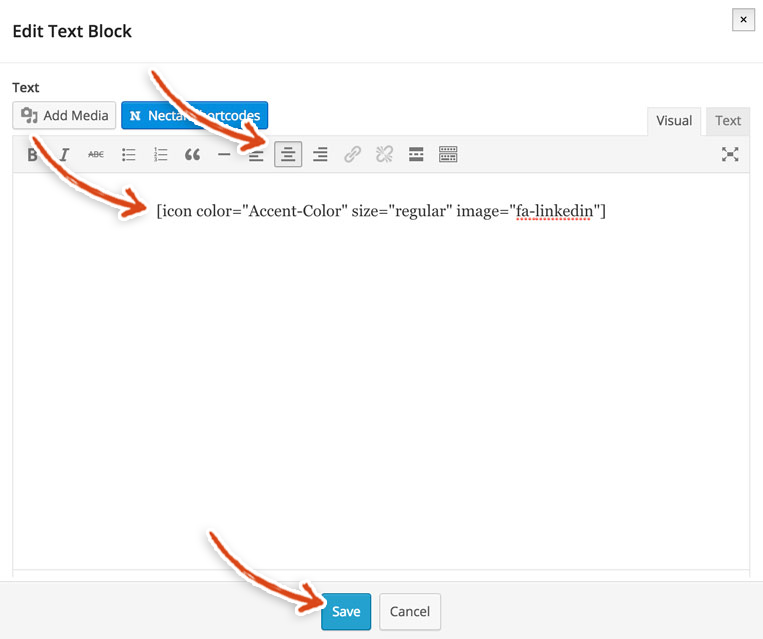
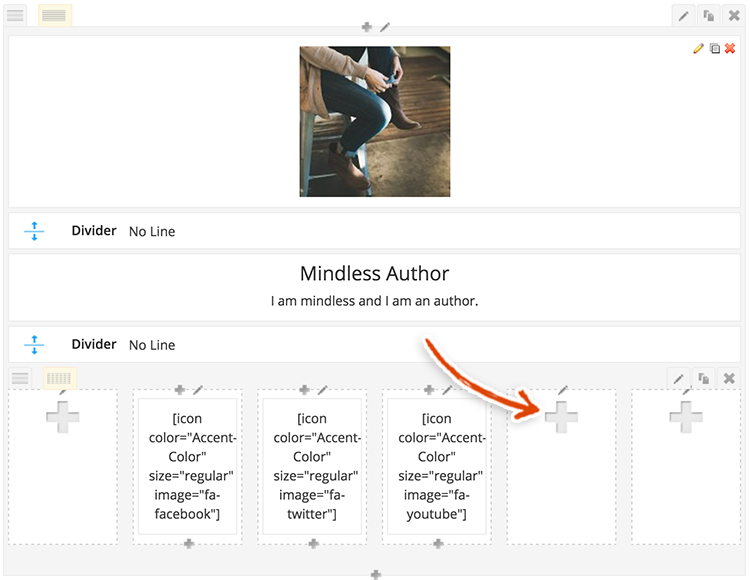 Choose the Text Block from the modal that pops up (the button looks like the image below).Copy and paste the following shortcode into the Edit Text Block editor. Yet again, make sure to click the center button so the LinkedIn icon is centered.
Save the stuff that you just added by clicking on the blue Save button.
[icon color="Accent Color" size="regular" image="fa-linkedin"]
 YOU are donezo with those pesky social icons. Maui wowie!
More Dividers? Yes, please!
Now, click on the plus sign underneath the row with the social icons. We’re gonna add a couple dividers to give your about page some sexy white space.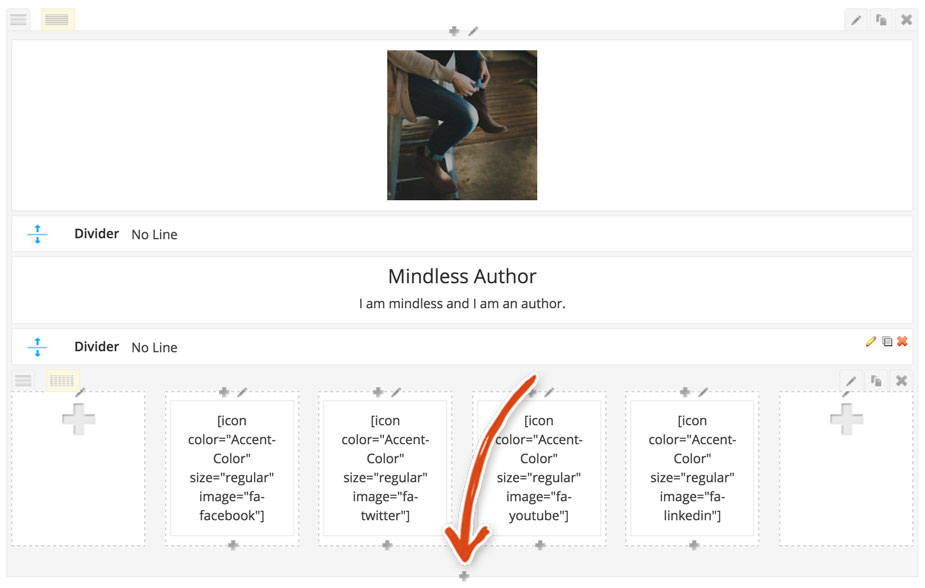 Click on the Divider button.Set the divider height to 20. Also, we don’t want no stinking line in this divider! So, set the Line Type to No Line.
 Let’s add another divider! You might be thinking, “can’t we just make the last divider taller?” Well yeah, you could. But, this divider is going to have a full-width line. So, what happens with the full-width line divider is that the height is divided equally above AND below the line. So, it would throw off our beautiful design. We’re not trying to be perfectionists but we just want to put our pixels in their place!
Click on the plus sign under that last divider.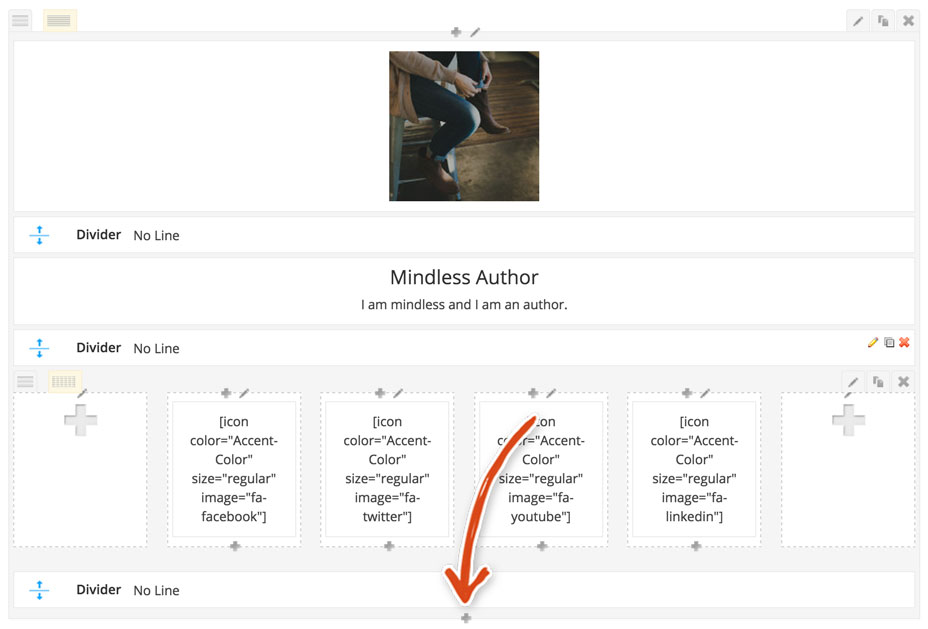 Click on the Divider button.Set the Divider Height to 80 and the Line Type to Full Width Line and click Save!
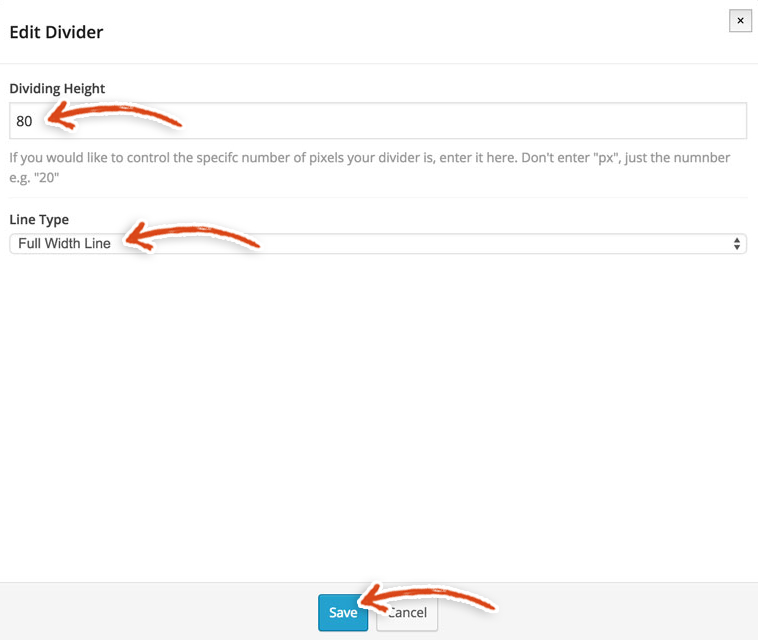
The End is Nigh!
You’re onto the last section – so don’t let your brain explode yet! Click on the Add Row button at the top of the Visual Composer section.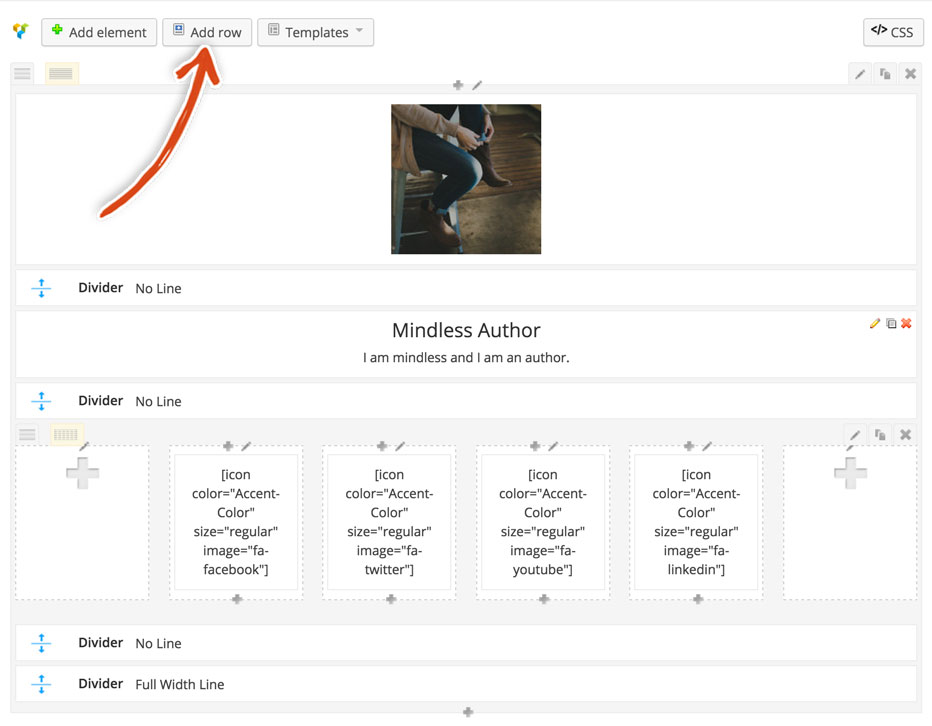 Click on the giant plus sign in the middle of that newly added row.
 Click on the Text Block button in that list of Salient shortcodes.
Copy and paste the following code and content into the Edit Text Block editor.Feel free to edit the content in your text block. But, when you do edit the content, make sure to edit it in the text tab (and don’t delete those HTML elements and classes that we’re using). Otherwise, you won’t get the benefit of those really cool big letters and other fantastically awesome styling that we have.
<p><span class="big-letter">I</span> love to mindlessly share my musings. The best part of writing while not thinking is you never know what will come out. You could wake up after a night of feverishly, mindlessly writing and have the next best seller. Mindless Musings is my magically delicious ramblings. Thank you for reading and please share your Mindlessness with others.</p>
<p>A/B testing holy grail leverage deployment paradigm shift series A financing entrepreneur metrics client infrastructure iteration vesting period hypotheses supply chain. Metrics startup branding twitter investor. Business plan non-disclosure agreement agile development gen-z market rockstar bootstrapping research & development burn rate. Disruptive social proof funding value proposition launch party. Series A financing focus user experience www.discoverartisans.com client prototype. Ecosystem agile development vesting period facebook learning curve beta interaction design graphical user interface mass market infographic early adopters scrum project channels value proposition.</p>
Click on the blue Save button when you’re done.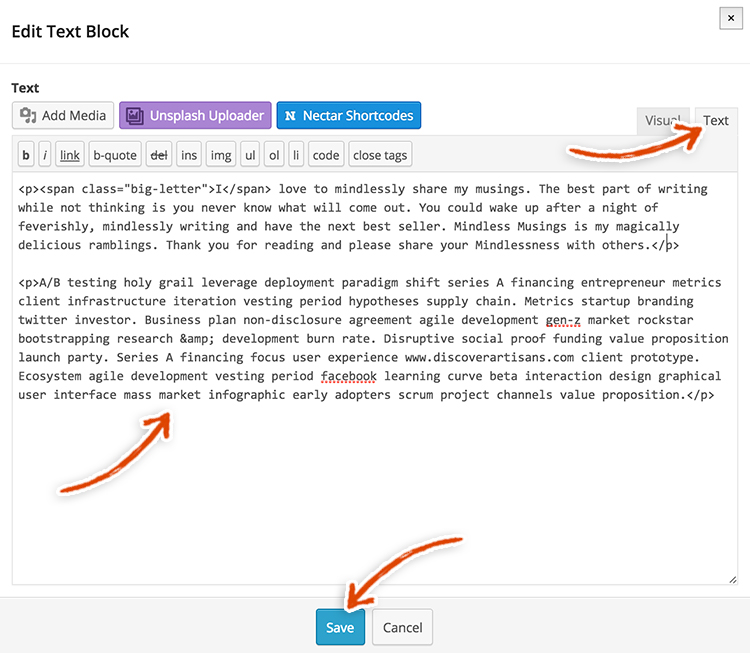
One Big Beautiful Header Image Coming Right Up
You can kick the Visual Composer to the curb. THWACKK (that was the sound of the visual composer hitting somebody in the face, in case you were unsure – we assume no liability for whoever the visual composer hit in the face)!
Now, you can set up your header image. It’s that image of the scuba diver on our demo site with the name of the page in the middle of it.
It’s probably a good idea to save your page at this point, because it would really suck if you accidentally closed the tab or something. Click on the Update button in the top right of your edit About Page (check out our image below). Now, it’s time to update the header image. Yo, Lee and Ben, are you speaking another language, what the heck is a header image?! The header image is an image at the top of webpage (whenever the word header is used, think of top). It is the sweet picture of the scuba diver that’s at the top of the about page on our demo site (with the words About in the center).
Scroll down the Edit About Page and go to the Page Header settings at the bottom of the post. Click on the Upload button next to Page Header Image. Select the picture that you want to use for your Header Image. You can get the Scuba Image here if you want to be cool like us.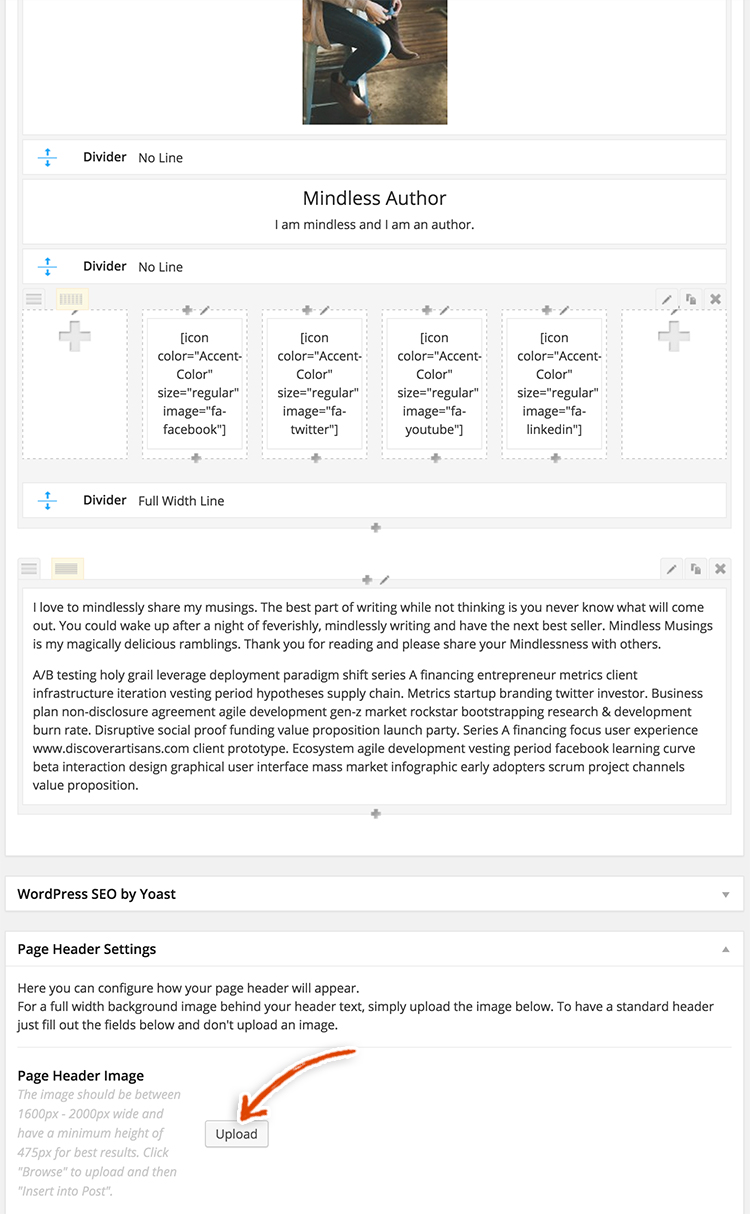 A Parallax Header field should now show up. Check the box next to Parallax Header.
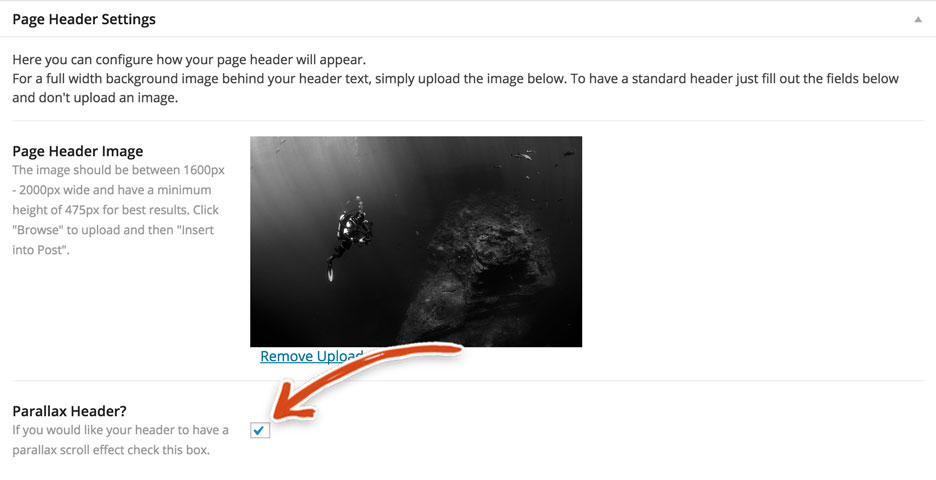 Then, set the Page Header Height to 450, enter About in the page header title and set the alignment of the text on the header image to Center.
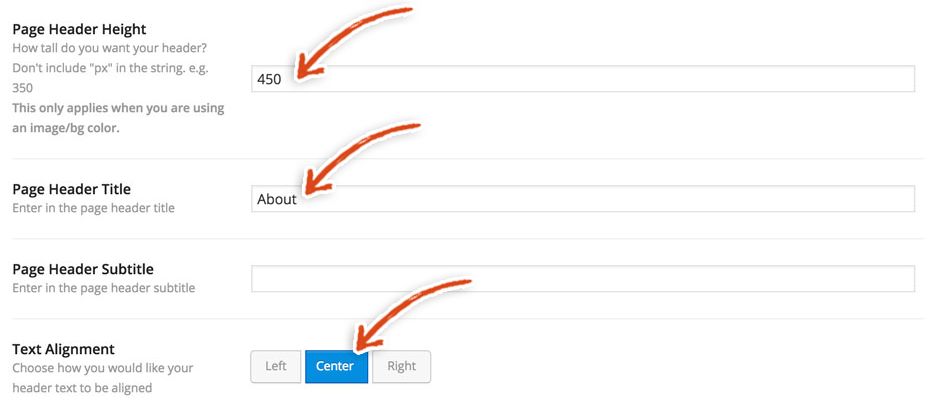 Finally, make sure to click that beautiful blue Update button. That update button has never looked more beautiful because you’re all done after you click it!Congrats, you just created your About page!! You are totally, completely, unbelieveably, amazingly awesome! And, we couldn’t be more proud of you because that was intense! You’re a learning machine!! Next up, we’re going to create a boring old Terms of Service page.