The magic wand allows you to easily and quickly cut an image from another image or to extract a part of an image into its own layer.
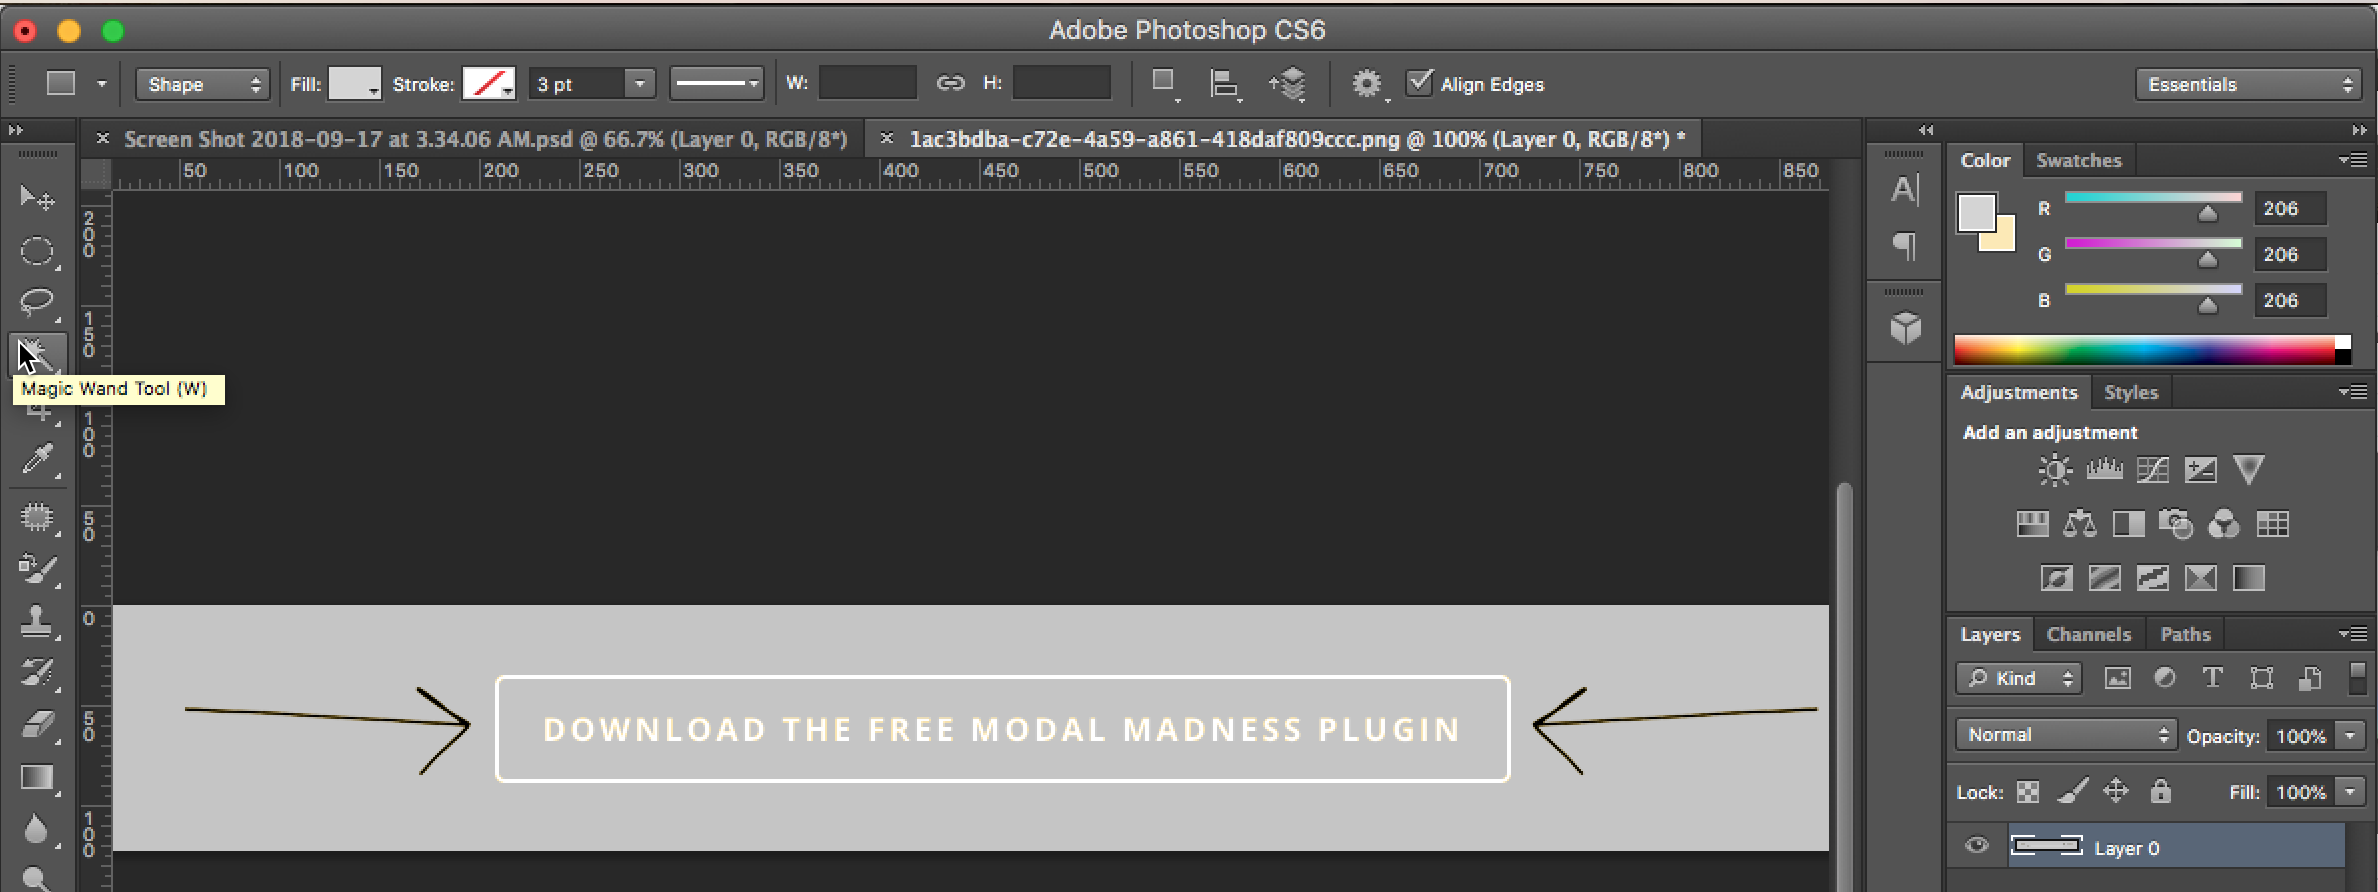
Start by opening up your image in Photoshop. Then, hover over the magic wand tool in the left sidebar.

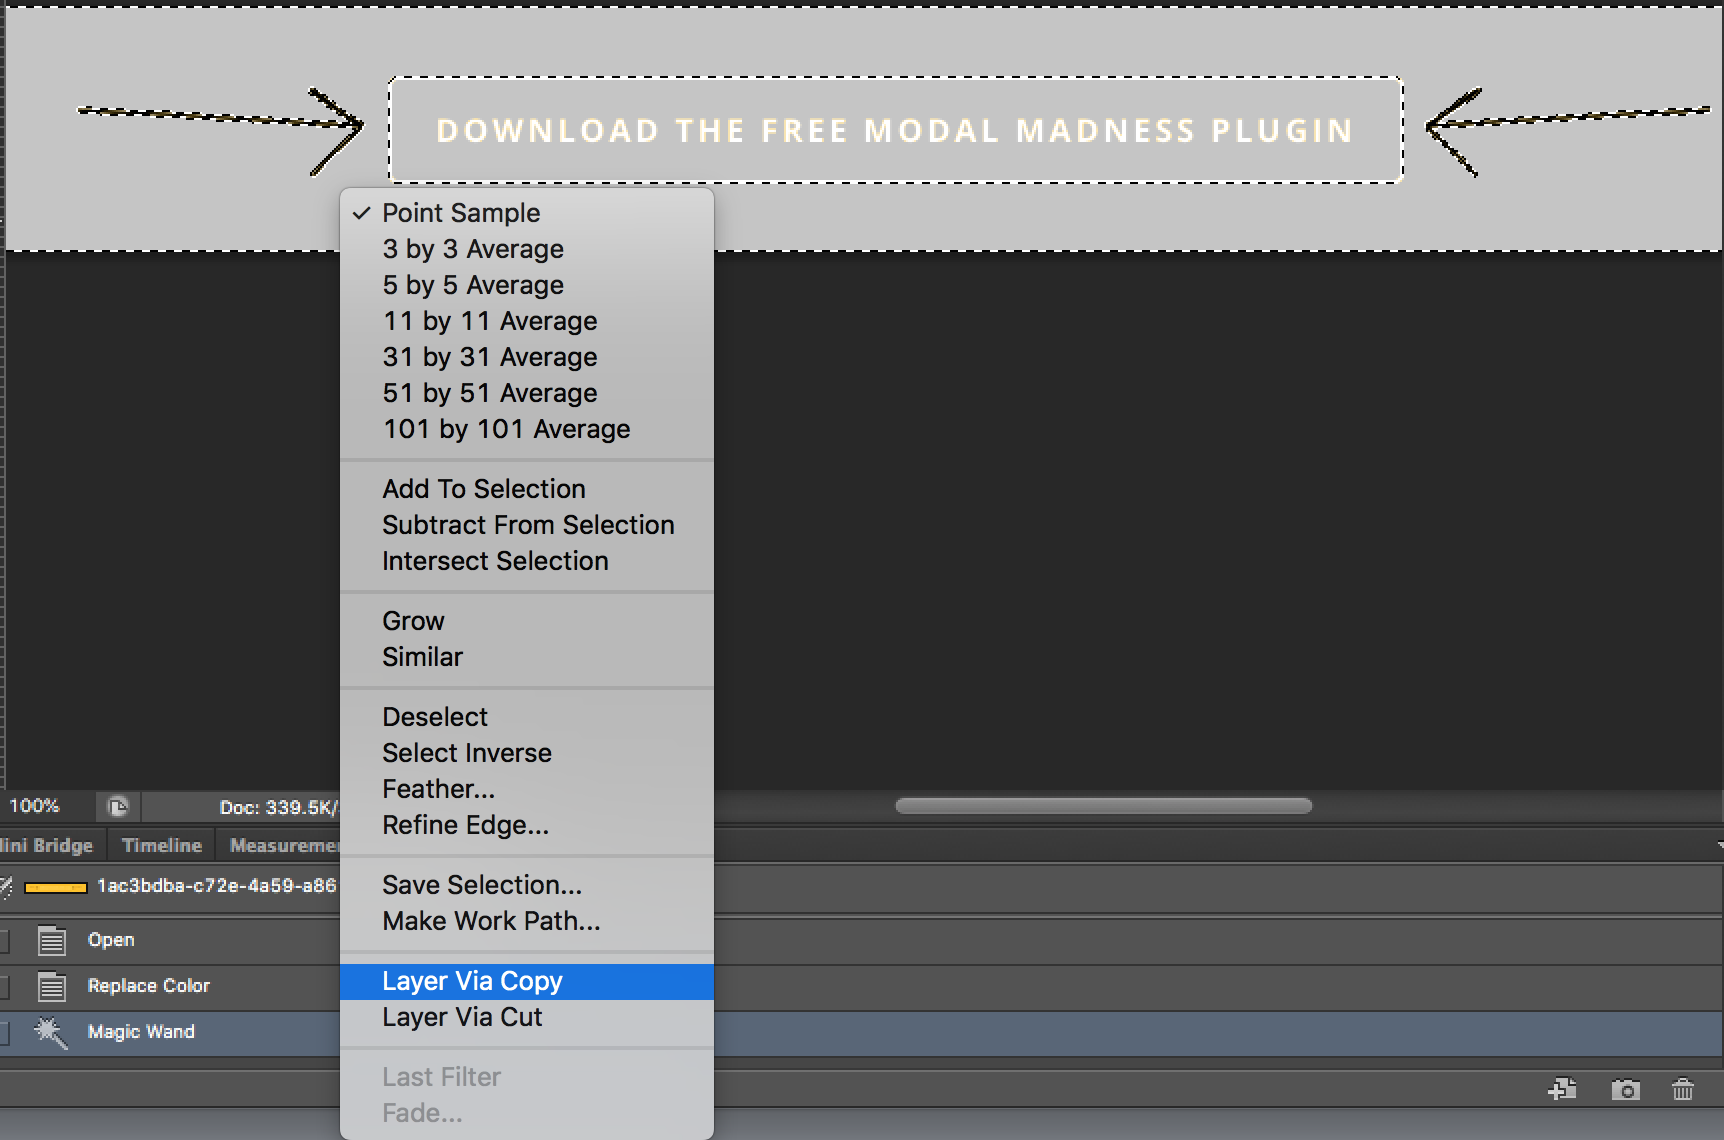
Then, click on the image with the magic wand tool. We clicked on the gray part of the image below. If you right click on the selection area, it will show the following drop-down menu.

There are a bunch of options but since we chose Layer Via Copy, it will create the following layer.

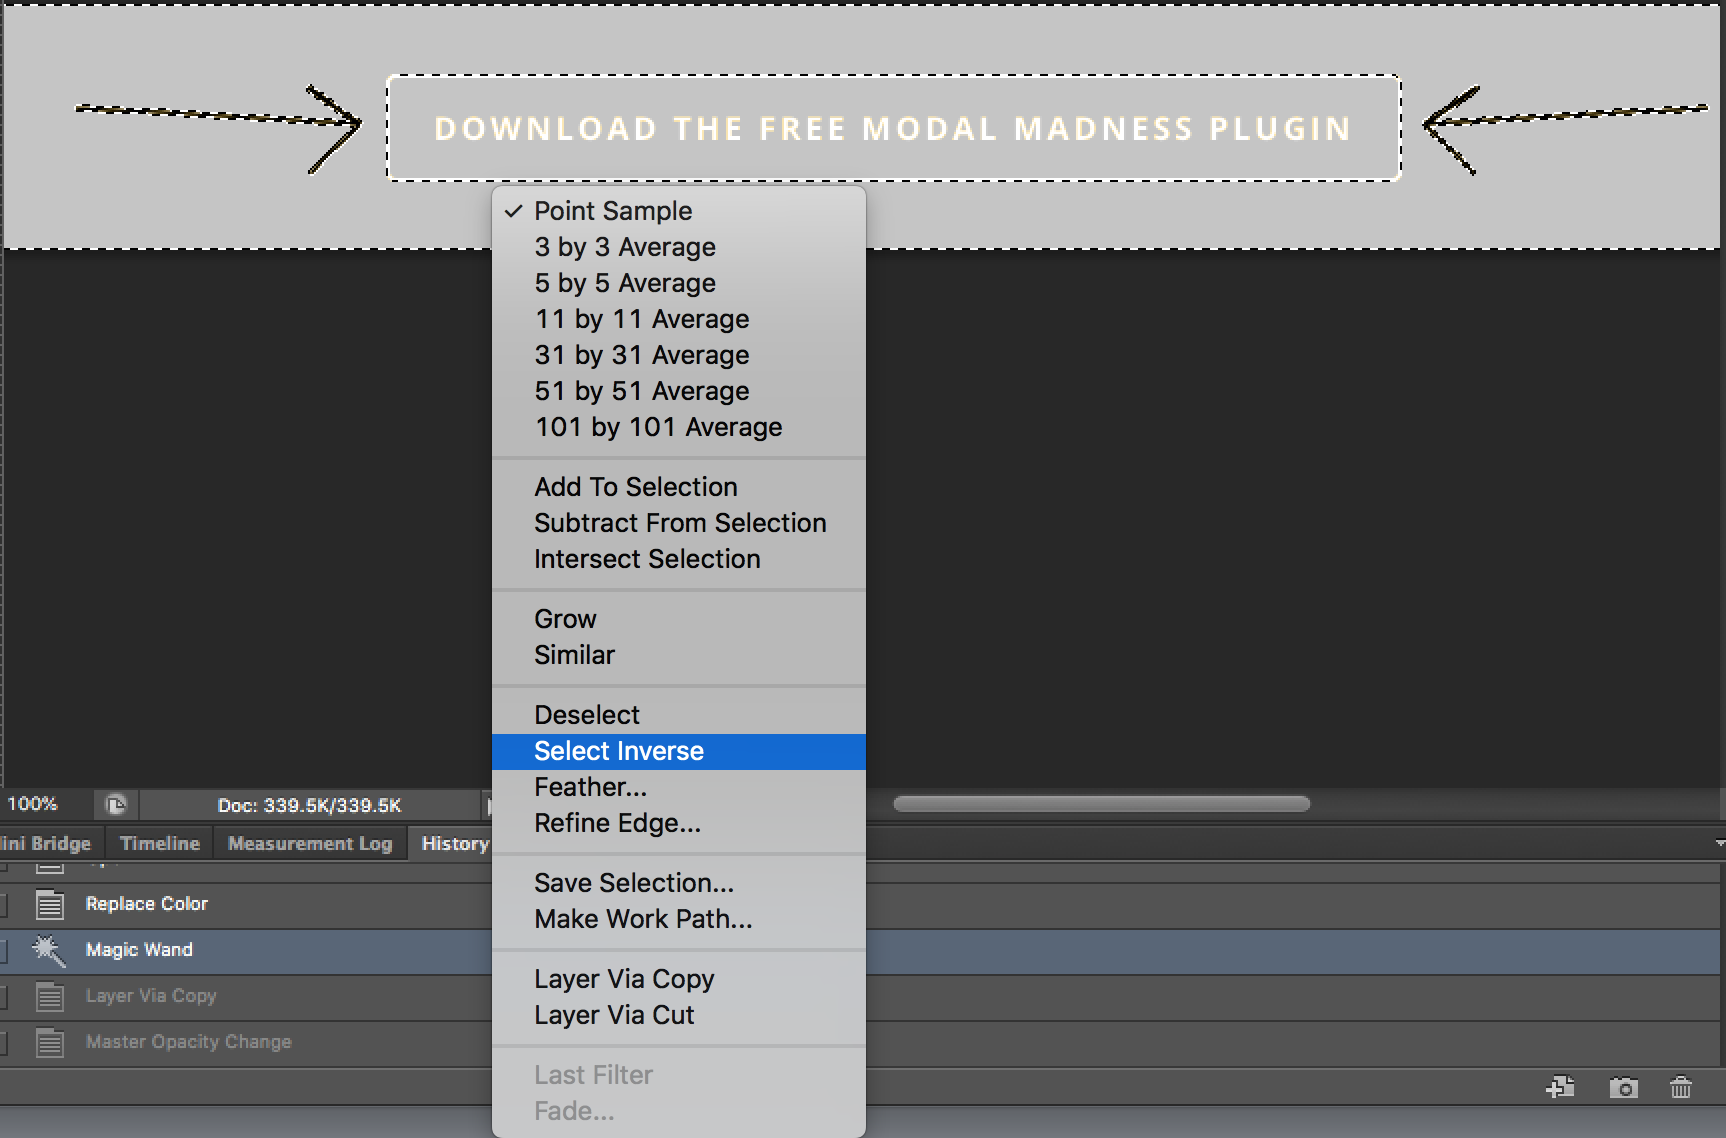
What if you would like the button and the arrows in a separate layer by themselves? You would click on the image with the magic wand tool and then you would right click on the image after it has been selected and choose the Select Inverse option.

You’ll notice that the selection changed to just the button and the arrows and not the background.

Clicking on the Layer Via Cut option results in the final version, visible below, which is exactly what we wanted. We saved the PSD file at this point.

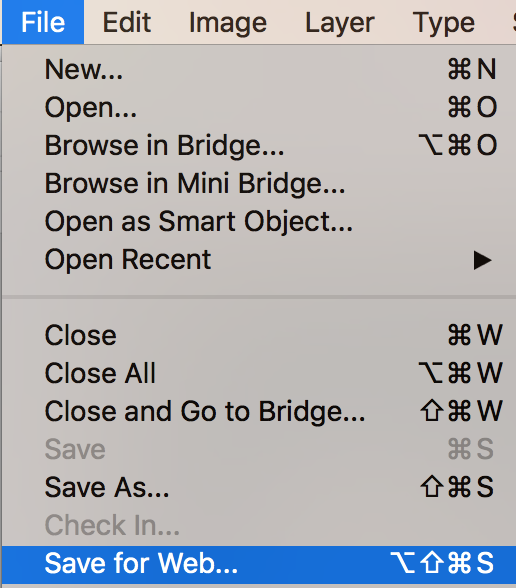
Then, we hovered over File in the top right corner and clicked on Save for Web. That way we know that all web safe colors are used for this element and we saved it as a PNG so that the transparent parts of the image stayed transparent.
