Do you want to start getting paid through your Salient WordPress site? We built a simple and free WordPress plugin called WPMerchant that allows you to add a payment form to your Salient WordPress theme to turn your Salient website into a cash register with just a few steps. Whether it be collecting money from clients for invoices or collecting payments for products that you are selling on your site, we prefer using WPMerchant over some other e-commerce providers like WooCommerce because we found it to be much easier to wrap our heads around, to help our clients understand how to use it and it took less time to get the payments up and running. We wanted to collect money fast and think that WPMerchant does just that.
There is a WPMerchant YouTube video (visible below) that says that you can start collecting money in one minute. We could set up WPMerchant in about minute but this is only because we already have a Stripe account. It could take 1 to 10 minutes if you don’t already have a Stripe account (because you may need to wrangle together your business and bank account information to complete the Stripe sign up process).
We’ll walk you through the whole process on how to start collecting payments through your Salient WordPress site below, but before we do, we wanted to give you a chance to save some money on your WordPress hosting.
STEP 1: Download, Install and Activate the WPMerchant Plugin


Login to your WordPress site (yourwebsitedomain.com/wp-admin).
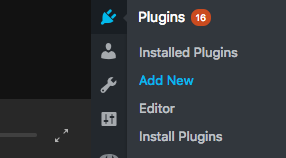
Hover over Plugins in the left sidebar and click on Add New
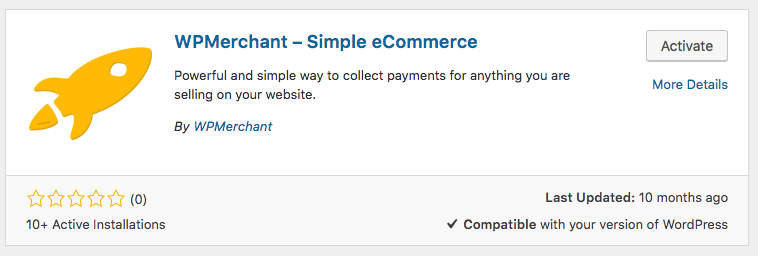
Search for WPMerchant
Install WPMerchant
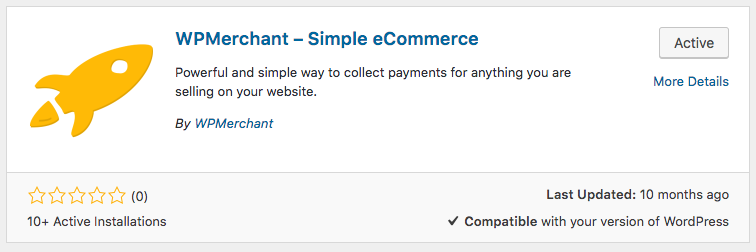
Activate WPMerchant
STEP 2: Add your WPMerchant Settings, Sign Up for Stripe and/or Connect to Stripe
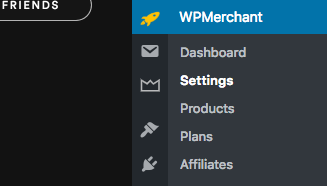
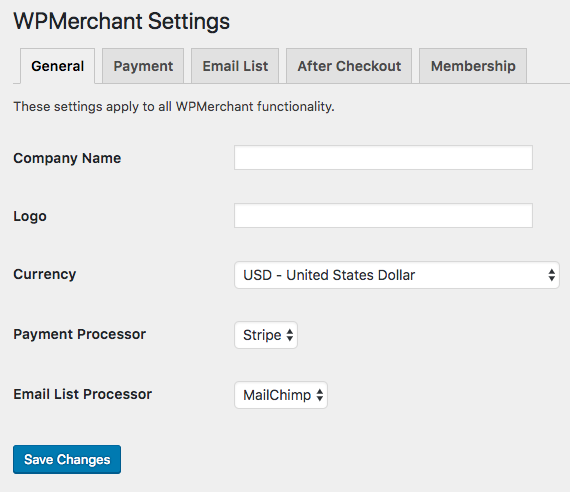
Hover over WPMerchant in the left sidebar and click on Settings. Then, add WPMerchant General Settings and click the Save button.


Then, click on the Payment tab and add WPMerchant Payment Settings. Then, click the Save button.
Click on the Connect Button in WPMerchant Settings. Once successfully connected, you should be redirected back to your website.
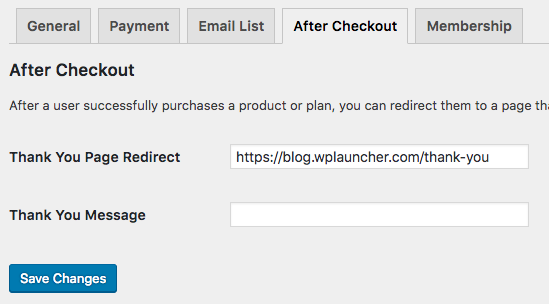
Lastly, click on the After Checkout tab, and enter the page that you want users to be redirected to after successful payment.
STEP 3: Add your first WPMerchant Product
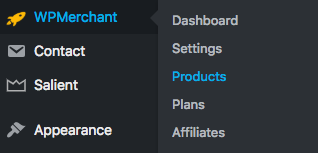

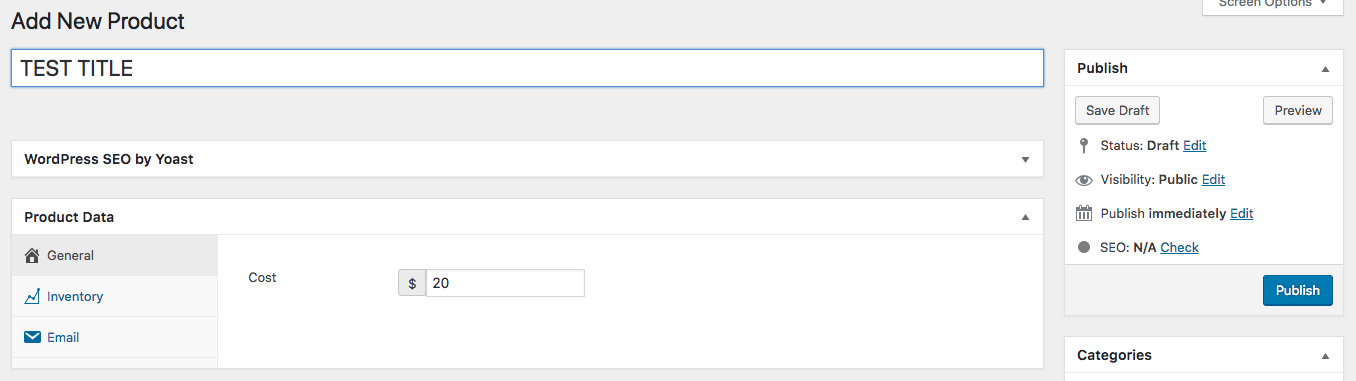
Hover over WPMerchant in the left sidebar. Click on Products.
Click on Add Product.
Enter the title of the product, enter the cost and click the Save button.
STEP 4: Copy the Shortcode, Add Shortcode to the Page/Post where you want to Collect Payments and Test the Payment. The text between the opening and closing tags defines the button text.


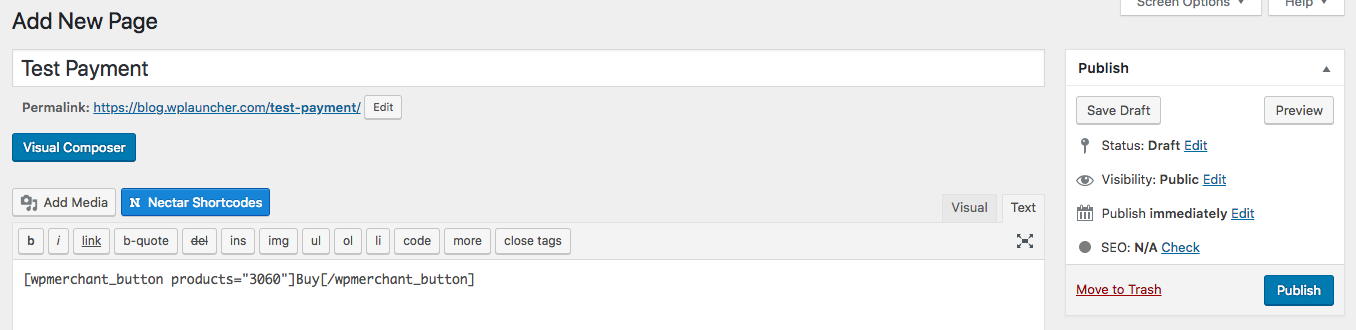

Copy the shortcode at the bottom of your WPMerchant Product’s page/post.
It should look something like the shortcode below:
Add the page to your Salient WordPress site.
Paste the shortcode to the payment page/post.
You’ll notice that the buy button now appears on your page/post.
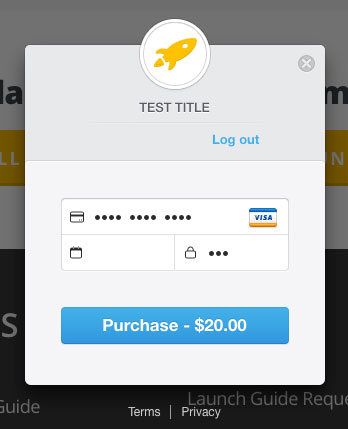
When you click on the buy button the following modal will popup.
In the shortcode below, there are numerous attributes that don’t show up in the shortcode that you copy from the Product page. You can adjust these additional attributes to style/modify the button.
Get our Startup WordPress Hosting
- Element: defines the HTML element for the payment button
- Classes: allows you to add custom classes to style the payment button
- Style: allows you to add in-line styling for the payment button
- Other: allows you to add other attributes to the HTML element that holds the payment button
STEP 5: Set the Stripe Version to Live
To start collecting actual payments from customers, you need to switch you Stripe Status to Live. Go to the WPMerchant Payment Settings and click on the status select box and switch it to live. Then, click the Save button. If you go back to your payment page and try entering in the test credit card number 4242424242424242 02/24 424, it’ll tell you that you’re using a test credit card in live mode.
STEP 6: Sign Up for MailChimp, Connect to MailChimp
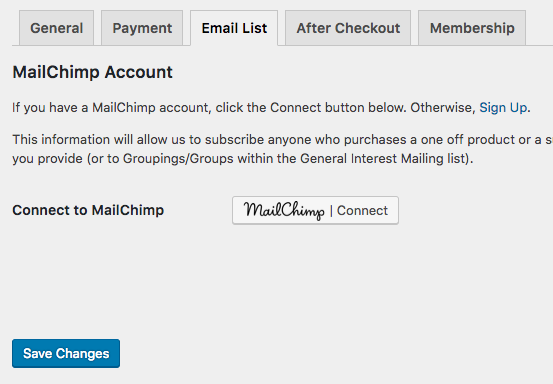
If you want to automatically subscribe customers to a newsletter when they purchase a certain product, connect to MailChimp in WPMerchant’s settings. Then, click the Save button.
WPMerchant also has a way to subscribe customers to monthly or yearly plans (click on the button below for an example). This version of WPMerchant costs money. You can learn more about this by going to https://www.wpmerchant.com/pricing. This version also allows you to add payment forms into