We love the flexibility of the X Theme. It’s an amazing WordPress theme that offers nearly infinite possibilities in laying out your website. There are so many options
Step 1: Add ConvertPlus
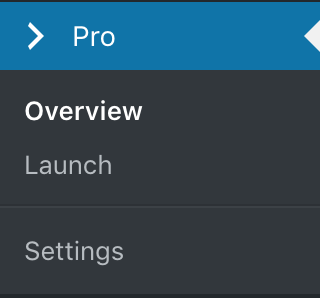
Login to your WordPress website, hover over Pro in the left sidebar and click on Overview.
If you scroll down you should see an extensions section. If you don’t, you may need to validate your copy of the X Theme.
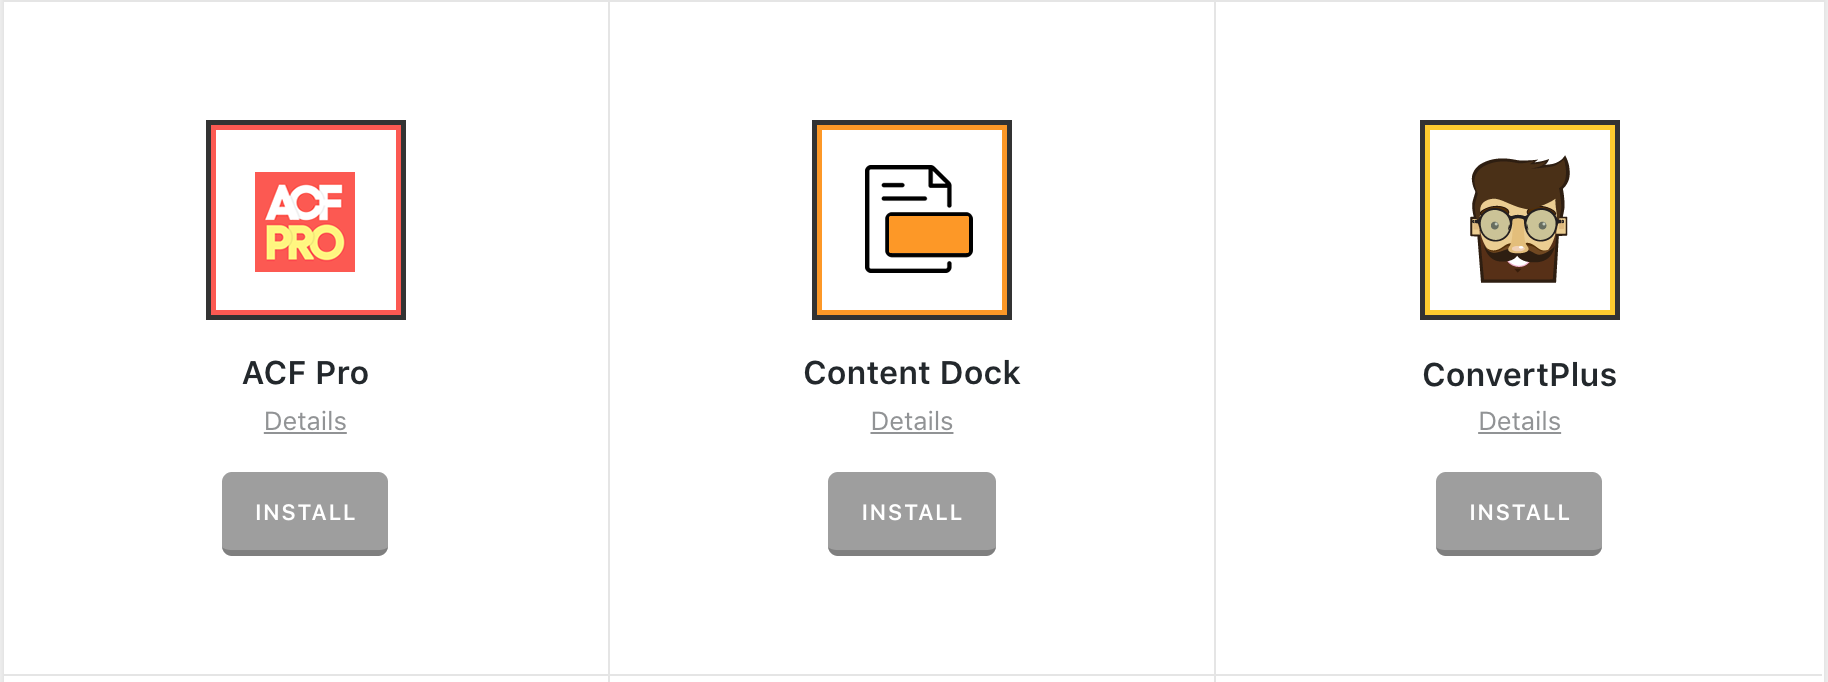
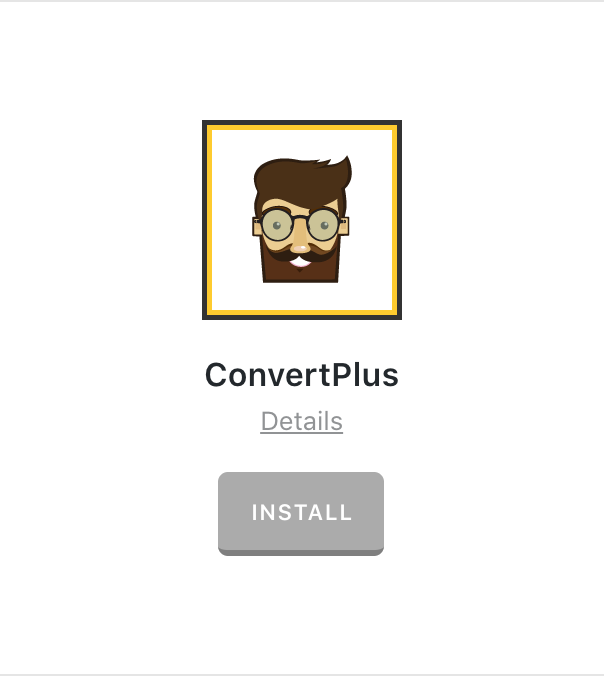
Click on Install button under ConvertPlus
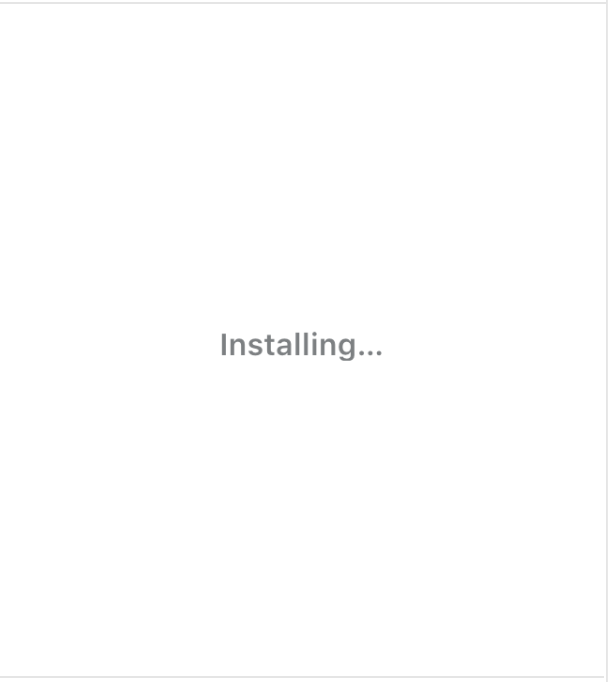
The box should show Installing… indicating that the extension is being installed.
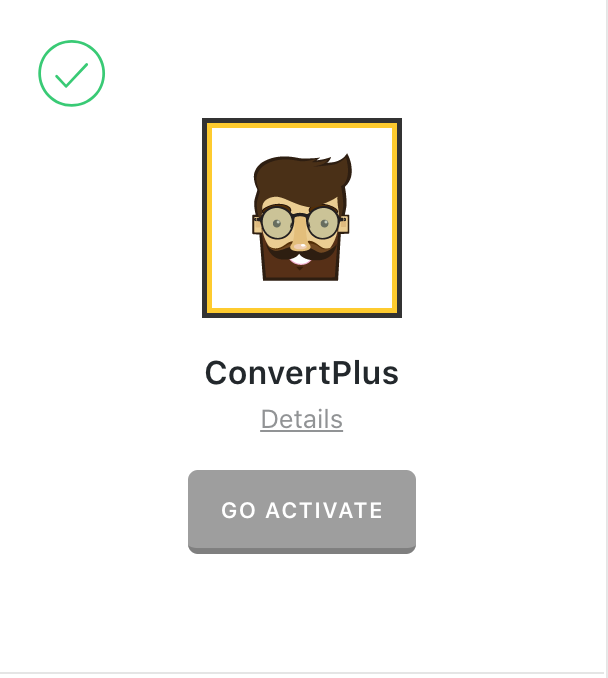
Once installed, click on the Go Activate button under the ConvertPlus icon.
You will be redirected to your Installed Plugins list. Click on the Activate link under the Convert Plus plugin name.

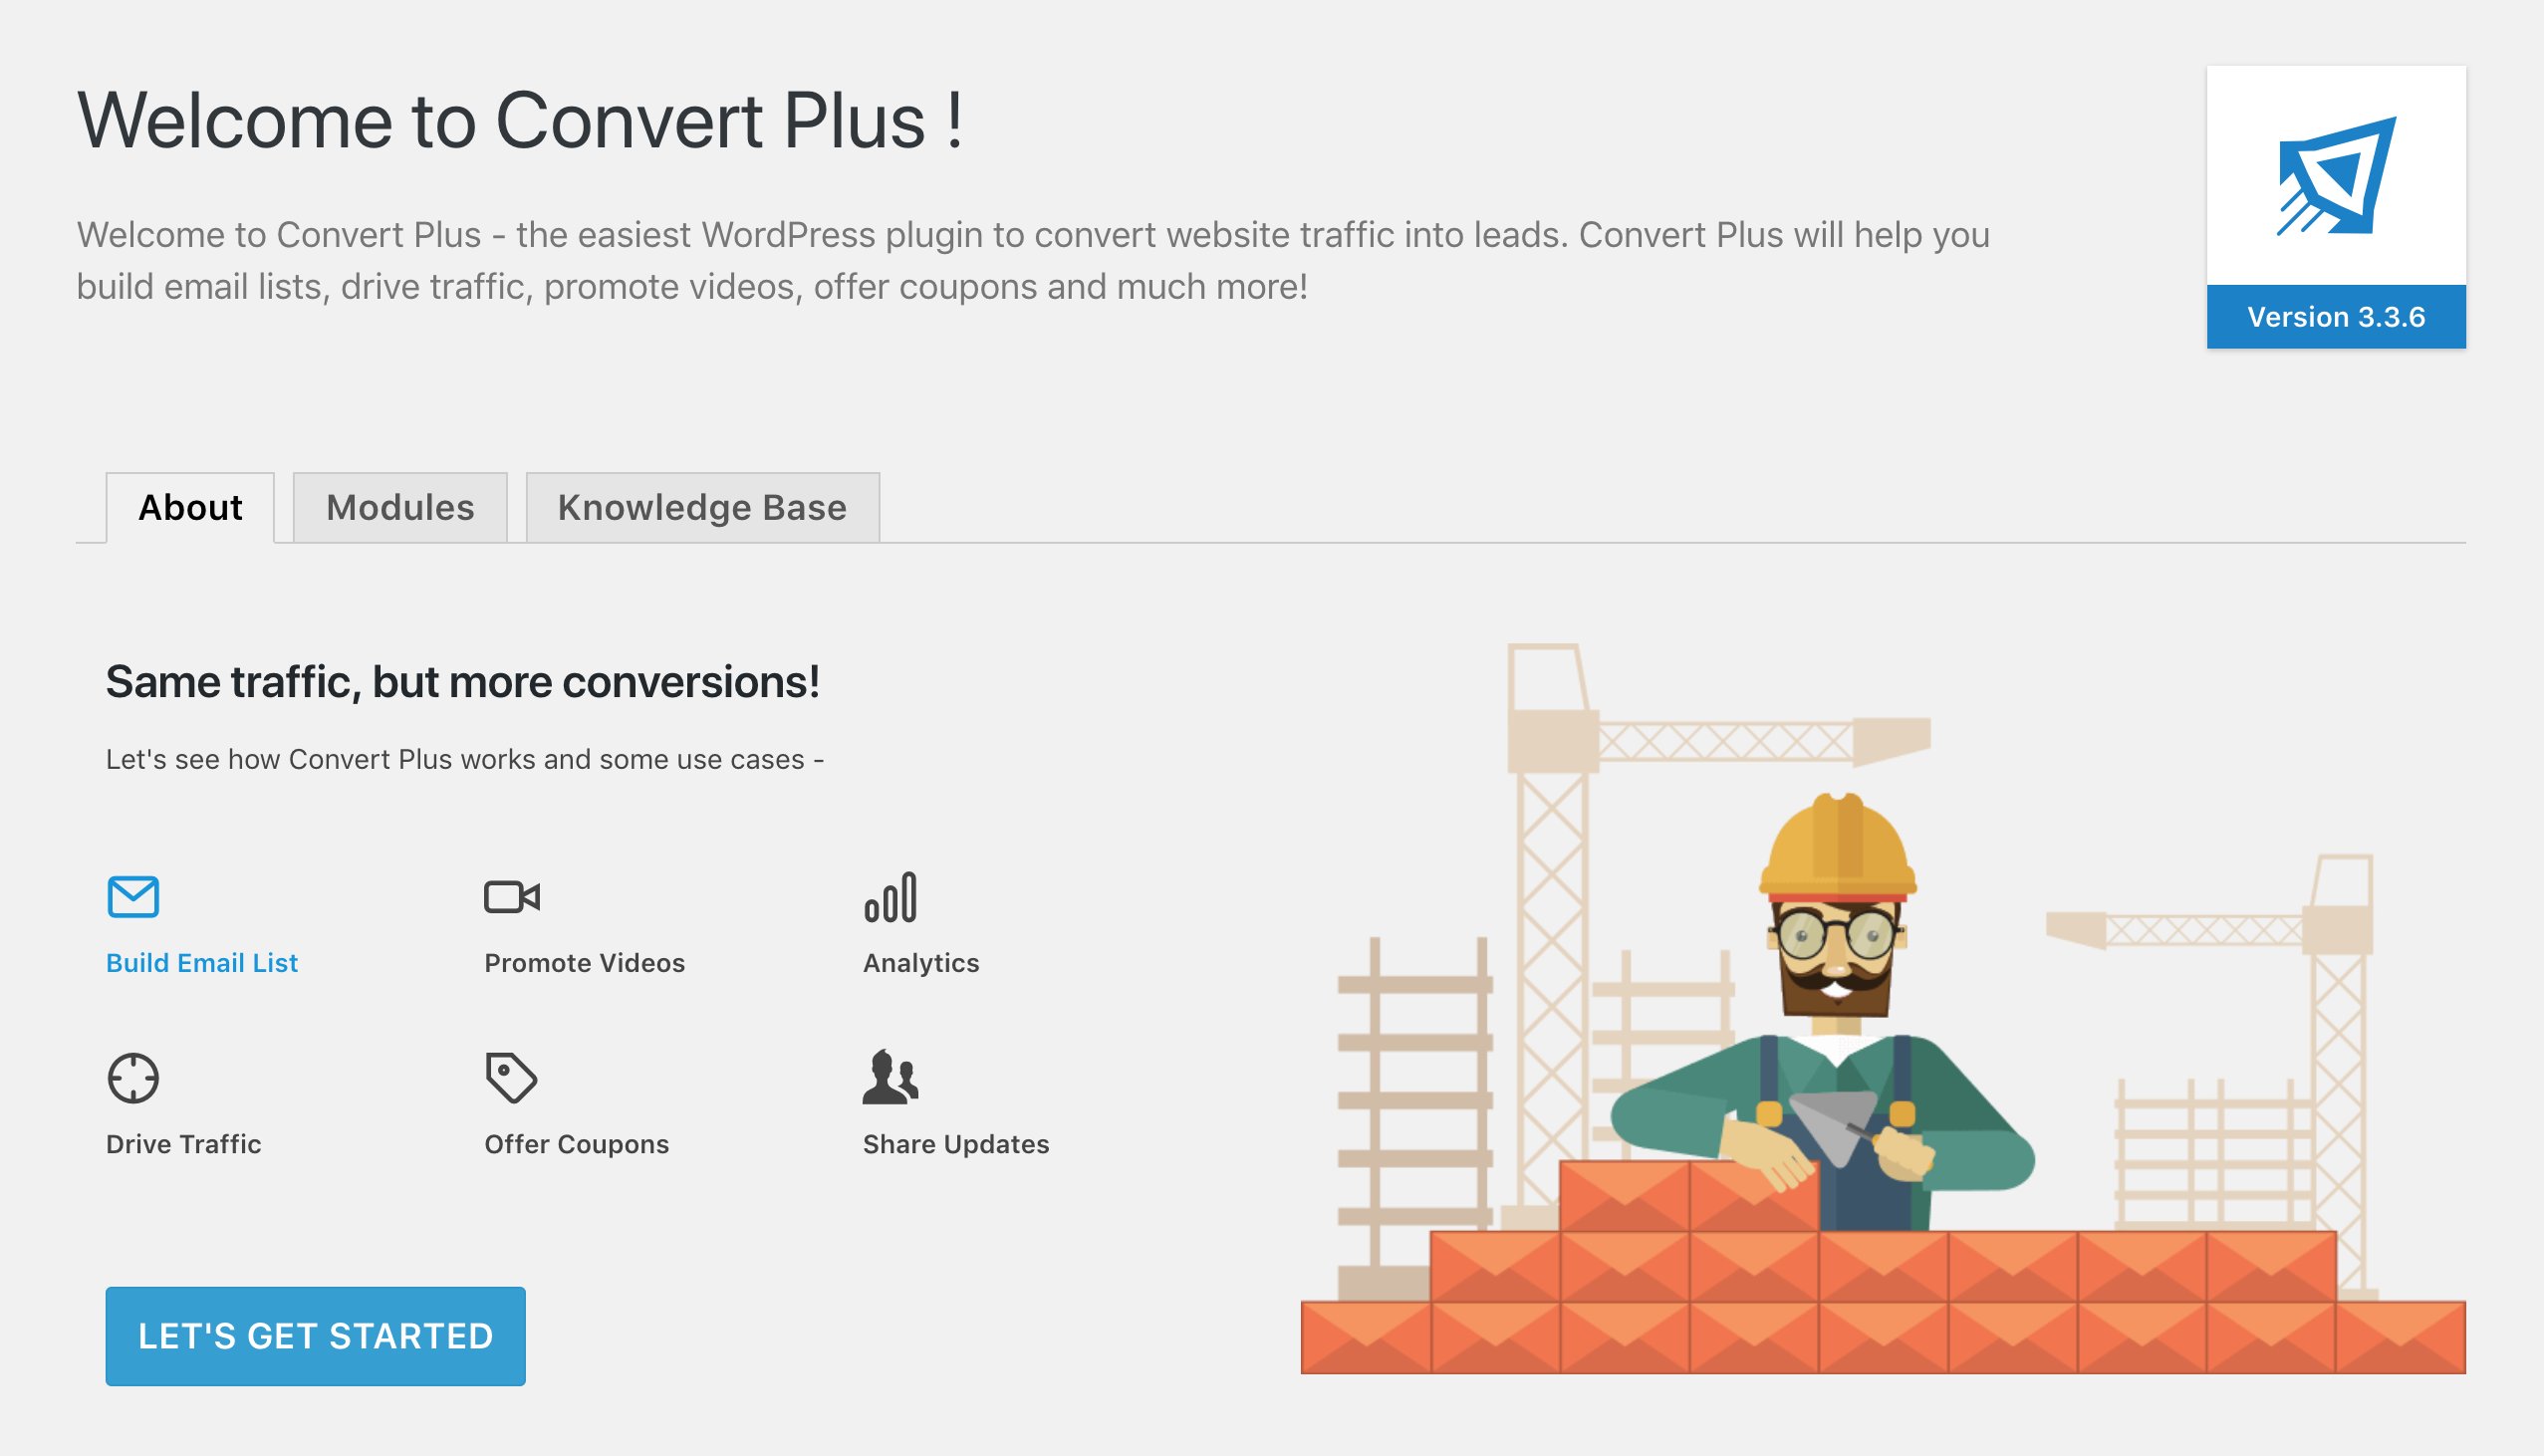
Now, you will see the Convert Plus dashboard. Start off by clicking on the Let’s Get Started button.
Step 2: Create Your First Popup
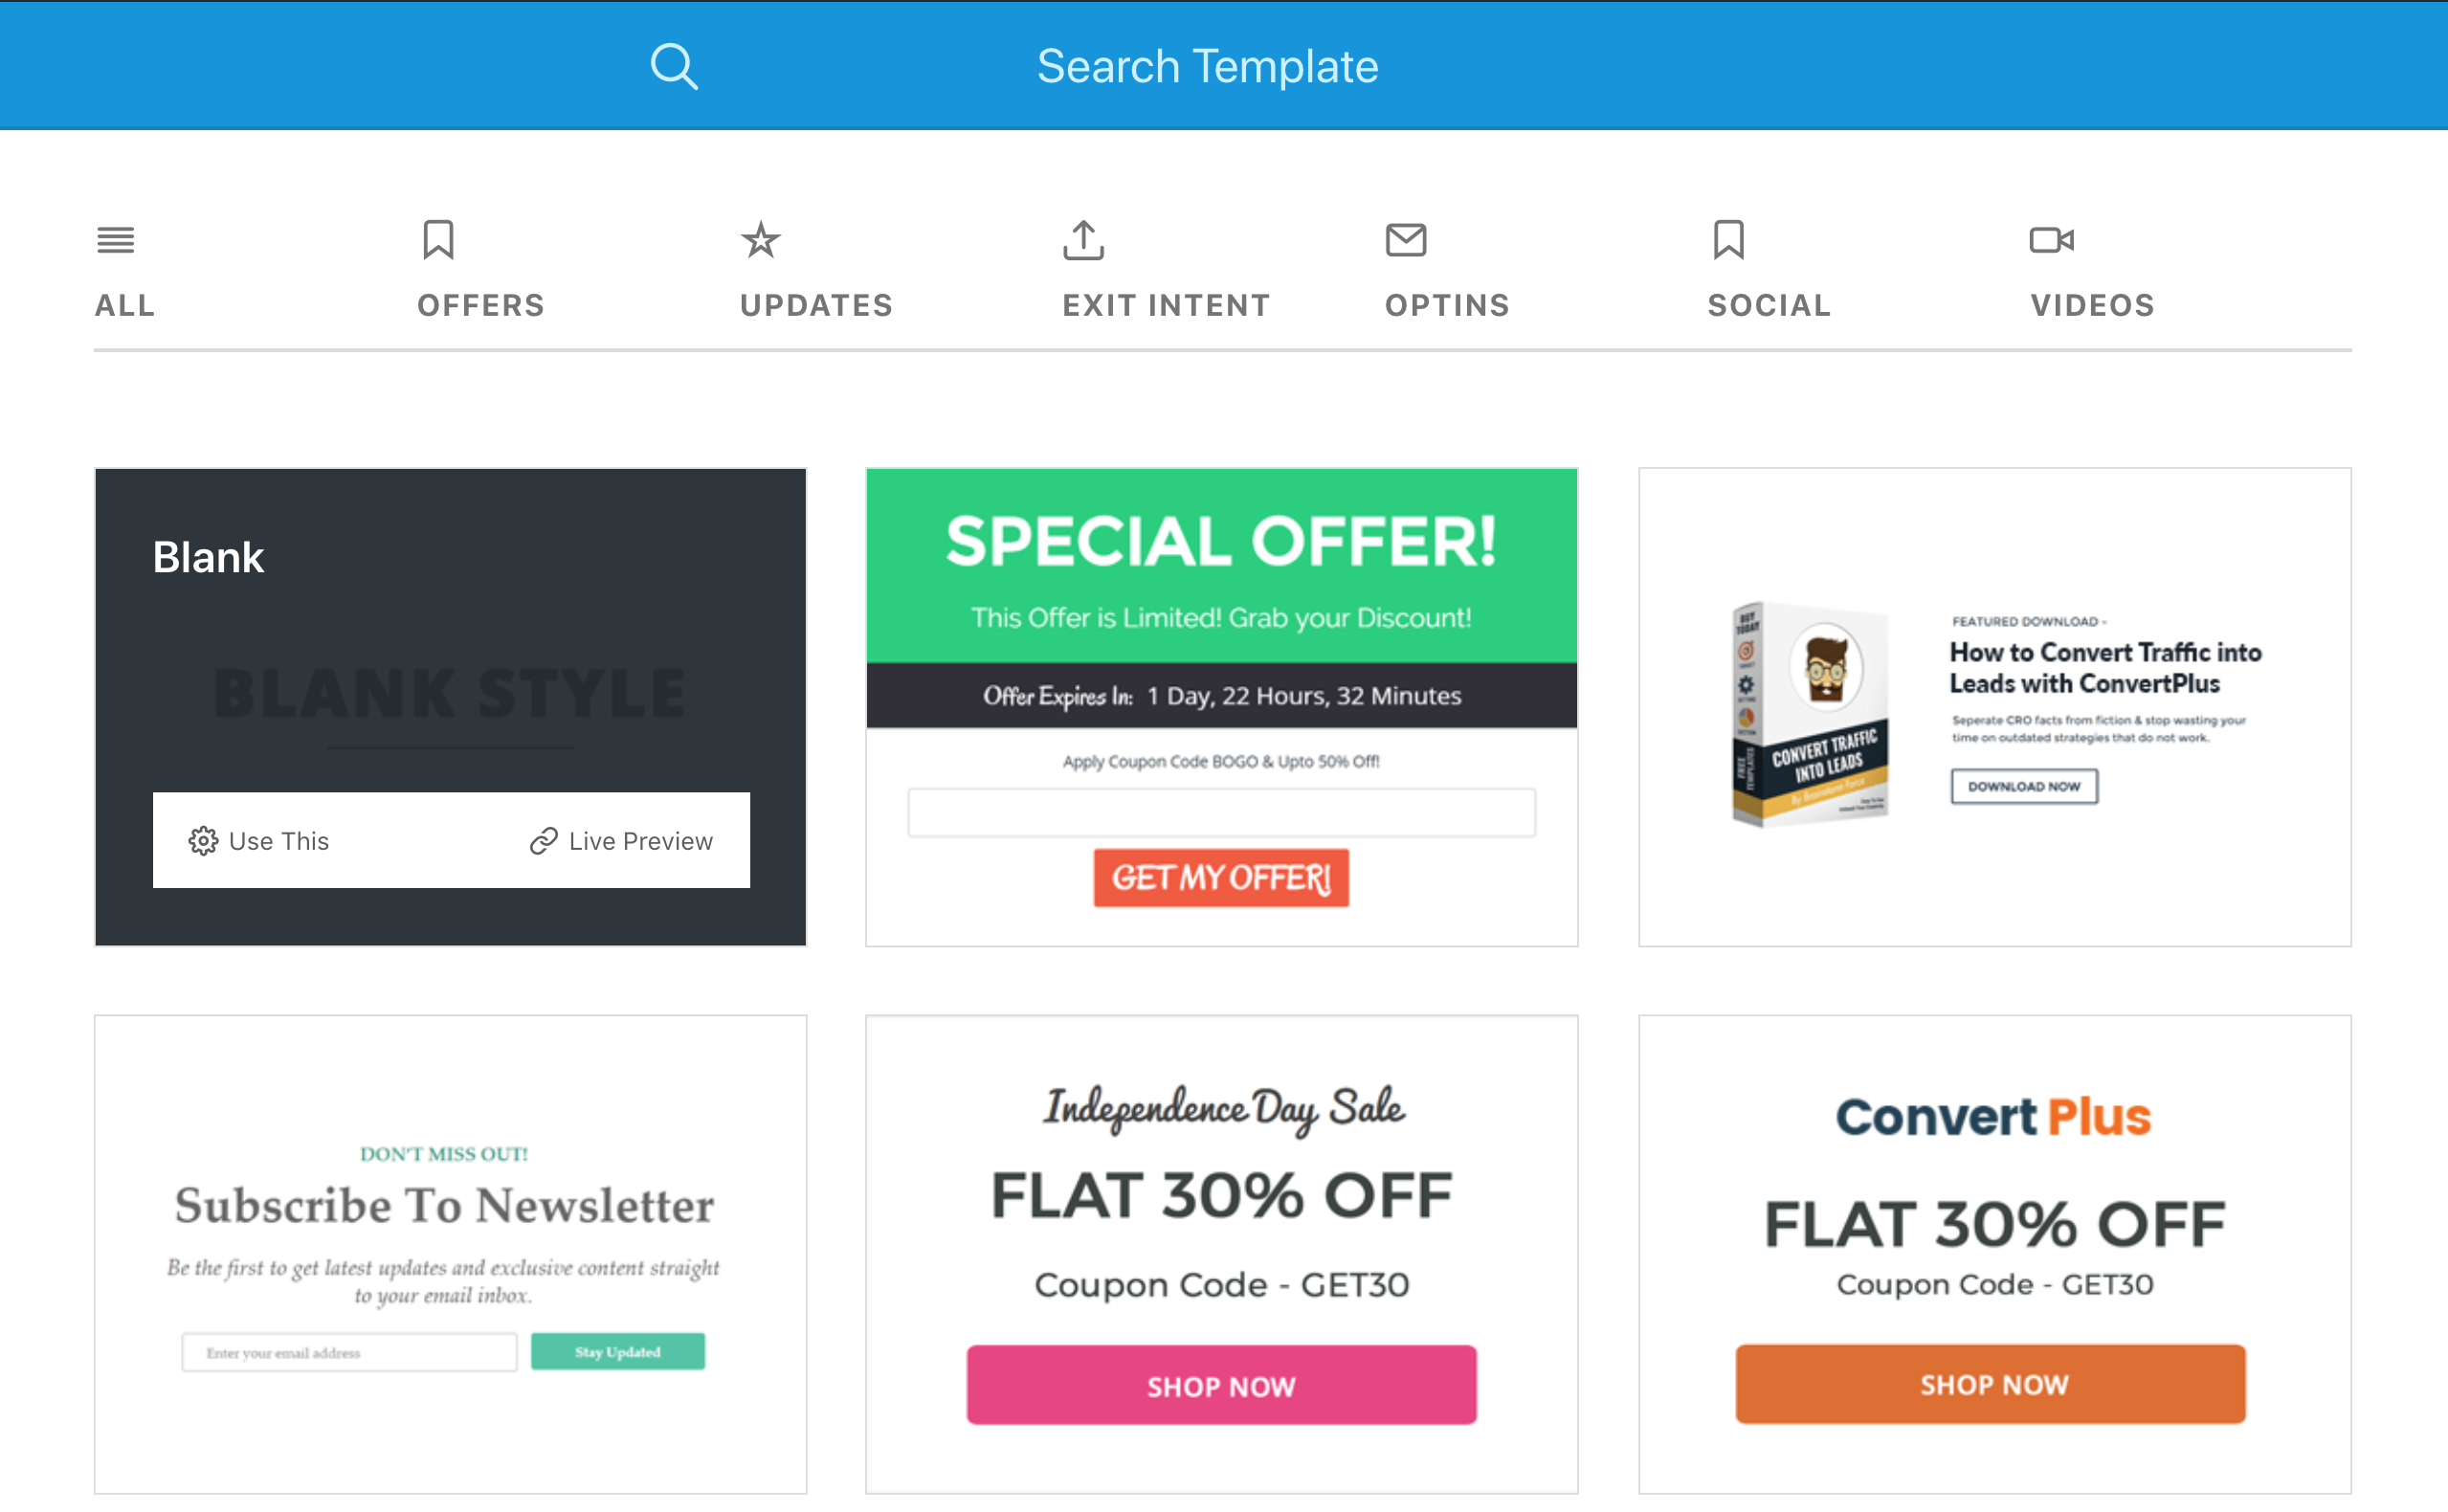
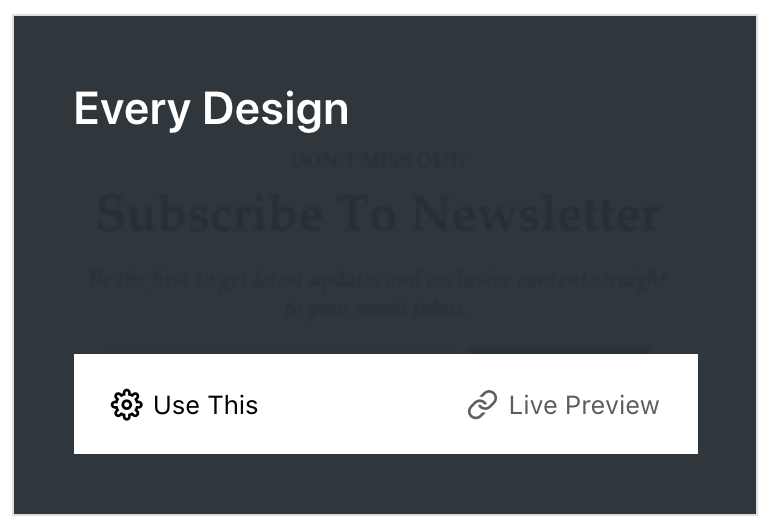
You can start off creating your first popup by hovering over any of the blocks that are shown and clicking on the Use This link. We’re going to use the Every Design template for this example.
The Every Design template looks like this:
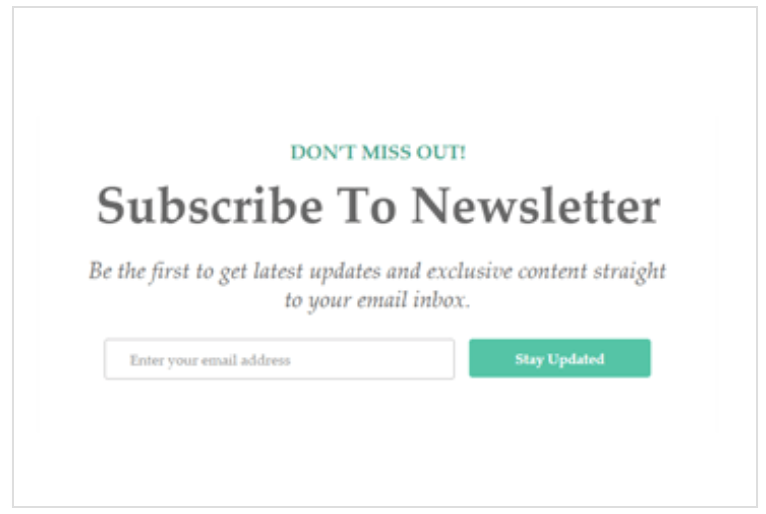
Hover over Every Design and click on the Use This link.
This should redirect you to the following page. This displays the modal that you will be editing.

We’re going to customize the form that appears in this modal so that it’s more useful for us. To do this, we will click on the Submission icon (the Circular icon shown on the far left of the sidebar). Once on the Submission tab, you will see the following:
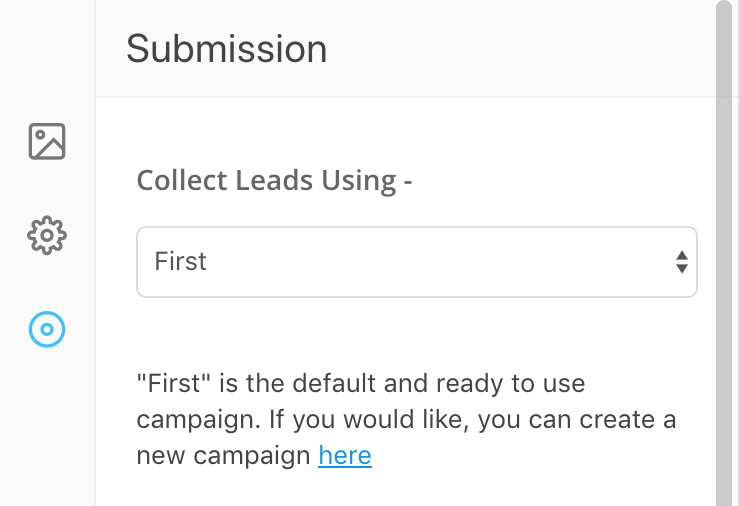
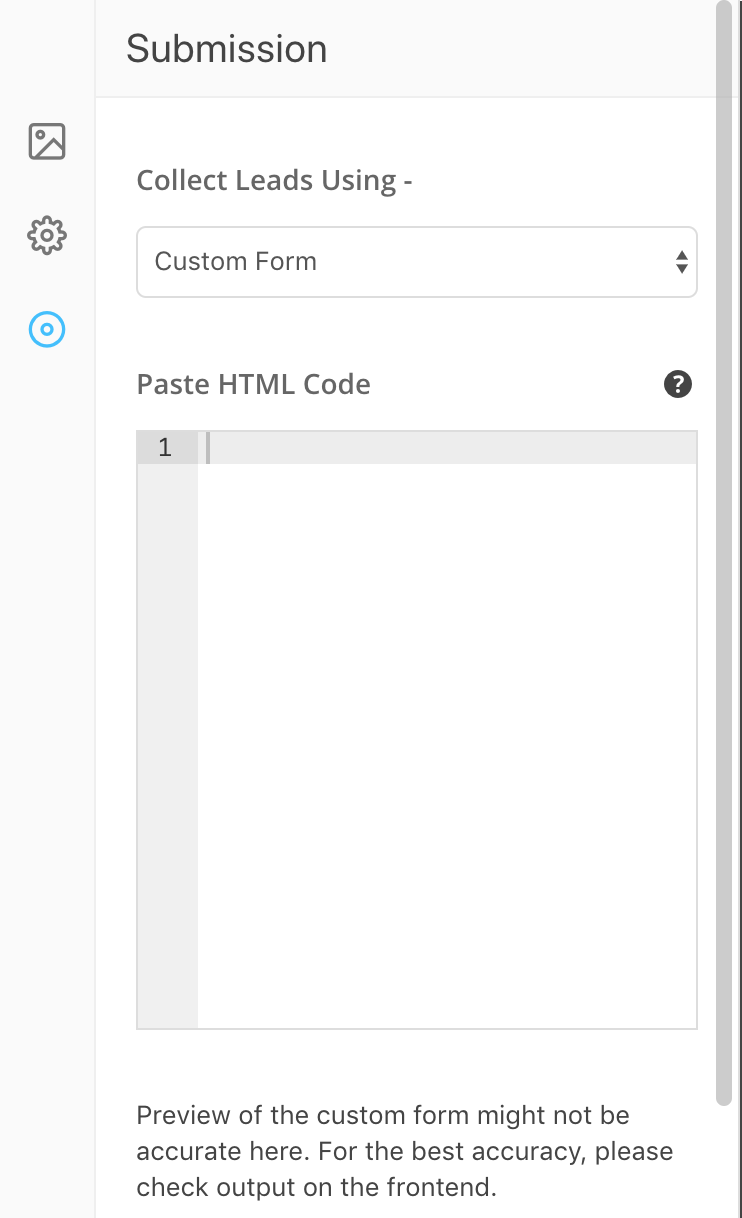
Change the Collect Leads Using select box to Custom Form.
Step 3: Add a MailChimp Newsletter Form to Your Popup
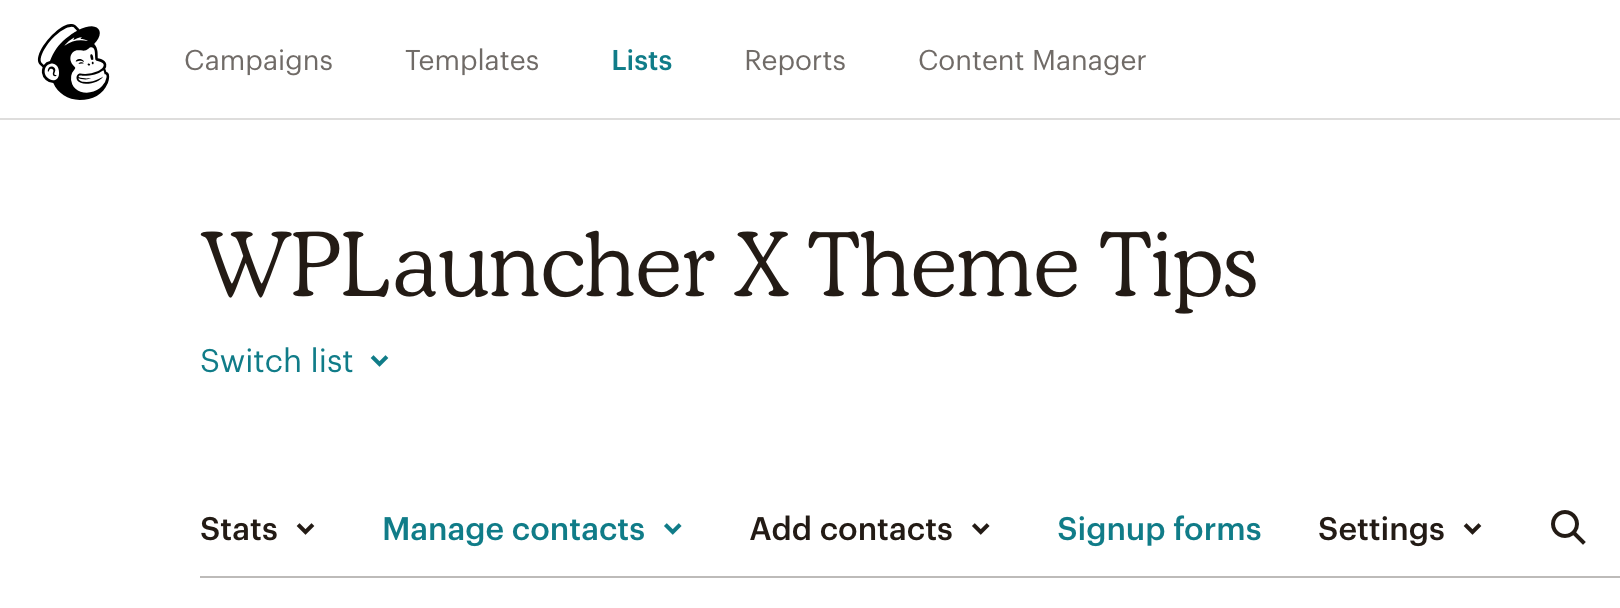
Now, open up a separate tab in your browser and login to your MailChimp account. If you don’t have a MailChimp account, create one and login to it. Then, create a new list. Go to your Lists page and click on the list that you want to work with.
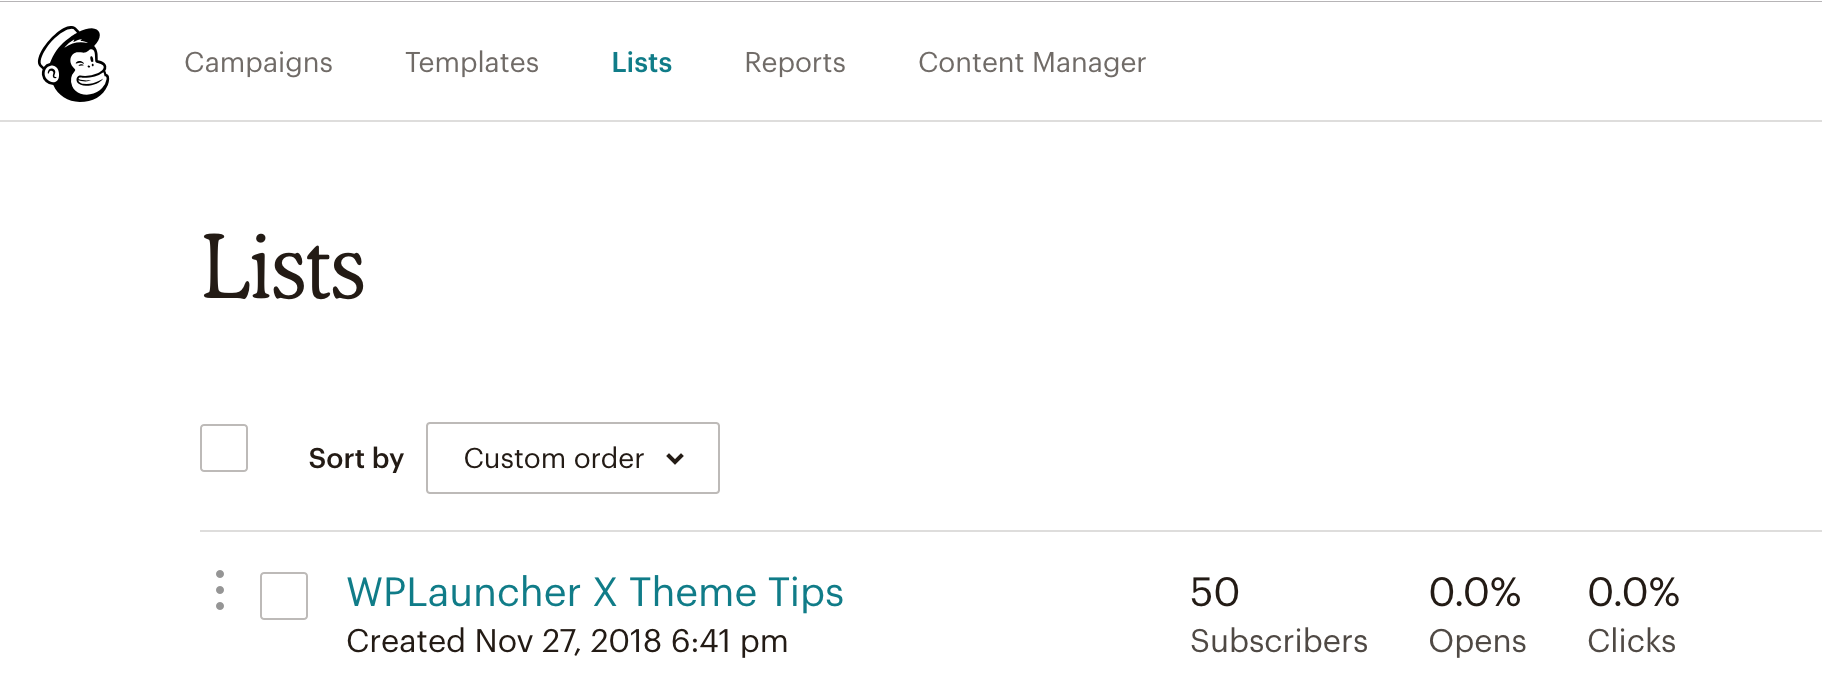
Now that you’re seeing the list that you want users to be subscribed to when they submit the form in the popup, click on the Signup forms link.
This will show you a number of options but click on the Select button next to Embedded forms.

I like to only show the required fields for this form (otherwise it’s just more of a barrier for customers to subscribe to your newsletter). So, click on the radio button next to Show only required fields.
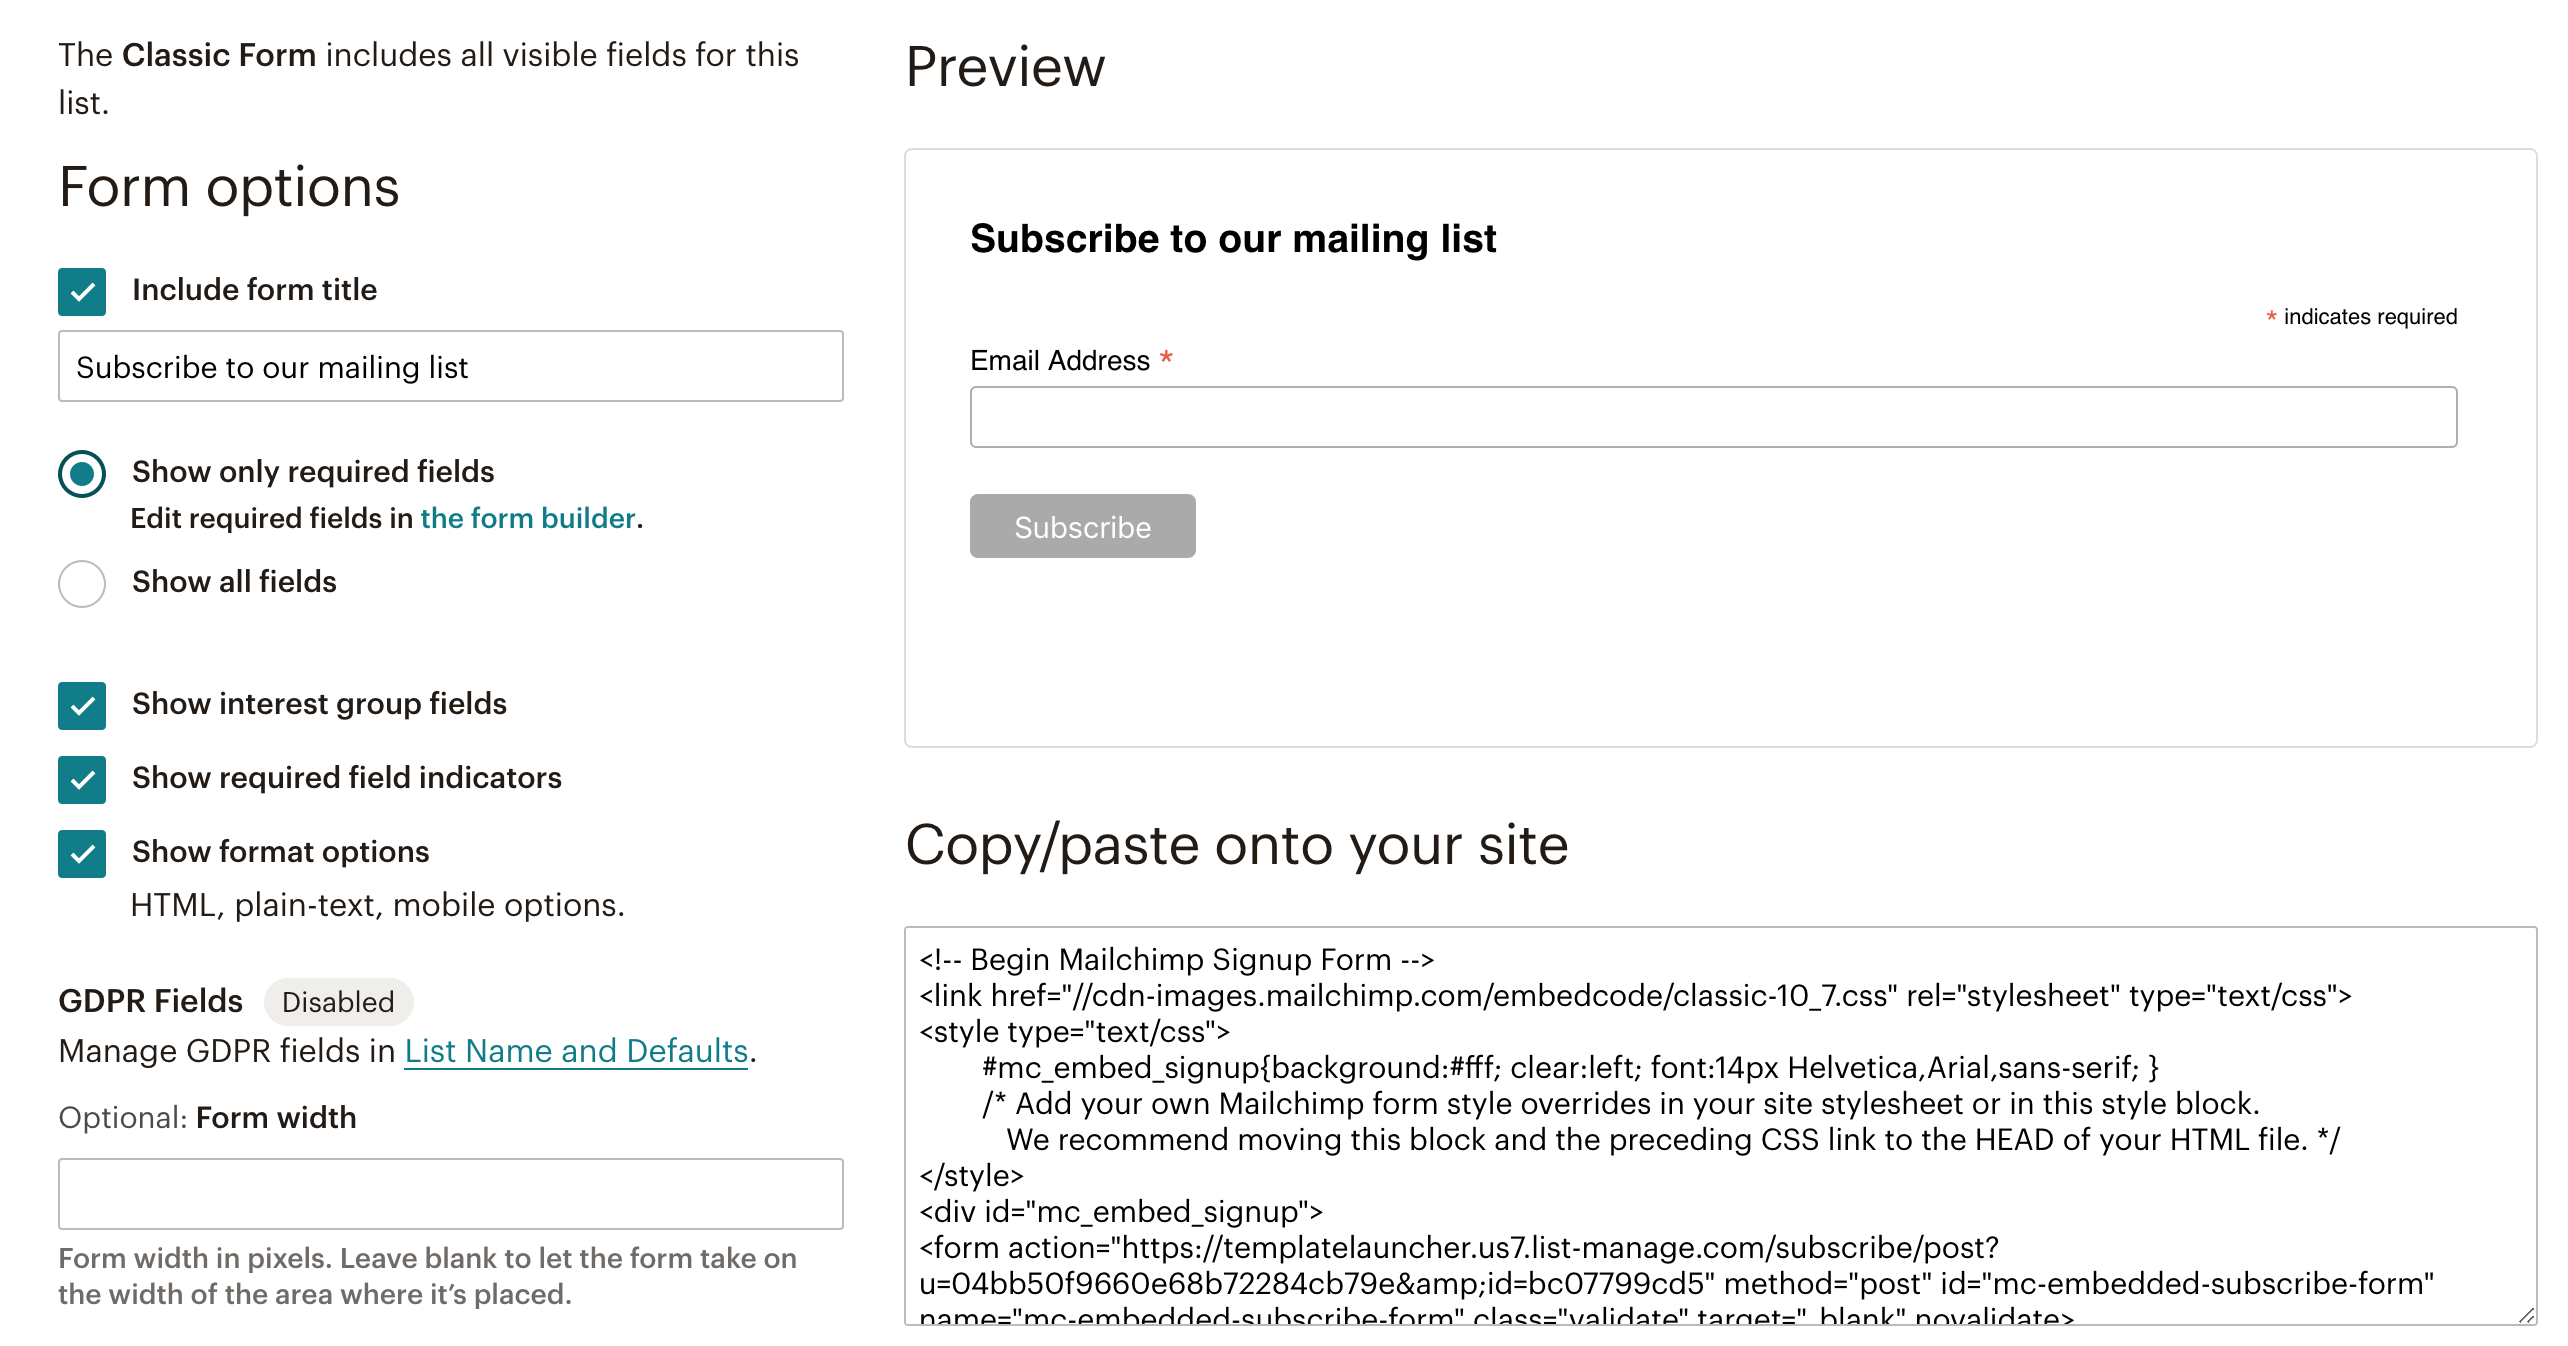
Next, copy the code within the text area called Copy/paste onto your site.
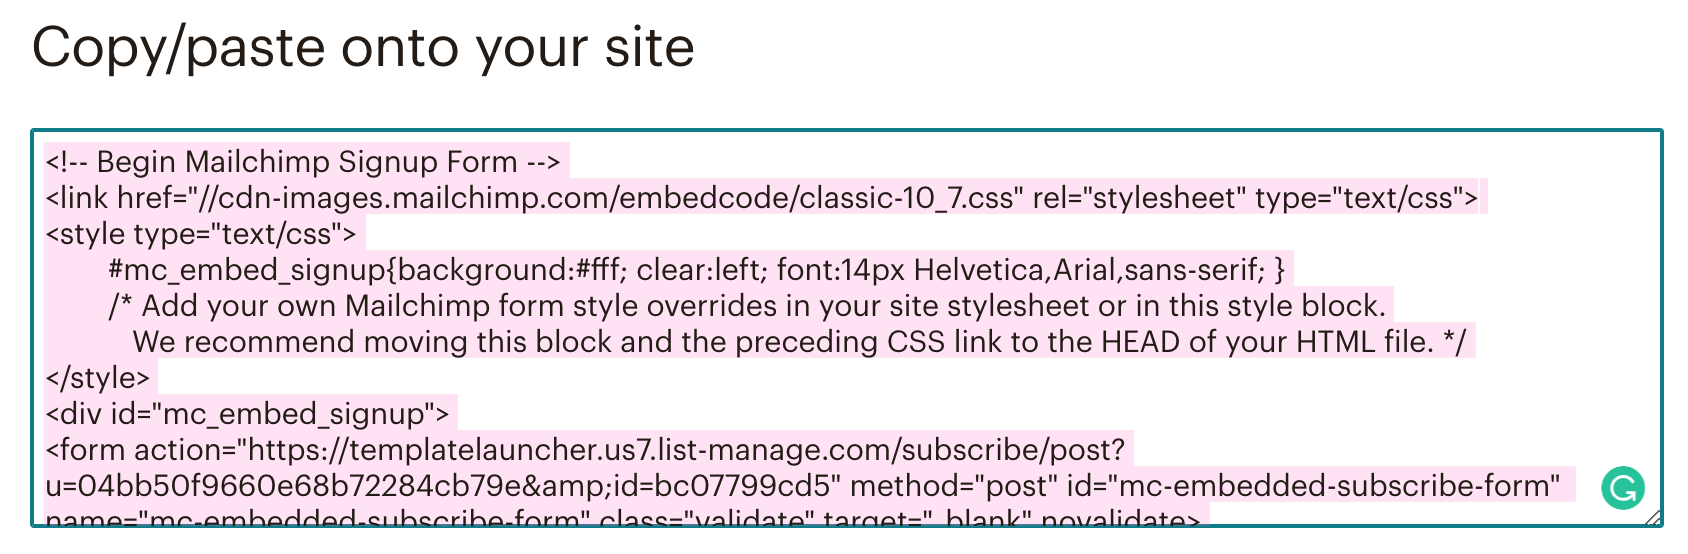
Go back to the tab in your browser associated with your X Theme Dashboard. Paste your MailChimp Sign Up form into the Paste HTML Code text area within the Submission section.

Step 4: Manually Launch the Popup with a Link
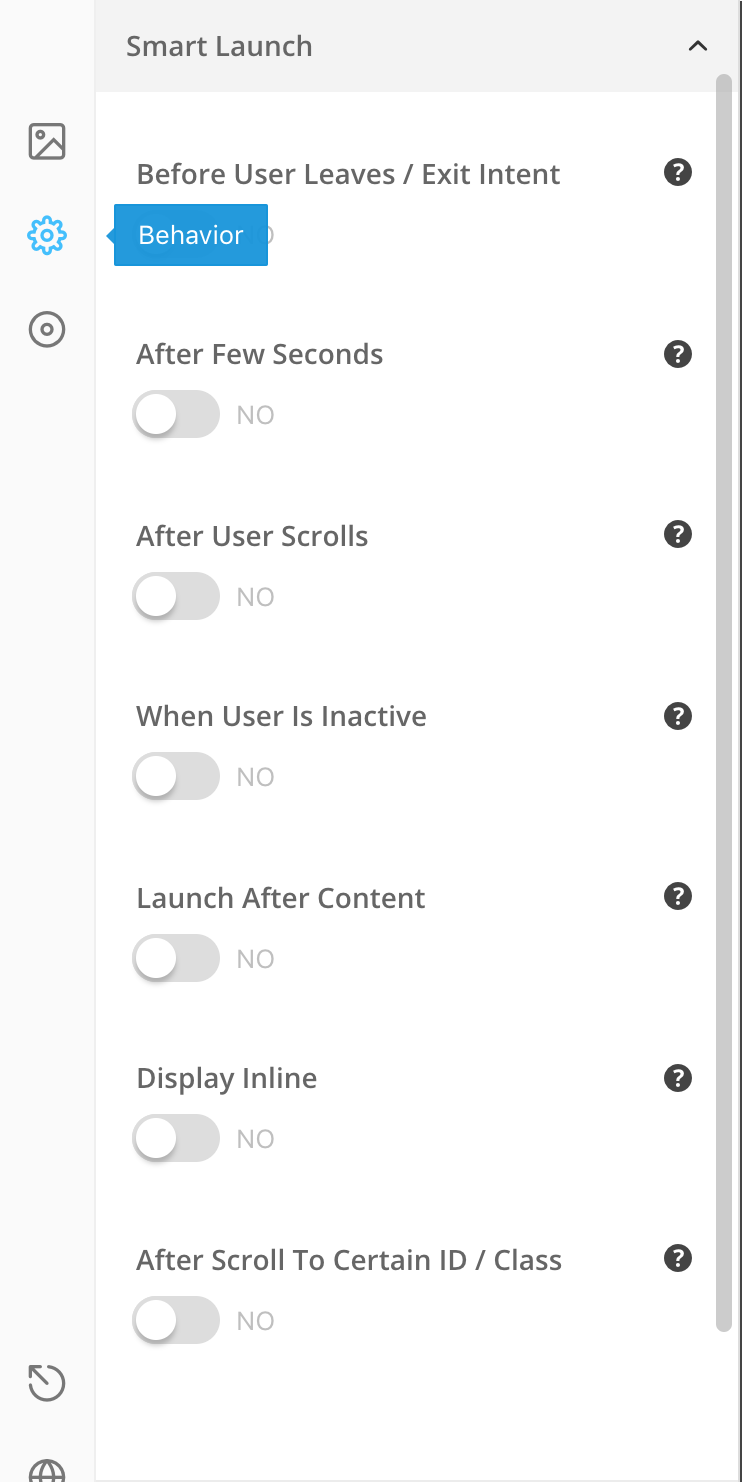
This step helps you setup when/how you want this popup to be displayed. Click on the Gear icon associated with Settings in the far left sidebar. This will bring up the following Behavior section. Click on the Smart Launch link.
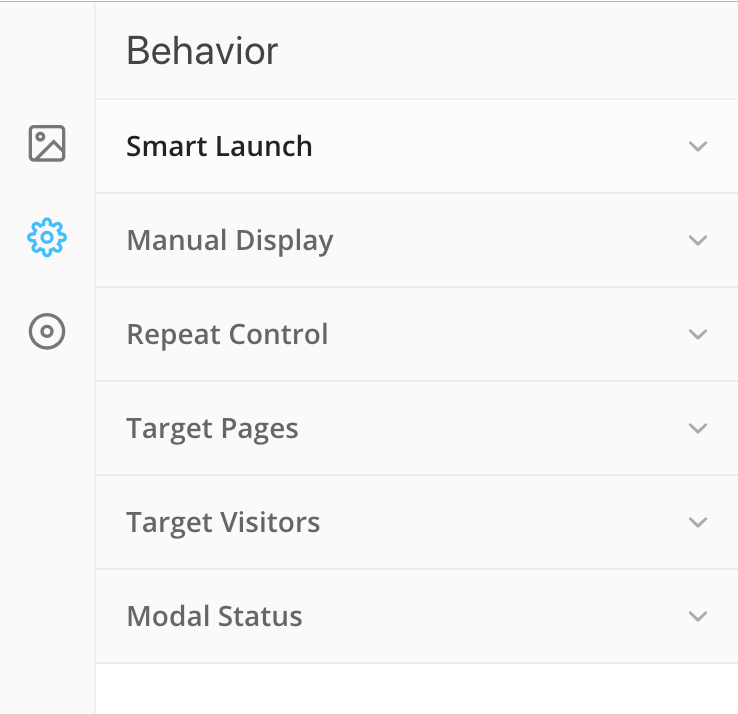
By default, your popup will display after a few seconds. You could leave it this way or select any of the other options shown below. However, we’re going to show you how you can launch a popup after clicking on a link. So, to do this, click on the button underneath After Few Seconds and set that to No.
Then, click on the Manual Display link.

The Manual Display section should look like this:
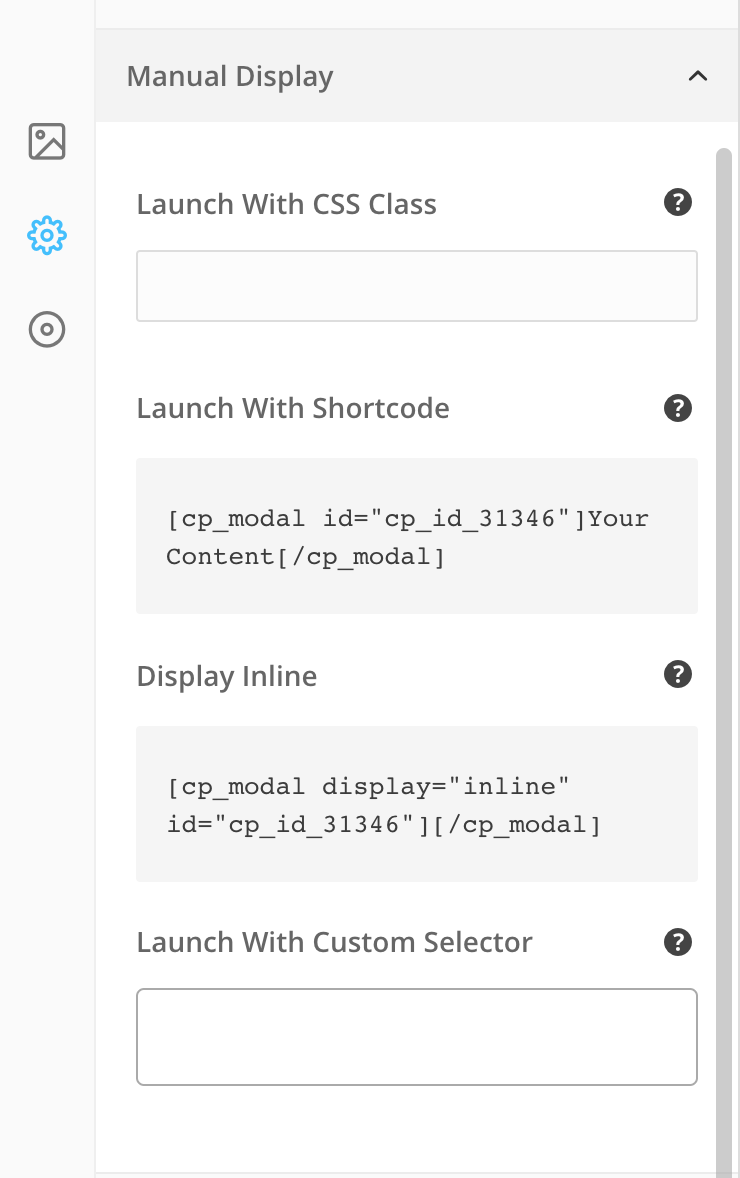
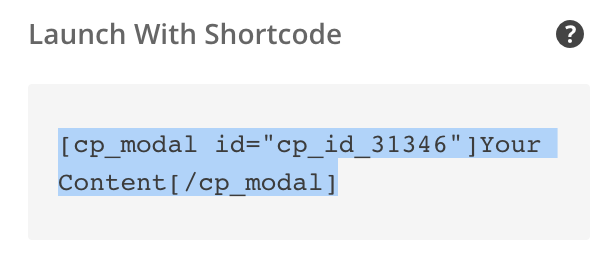
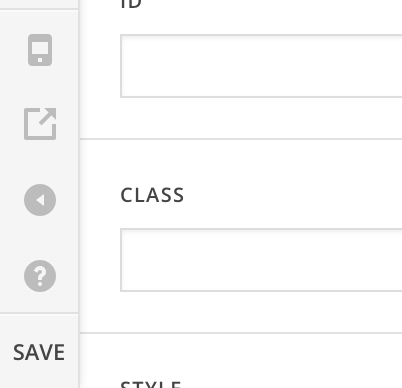
Copy the shortcode that appears after Launch With Shortcode. This shortcode can be pasted into any page and when clicked on will launch the popup. You can also add a CSS class or a custom selector to launch the popup from an HTML element as well.
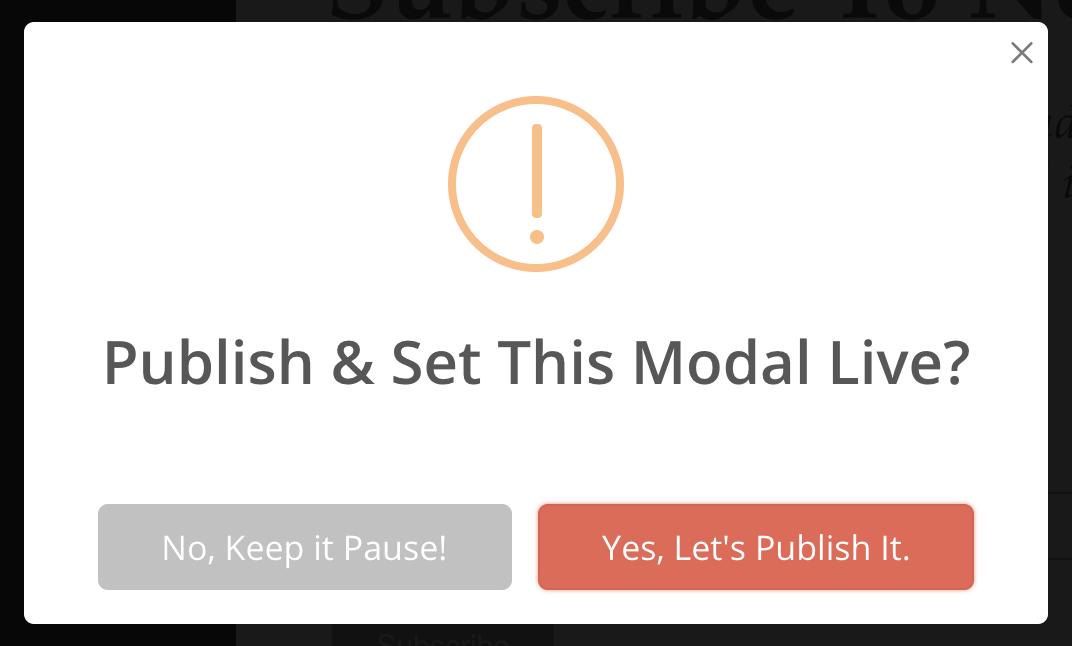
Click on the Green icon at the bottom of the left sidebar. This will save the modal.

Click on the Yes, Let’s Publish It button on the modal that pops up.
Step 5: Add the Popup to a Page
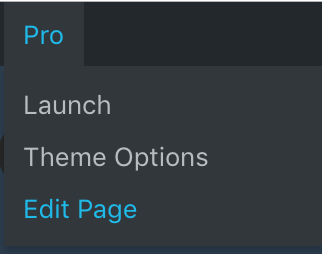
Now, you can paste the shortcode that you copied onto any page of your WordPress site. Navigate to the page where you want to add a button that launches a modal. Hover over Pro in the top nav bar and click on Edit Page.
Then, click on the section that you want to add the modal launch button or link to. Click on Elements in the left sidebar.
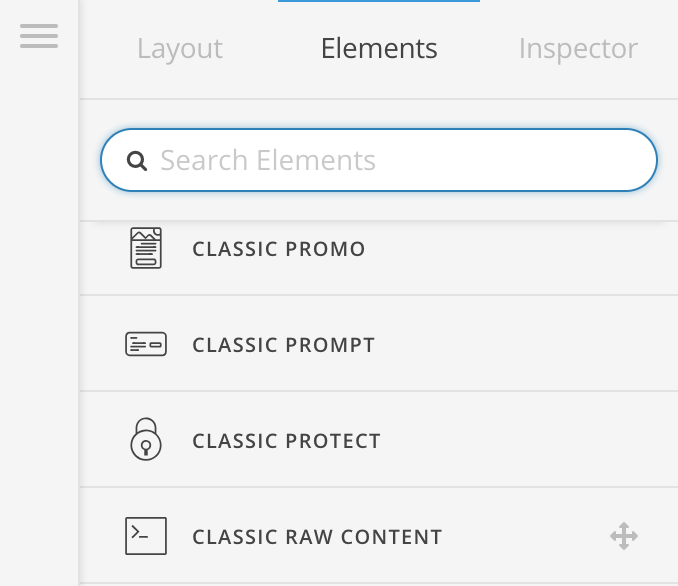
Drag the Classic Raw Content element into the section that you want to add the modal launch button or link.
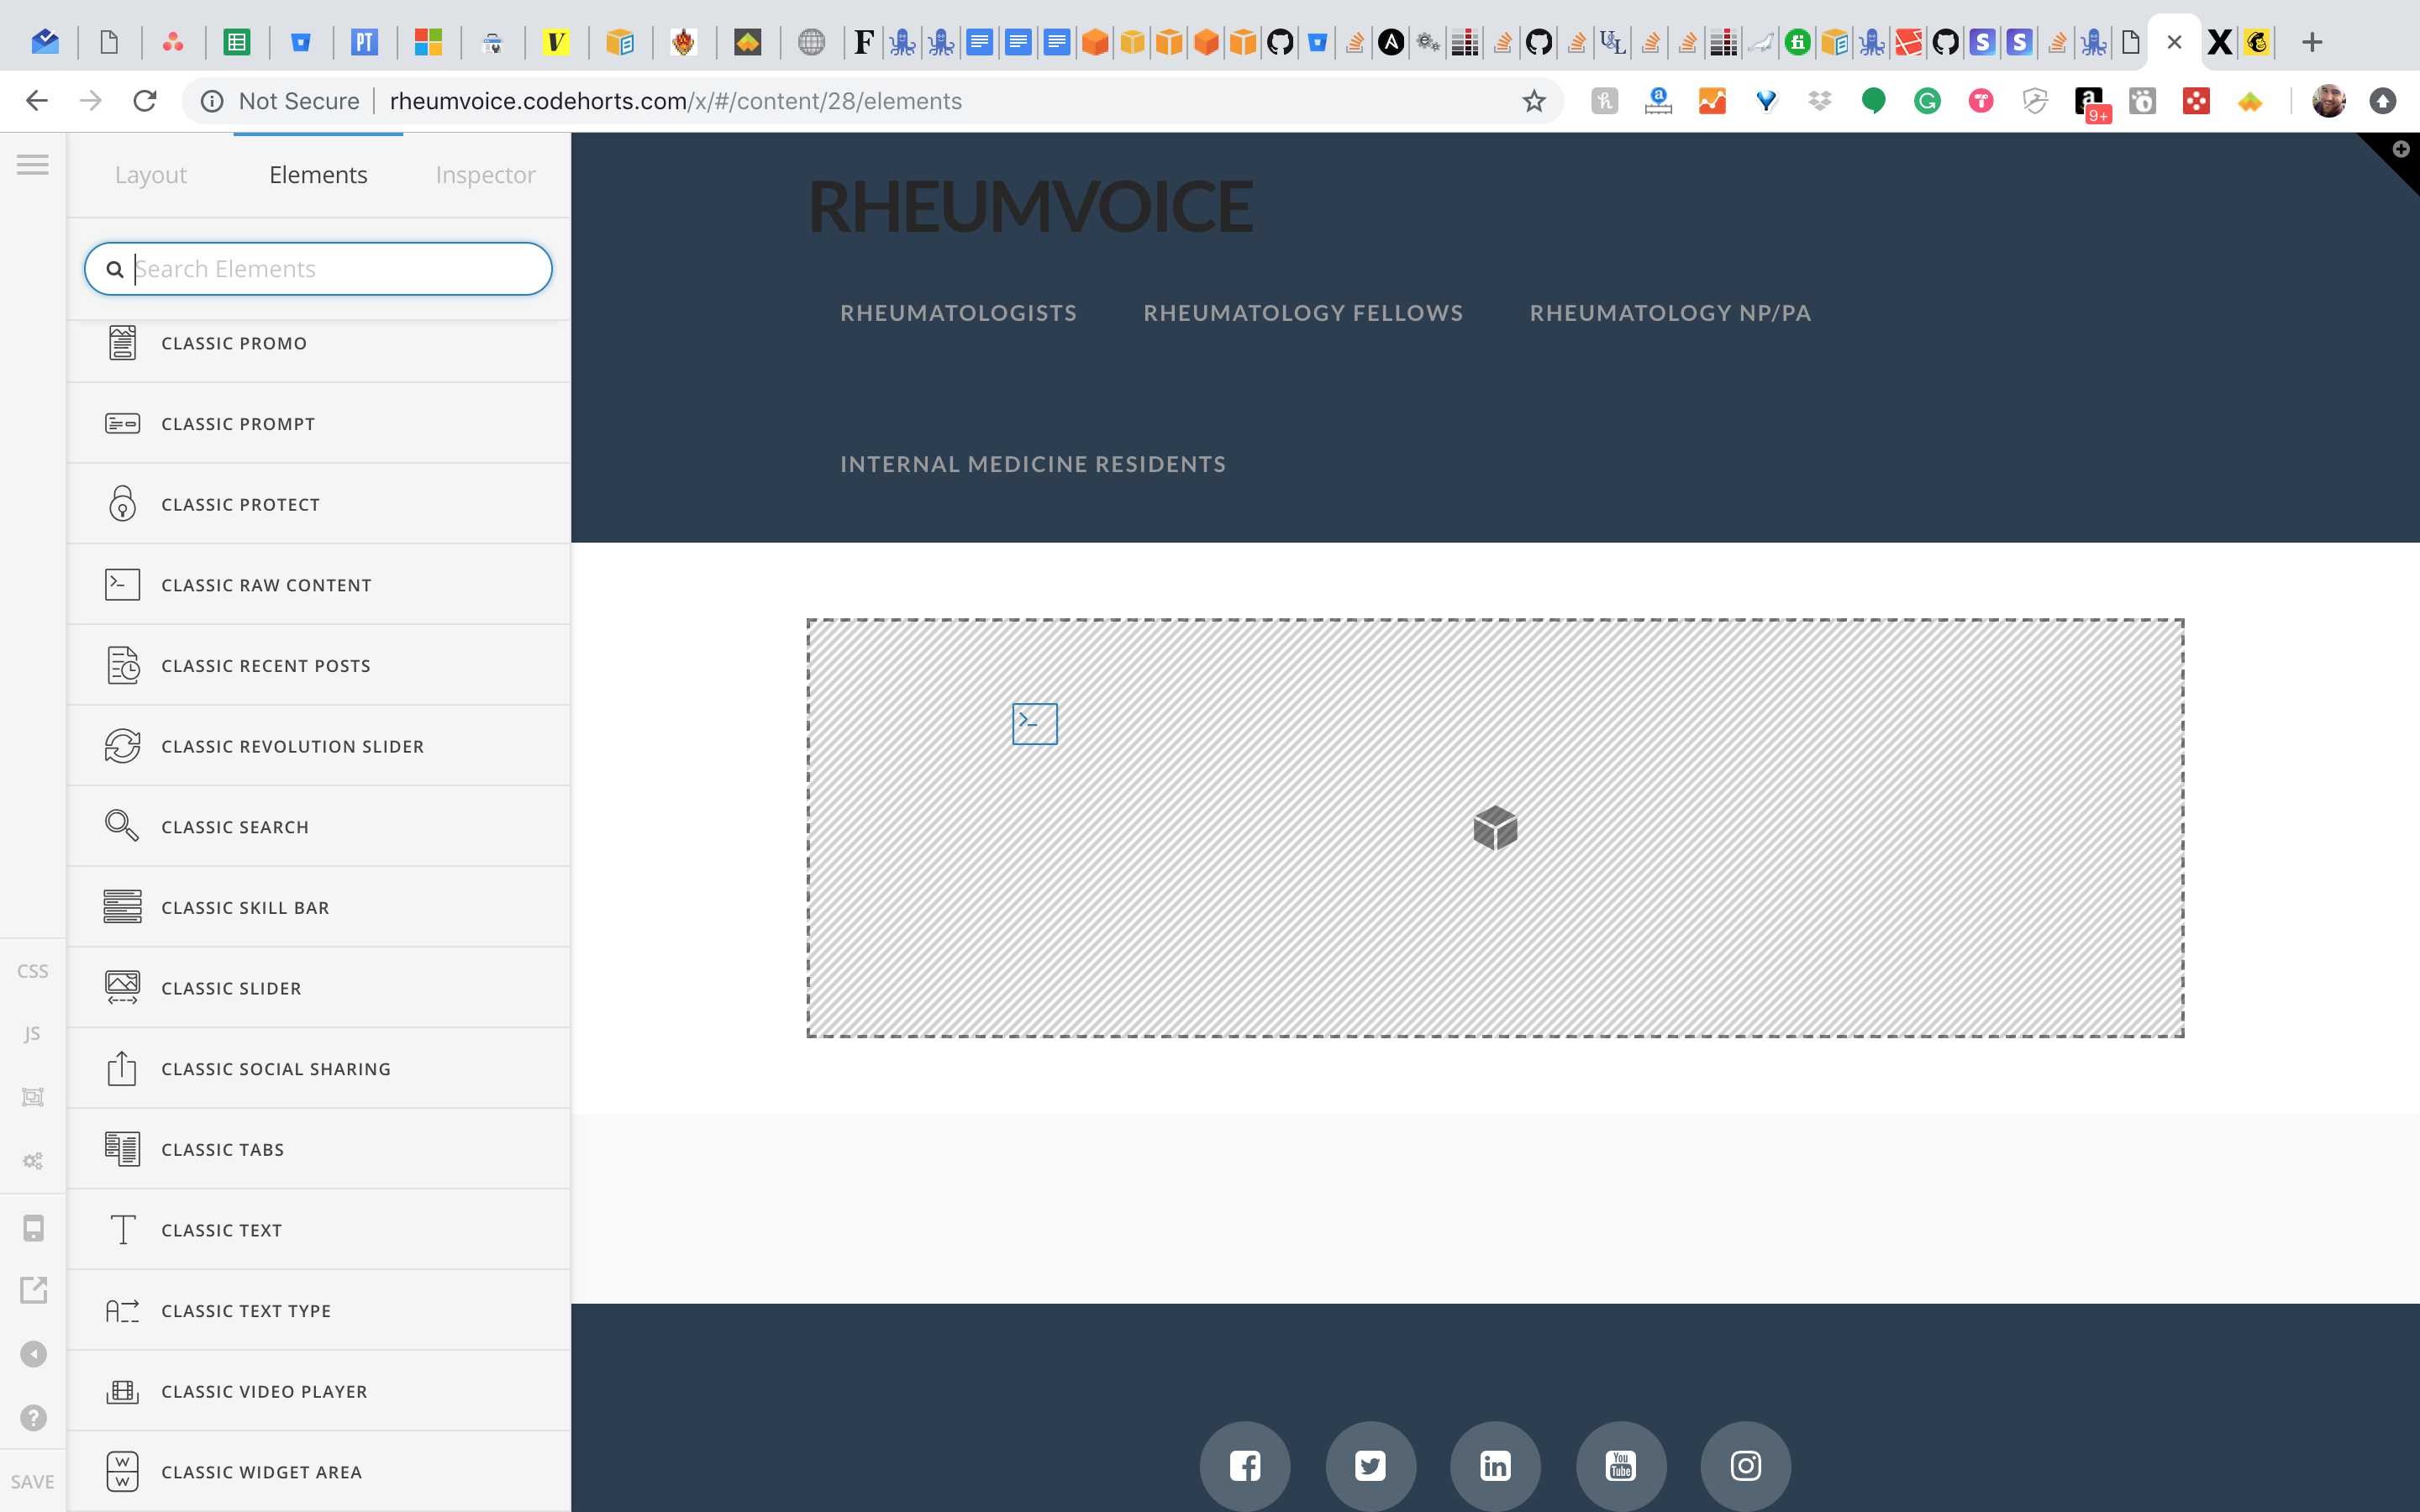
Paste the shortcode into the content text area.
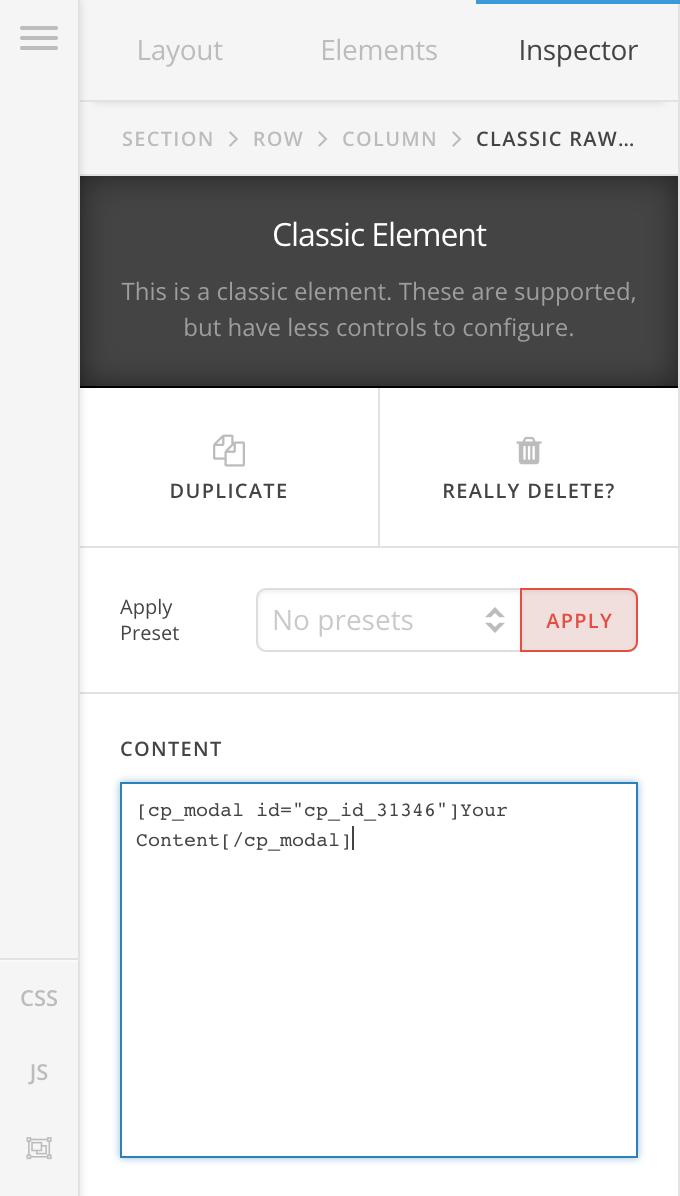
Click on the Save button in the bottom left hand corner of the page.
You should now see the Your Content link in the section that you dragged the classic raw content element into.

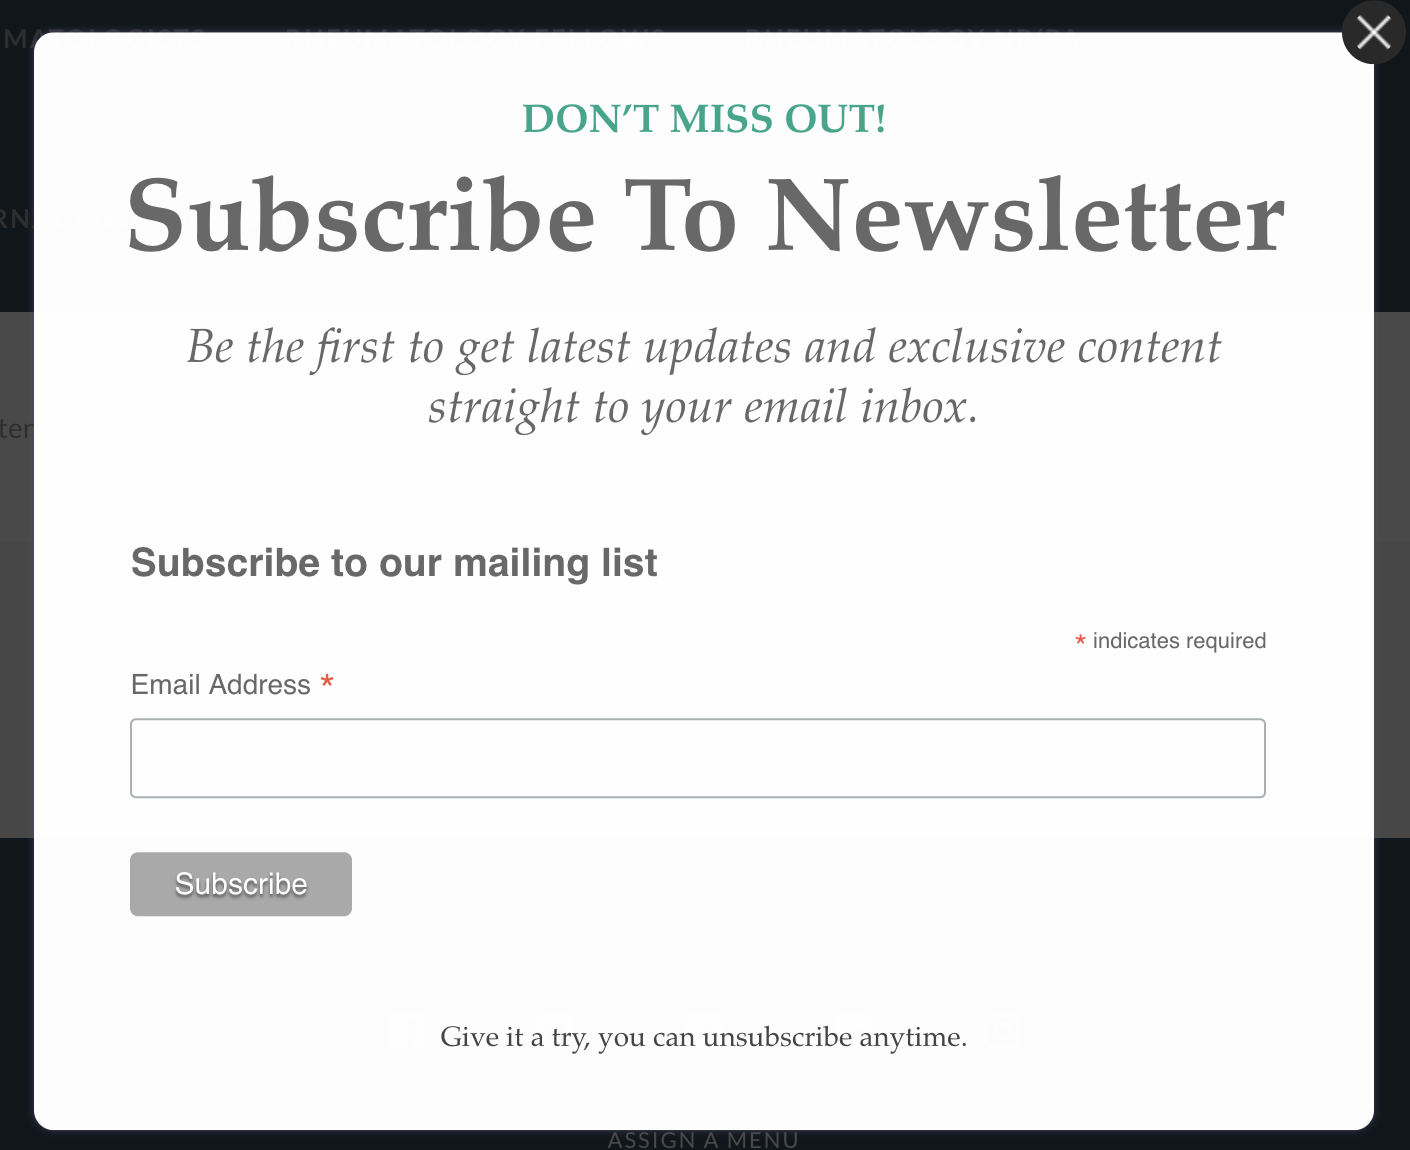
If you click on Your Content, the modal that you created should show up. This popup should include the MailChimp newsletter sign up form so any customers that click on the Your Content link will be shown this modal and can subscribe to your MailChimp Newsletter.
Step 6: Edit the Popup
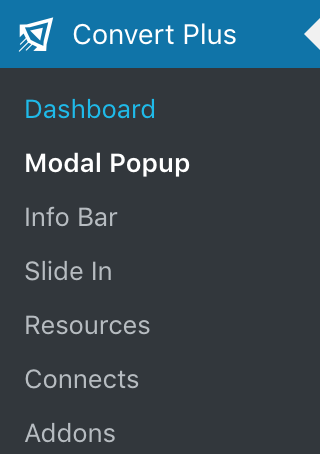
If you want to edit the popups in the future, hover over Convert Plus in the left sidebar and click on Modal Popup.
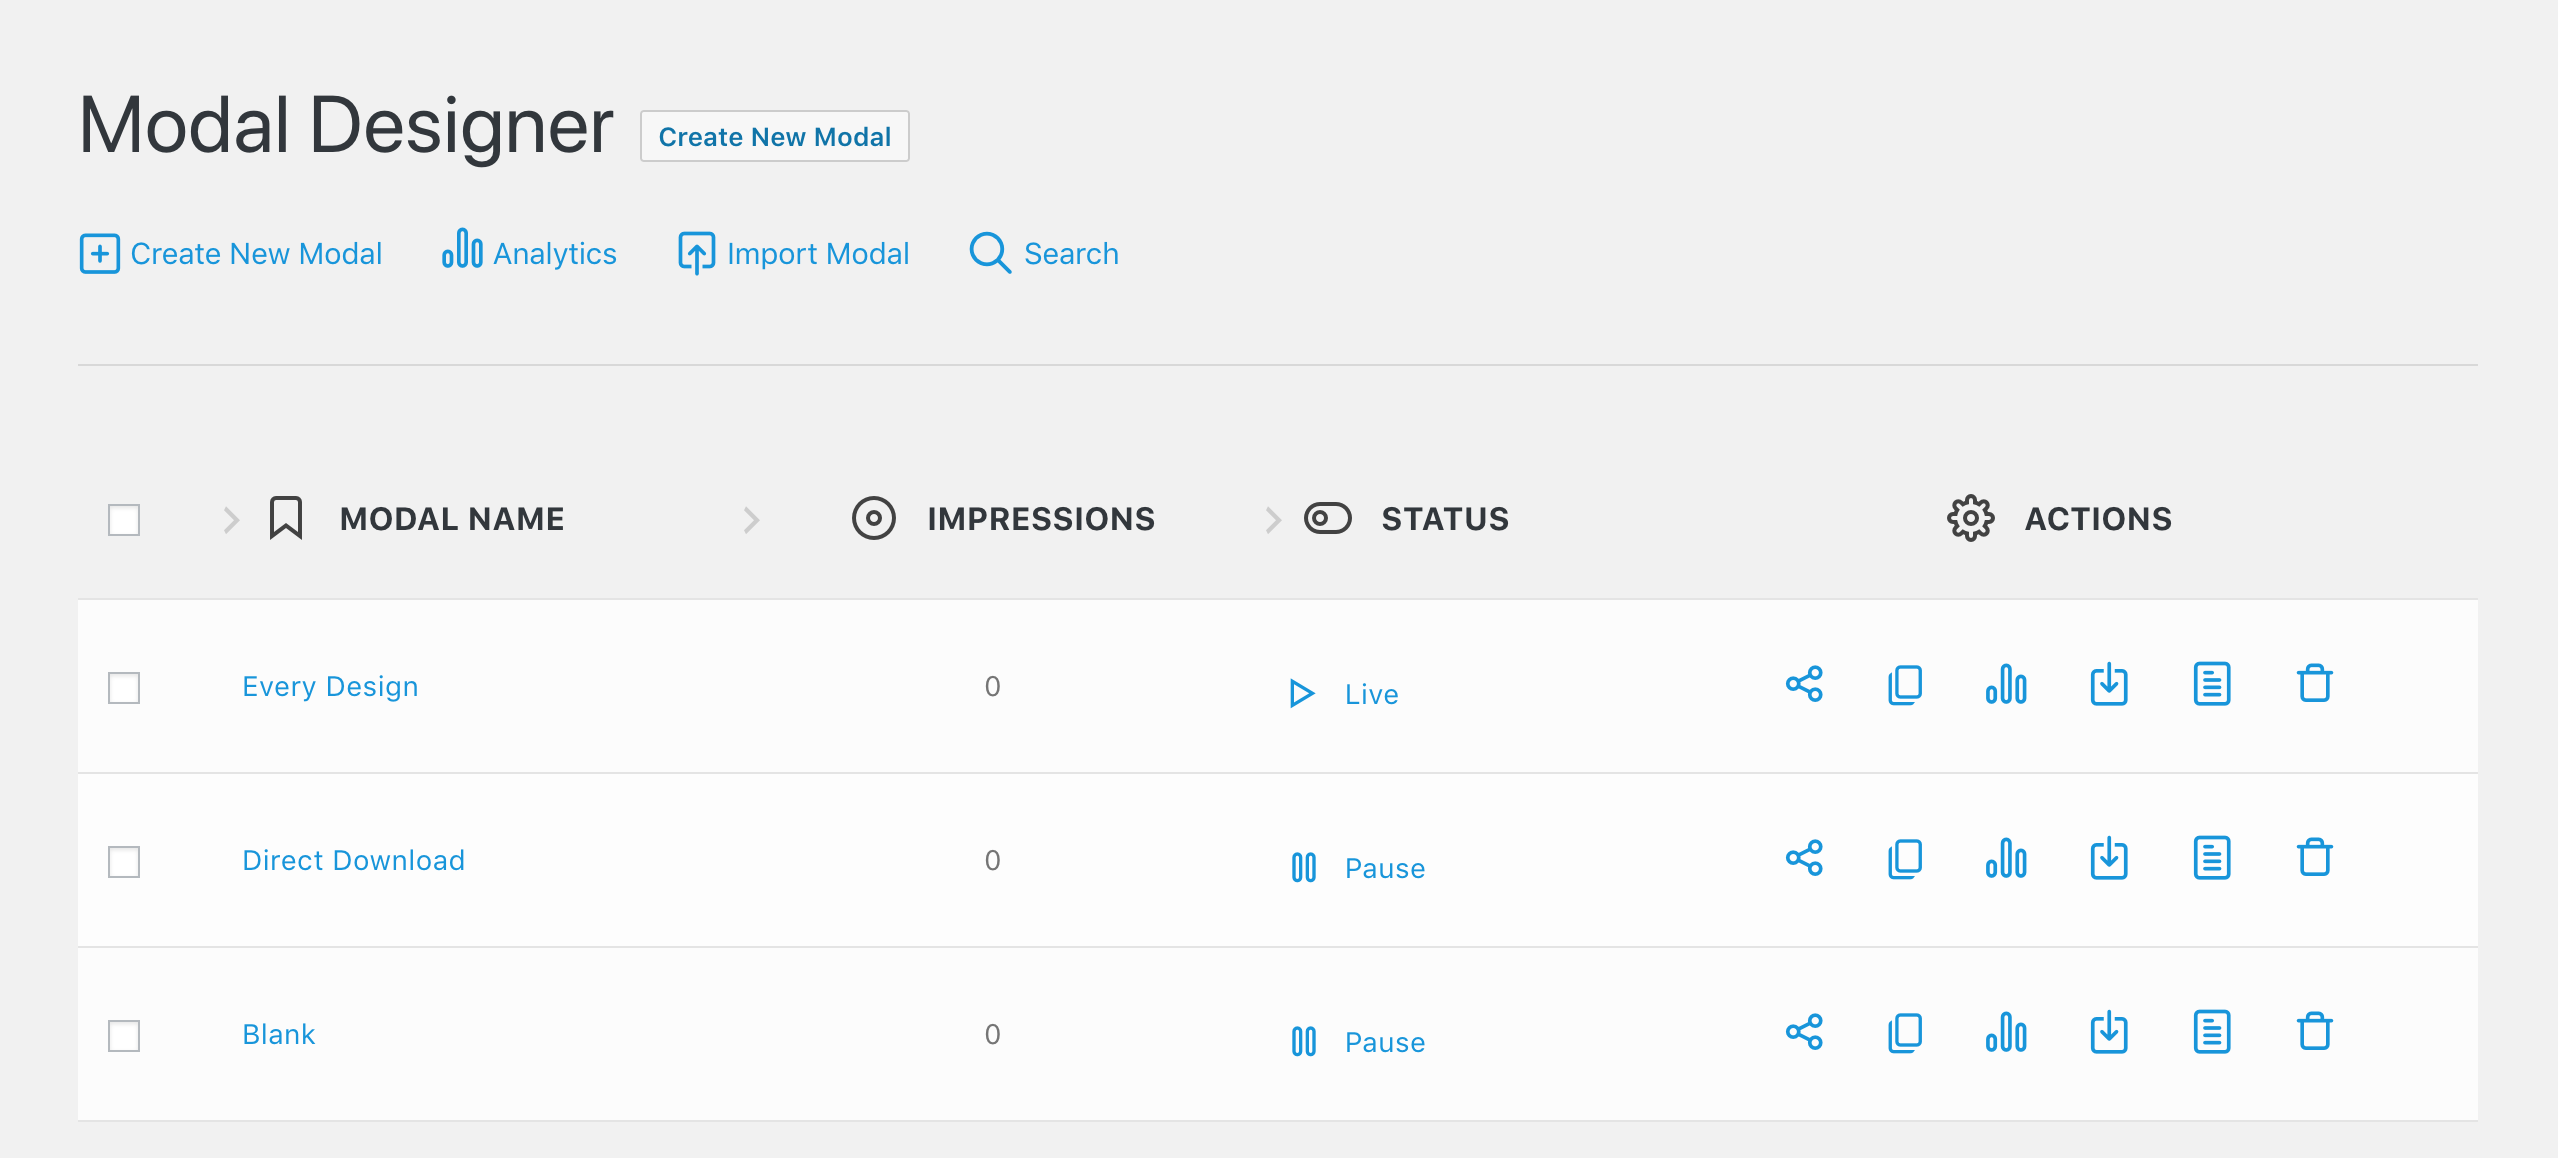
This will reveal a list of the modals that you have created for your website. Click on the modal name to open up the editor for that modal.
That’s all there is to it!
Subscribe to our X Theme Tips Newsletter to, obviously, receive X Theme Tips!