Yoast is one of the best WordPress plugins in existence. It allows you to get your site set up in a way that puts your best foot forward for search engines. This is that fabled thing called SEO. Have you heard of it? Here’s a definition of SEO, straight from Wikipedia:
Search engine optimization (SEO) is the “process of affecting the visibility of a website or a web page in a search engine’s “natural” or un-paid (“organic”) search results.”
Oh yes, I like the sound of that. Being listed in un-paid search results. Yes, that’s the ultimate in web traffic, un-paid for web traffic. And, wouldn’t you love to have a bunch of un-paid traffic coming to your website? This is another optional plugin, but we highly recommend using Yoast and doing something about SEO for your website.
Download the Yoast SEO Plugin WordPress
So, let’s dig right in! In order to install the Yoast SEO Plugin WordPress, you have to start off by downloading the plugin – click on the button below to download the latest Yoast SEO Plugin.
Latest Yoast SEO WordPress Plugin
Upload the Yoast SEO Plugin WordPress
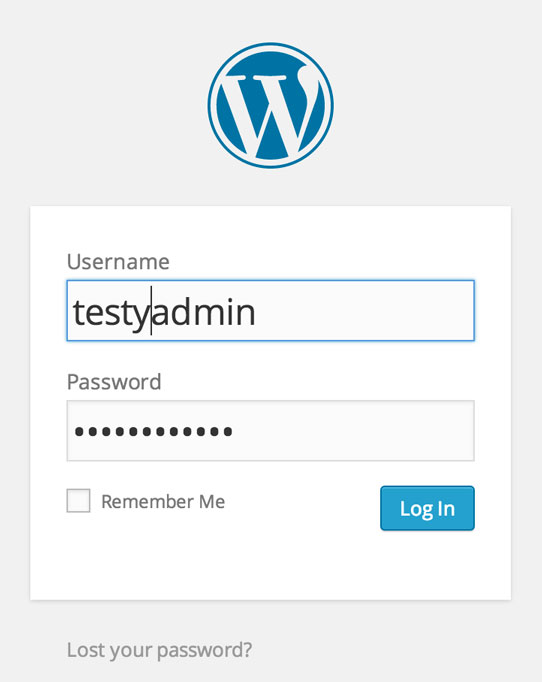
Login to your WordPress Admin Dashboard (yourdomain.com/wp-login.php).
Hover over Plugins in the left sidebar and click Add New.

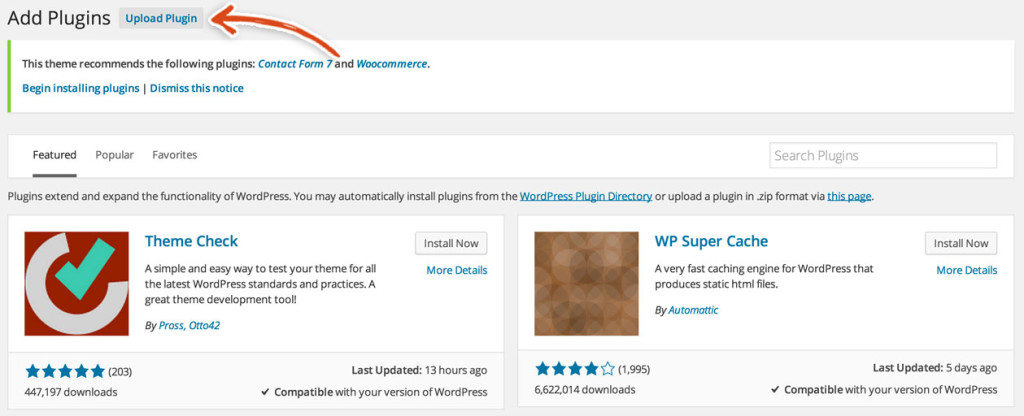
Click on the Upload Plugin button at the top of the Add Plugins page.
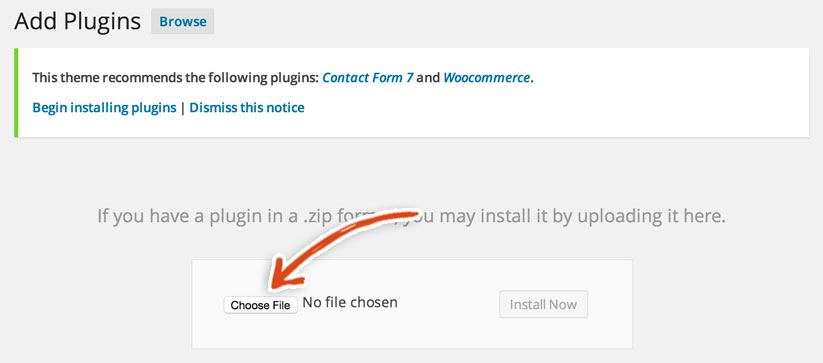
Click the Choose File button, choose the Yoast SEO Plugin WordPress zip file and then click the Install Now button.
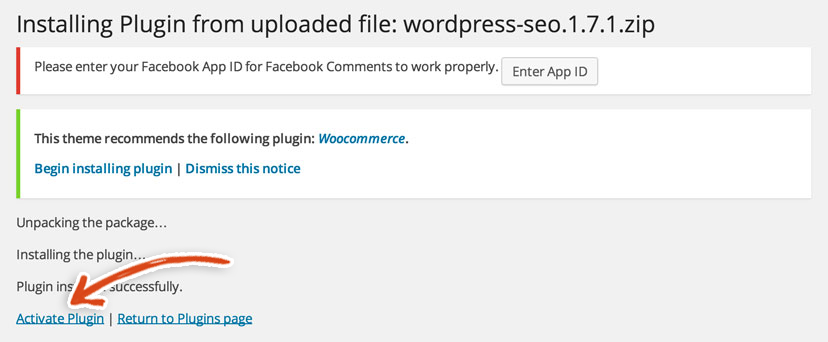
Activate the Yoast SEO Plugin WordPress. Click the Activate Plugin link once the plugin has been successfully installed.
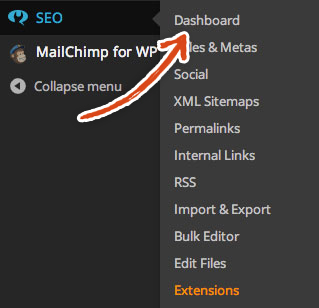
Hover over the SEO link in the left sidebar and click on the dashboard link.
Setup the Yoast SEO Plugin WordPress
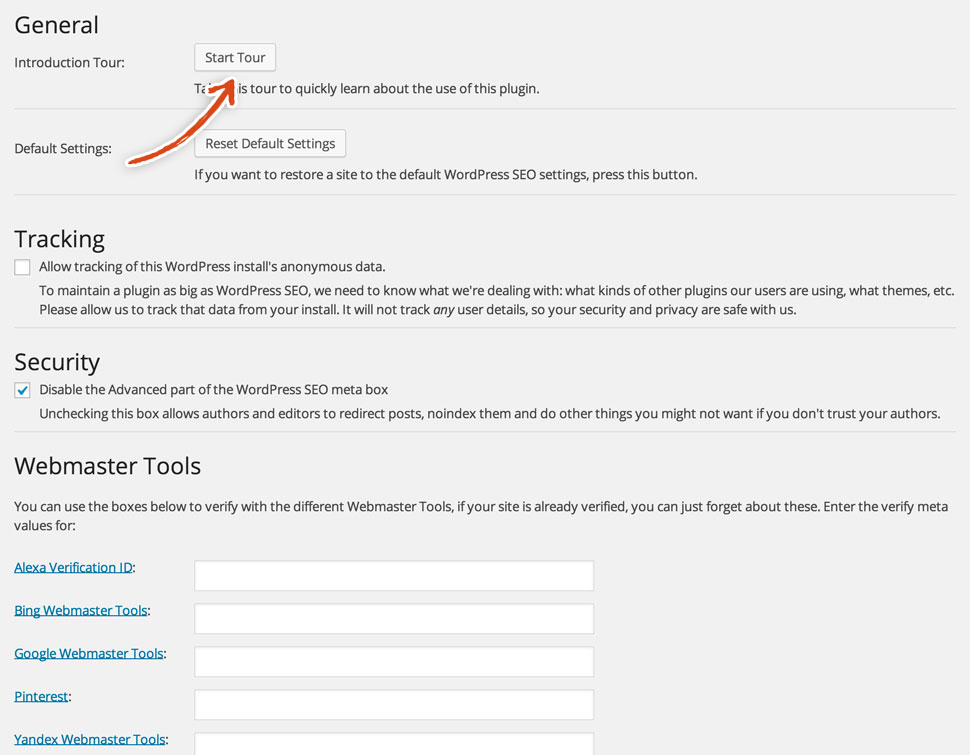
What do I do, what do I do next!?! You can choose to allow tracking if you would like. Then, click on the Start Tour button to get acclimated with the Yoast SEO Plugin WordPress.
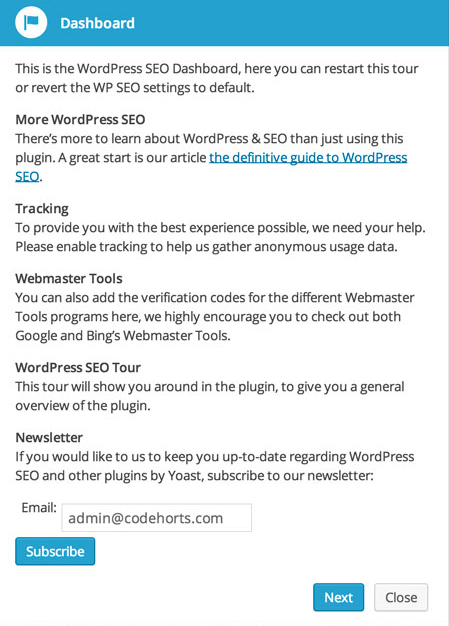
The Dashboard box that pops up (visible below) is the first part of your grand Yoast tour. Reading through the different sections will only help you become more familiar with different SEO practices. But, we’ll give you our opinion on the different settings that we enable throughout the process if you’re feeling like you’re not in the learning mood. Leave the Dashboard box open and we’ll give you our recommendations for the different options on the General Yoast Settings page.
Tracking
To start, being web developers, lovers of learning and brothers who are constantly improving, we know how important information is and we want to help Yoast provide the best experience possible. Which is why we checked the box next to Allow tracking of this WordPress install’s anonymous data. However, do whatever you see fit.
Security
We also check the box under security. This is a no brainer. We want control over the advanced part of the meta box so that authors can’t maliciously or inadvertently screw us over. Also, because this meta box control is a crucial part of our business, it is too important to cede control to someone that may not have the same intentions for the business that we have. Even if you aren’t planning on bringing authors into the fray right now, still leave this setting in place because you never know what can happen in the future.
Webmaster Tools
We would also suggest verifying your site for as many webmaster tools as you can (or most importantly those that you’ll actually use). So, insert all of the verification meta values for each service.
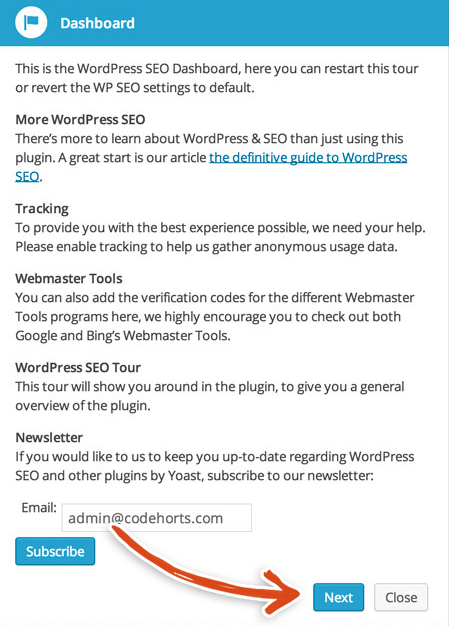
Make sure to click the Save Changes button on the page. Then, click on the Next button in the Dashboard box.
Titles & Metas SEO Settings
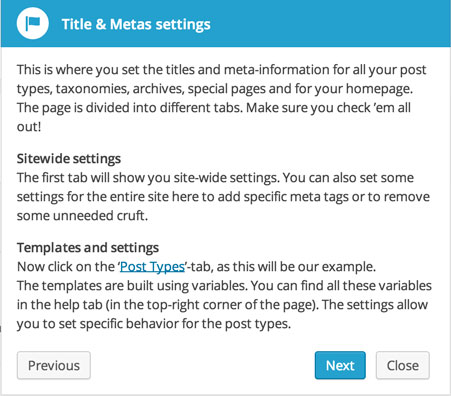
All of the posts and pages on your site have special invisible related information that you can’t see within the head section of the page that is important for search engine optimization. This “invisible” information basically tells search engines what’s on the page. That’s why SEO is so important. Without that additional information, the Search Engine doesn’t really know what’s on your page. Search engines use the title settings, for example, as the title when displaying the page in search results. This part of the tour specifically focuses on the Title and Meta settings.
Feel free to read through this box or just skip it and take our recommendations. Either way, leave the Title and Meta Settings Box open.
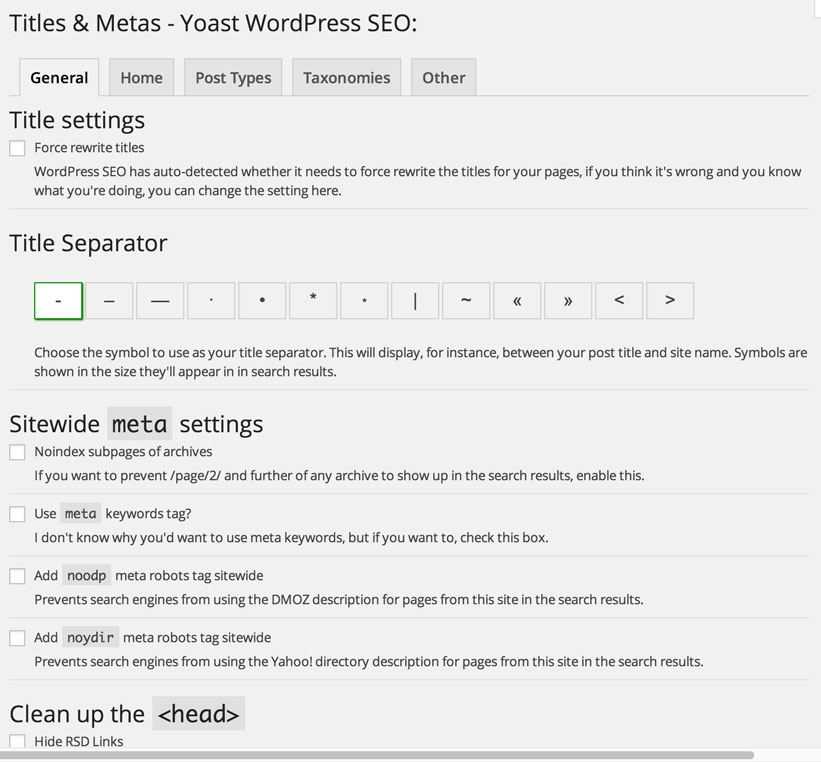
We left all of the settings on the General Page as-is based on our understanding of the different parts of this section.
Homepage and Front Page SEO Settings
Nothing needs to be done in this section as well, but it’s very important to remember to enter the title and description values for every single page and every single post that you publish. Now that you’ve added the Yoast SEO plugin, you’ll see a new box on every page and post in WordPress. This will make it really easy to add the necessary SEO information such as Titles and other Meta data.

Post Type SEO Settings
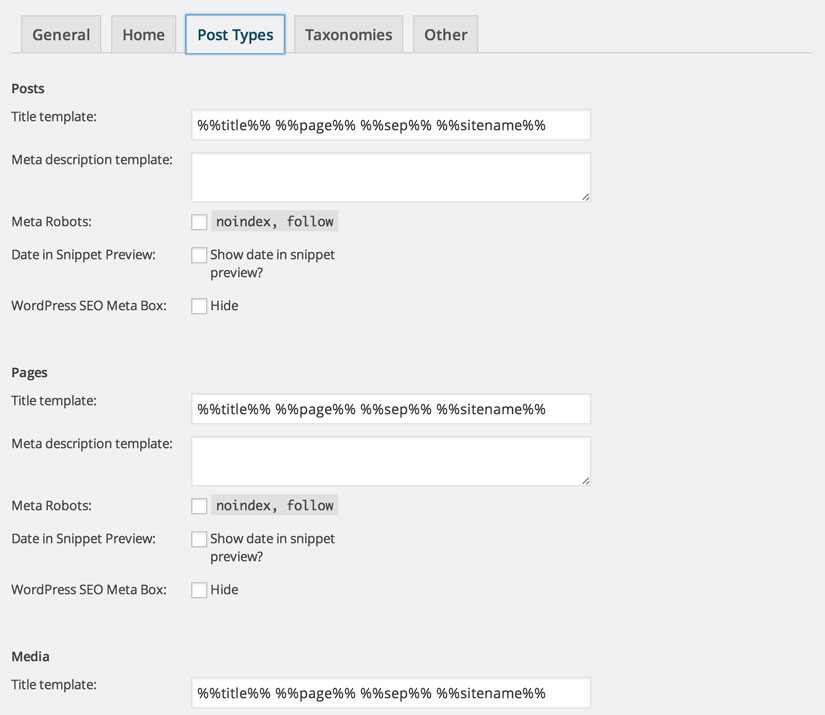
We left the settings on this tab the same as well. Yoast provides the structure for these different elements so that you know not to enter repetitive information into the different titles. For example, if the structure is Title that you want for the post + the page name + the separator + the sitename, you just need to enter the title of the post and this plugin will automatically add those other elements and put it in the structure shown on this page (this is an awesome feature and saves you a bunch of time from having to enter the page name, the separator and the sitename).
Taxonomies SEO Settings
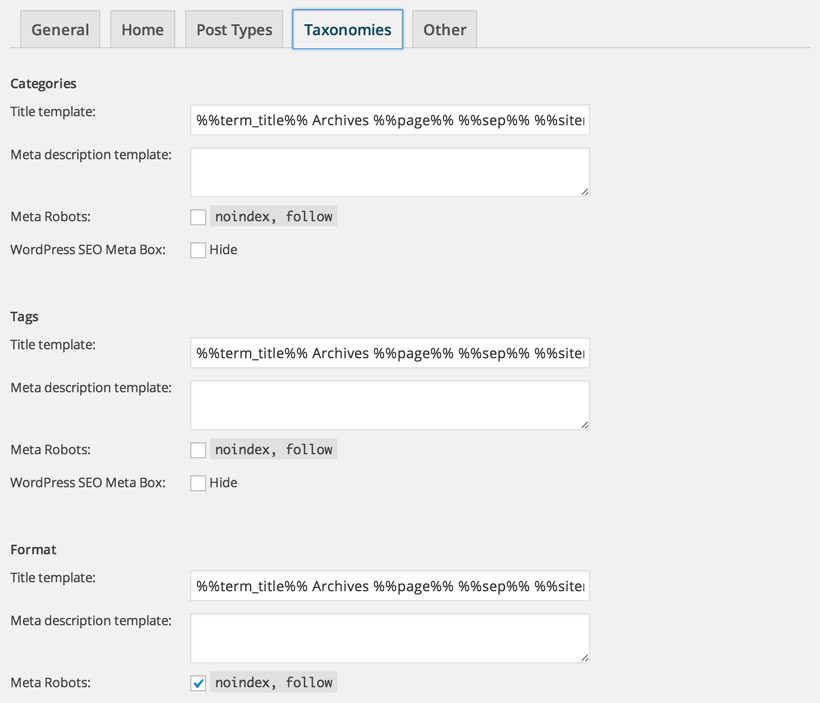
We left the settings on this tab the same as well, because we like the default structure that they set.
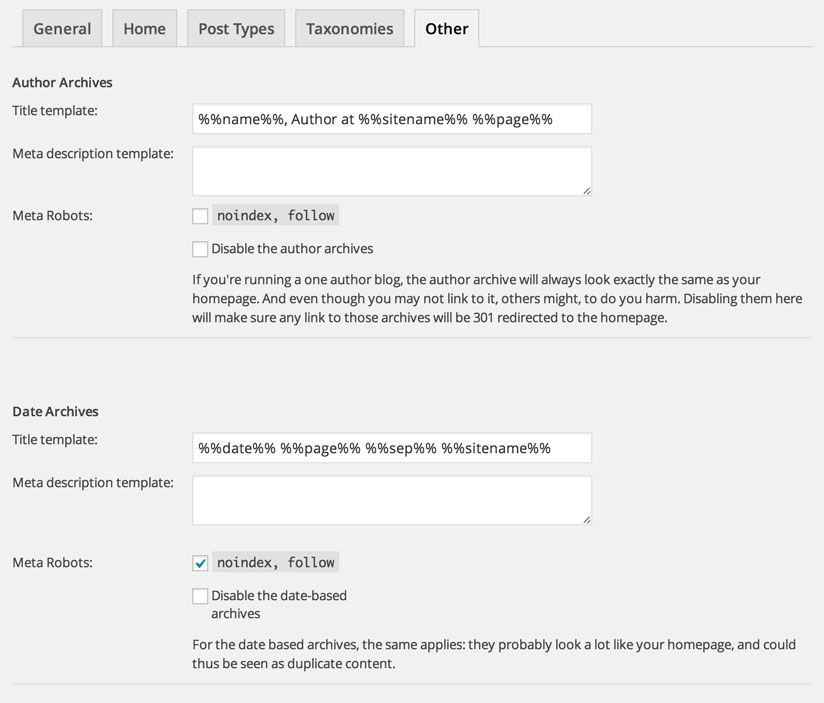
Other SEO Settings
And, we left the settings on the Other tab the same, because again, we like the default structure.
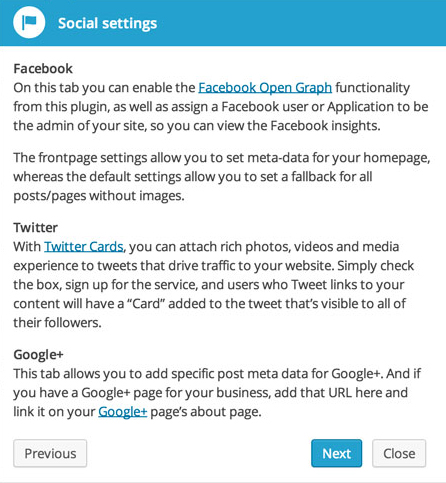
Social Media Search Engine Optimization Settings
Once you click on the Next button on the Title and Metas Settings box, you should see this Social settings box. If you read through the content in this box, you’ll realize that you should fill out the information in all of these tabs. Make sure the box remains open and we’ll walk you through the different parts of this page.
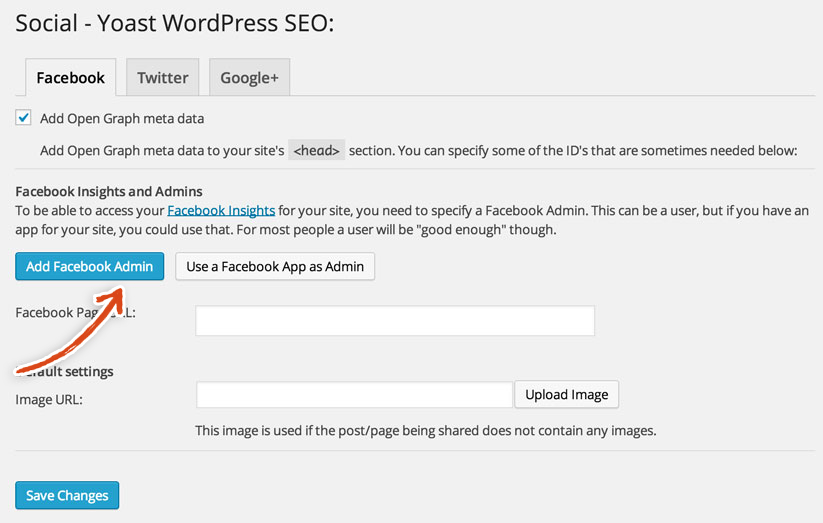
So, you’re going to leave the Add Open Graph meta data checkbox checked. Then, click on either the Add Facebook Admin or the Use a Facebook App as Admin button.
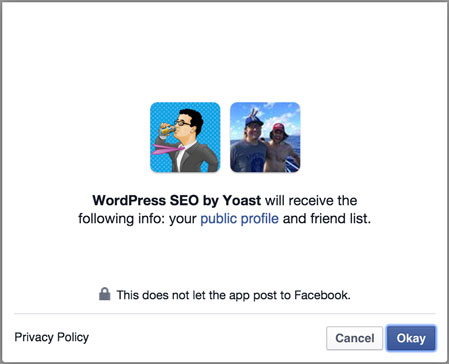
We would suggest clicking on the Add Facebook Admin (because it’s quicker), which should redirect you to Facebook where you need to click the Okay button to give Yoast some info related to your Facebook profile.
The Yoast Facebook section should then show the connected Facebook admins – like the below. Make sure to click the Save Changes button.

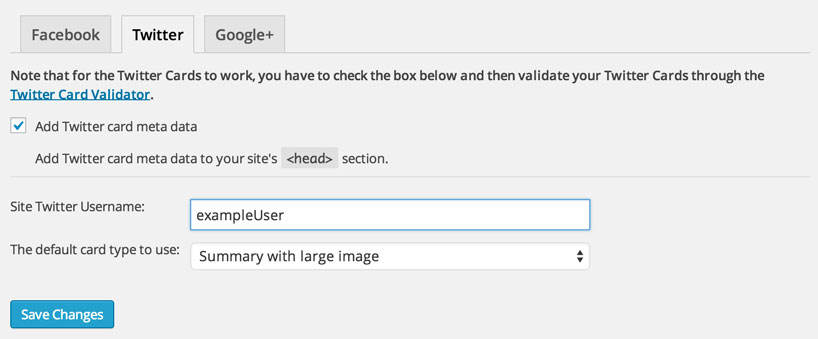
Now onto Twitter, where we suggest checking the box next to Add Twitter card meta data and then click on the Twitter Card Validator link. Then, enter your Twitter username and choose the default card to use (we’re going to use the Summary with large image but you can use the summary if you would like – here’s what both look like – summary with large image card and summary card). Don’t forget to click on the Save Changes button.
We also recommend checking the box next to Add Google+ specific post meta data and adding the URL associated with your Google+ page (If you don’t have a Google+ page, we suggest creating one). Make sure to then click the Save Changes button.

Make sure to click on the Next button in the Social Settings box. This will bring up the Yoast XML Sitemaps section.
XML Sitemaps Settings
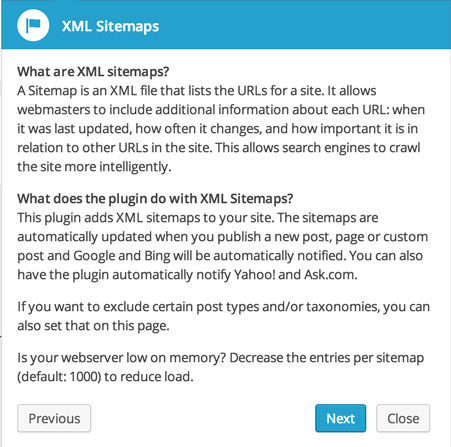
XML Sitemaps are a way to give search engines an overall structure of your site, to give search engines a glimpse at the priority of different pages and to tell them how often certain pages are updated. All of this information is incredibly valuable to search engines and makes it easier and more efficient for search engines to crawl your site and gives search engines a higher quality blueprint of your site (than if sitemaps were absent). Make sure not to close the XML Sitemaps box.
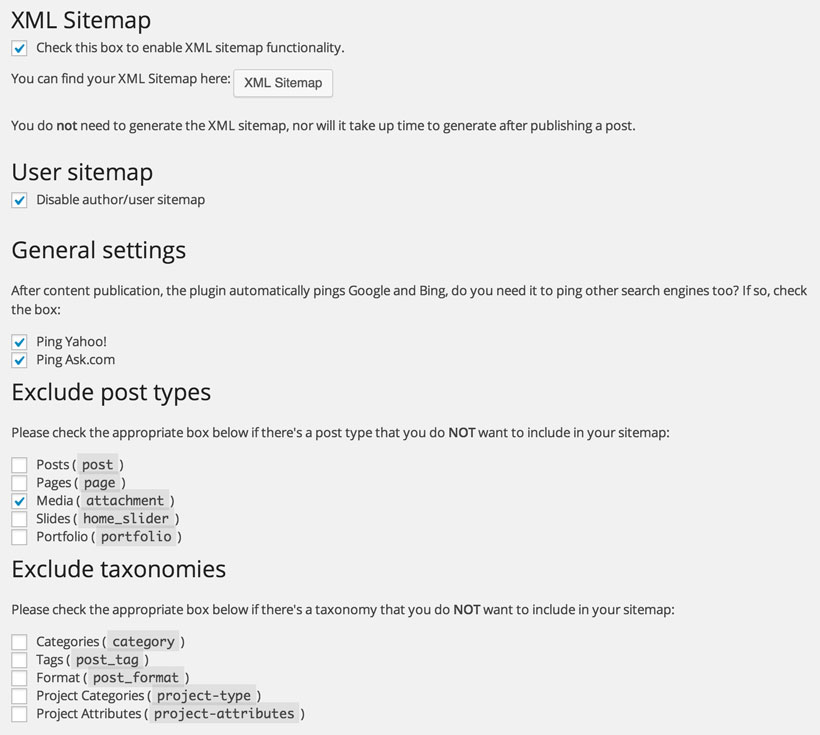
We left the default values in place for the XML Sitemap and User Sitemap sections (leave the box checked next to “Check this box to enable XML sitemap functionality”, leave the box checked next to “Disable author/user sitemap”). We strayed from the default and checked the boxes next to Ping Yahoo! and Ping Ask.com – because we figure it only helps to get your new content in as many places as possible. We left the default boxes checked and unchecked for the Exclude post types and Exclude taxonomies sections. Make sure to click Save Changes if you make any changes.
Click the Next button on the XML Sitemaps box.
Permalink Settings
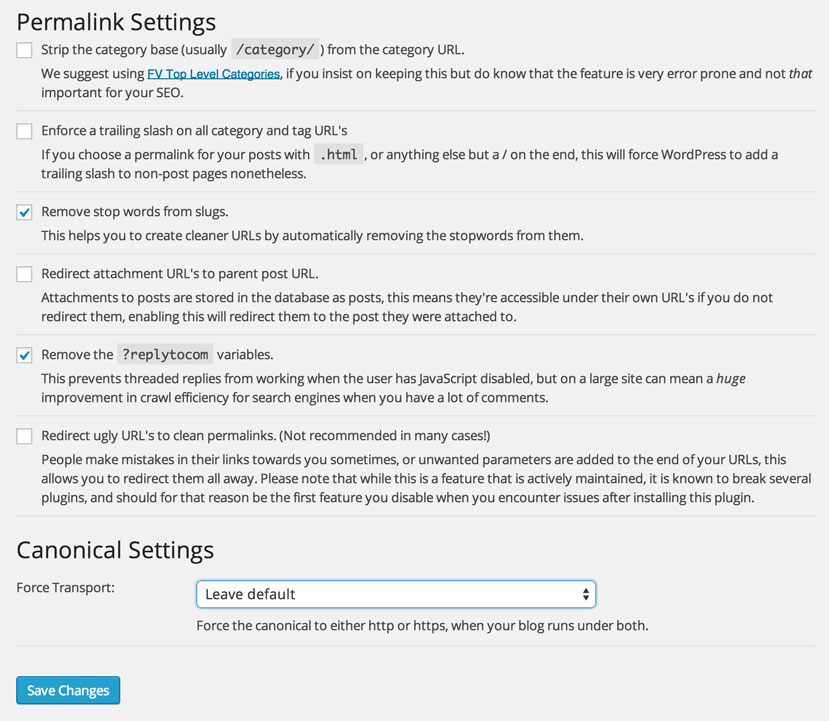
You should now be in the Permalinks section. A permalink is a link to a specific post or page of your site. These settings govern the structure of those links. Make sure to leave this Permalinks box open.
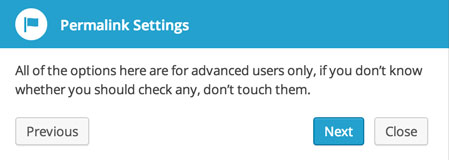
As you can see, we left the settings the exact same as they are by default. So, we just continued on the tour by clicking on the Next button in the Permalink Settings box.
Breadcrumbs SEO Settings
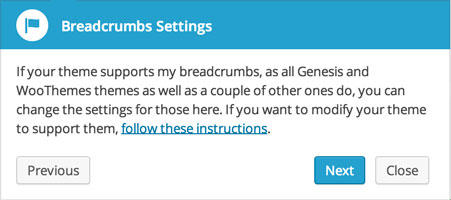
Welcome to the Breadcrumbs Settings part of the tour. Again, don’t get trigger happy and close this box (we need it to navigate to the next part of the tour – otherwise you need to go back to the dashboard and click the Start Tour button and go through all of those steps again).
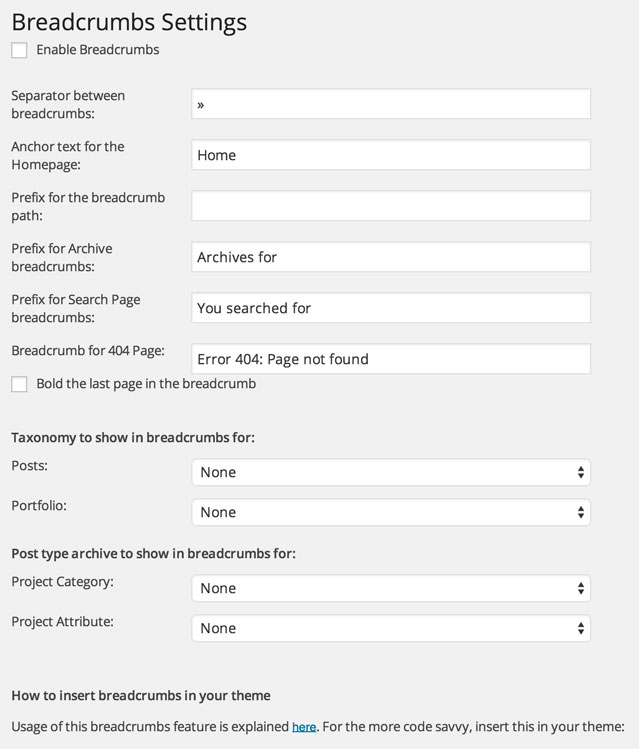
While breadcrumbs are helpful as a part of your SEO strategy and for user navigation, we’re going to leave that Enable Breadcrumbs box unchecked and leave Breadcrumbs off of our site (which is the default). Let’s click Next and head to the next part of the tour.
RSS SEO Settings
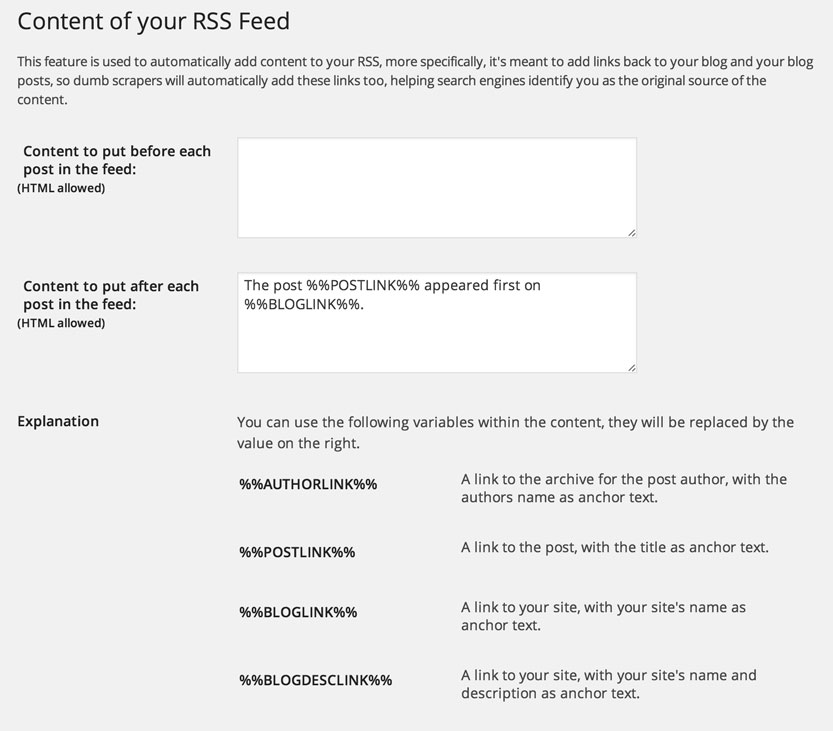
As you can see from the box below, this section is about protecting your content more than anything.
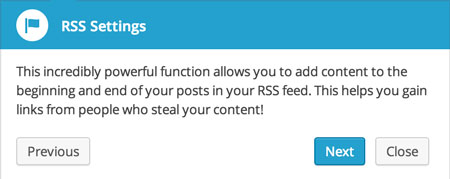
At the moment, we’re ok with leaving the default values but in the future we may prefer to add content before each post as well. So, click on the Next button in the RSS Settings box.
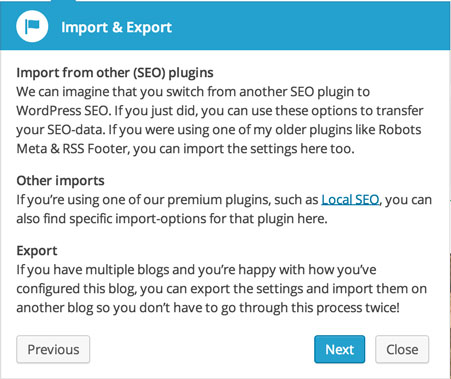
Import & Export Settings
You should be navigated to the Import and Export part of the tour and the Import & Export box should pop up. This section describes a way for you to export the settings that you just created for all the above sections (title and meta, xml sitemaps etc) and import them on another site. It also talks about how you could import settings from other SEO plugins rather than filling out all of the information.
We’re not going to be using the import tools on this site, but we may use the export tools in the future.
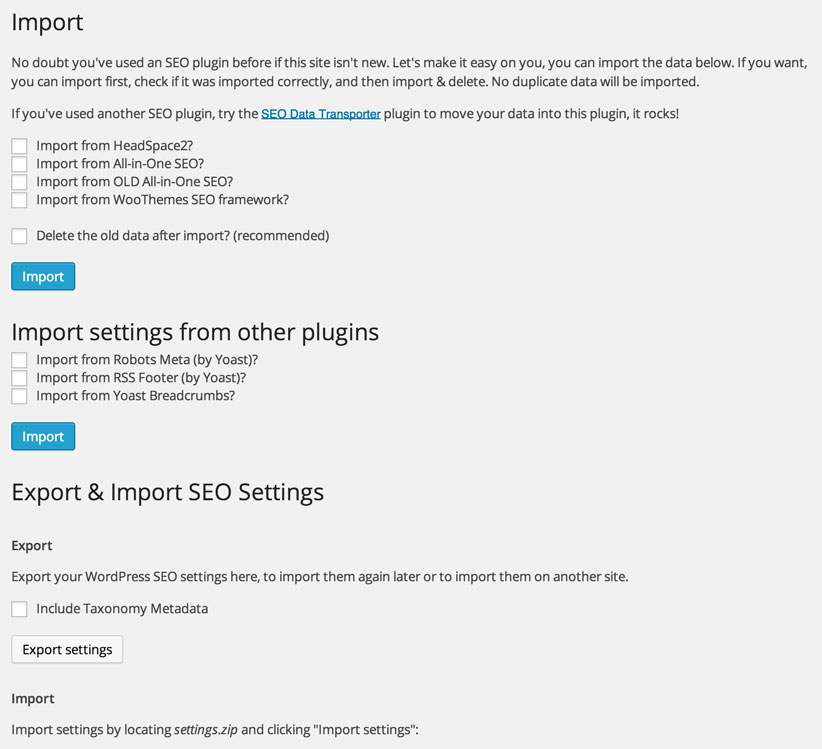
Because we don’t have a defined use case, we’re just going to skip over this section and move onto the next. So, we click on the Next button in the Import and Export box.
Bulk Editor Settings
This pulls up the Bulk Editor page and should also display the Bulk Editor box that is shown below.
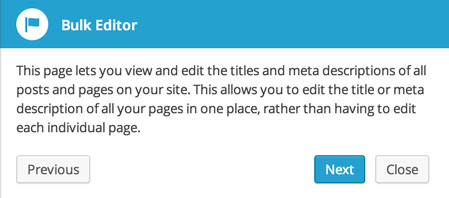
This is a super valuable tool. Sometimes, it’s hard enough to just write a post and you forget about the other things that you need to do to make sure it’s properly set up for SEO purposes. This solves that. The page below allows you to see the Titles associated with each Page and Post and you gives you the ability to enter new ones. So, if you forgot to add titles or you’re wanting to update the content of existing titles, you can do so quickly for a bunch of posts at the same time.
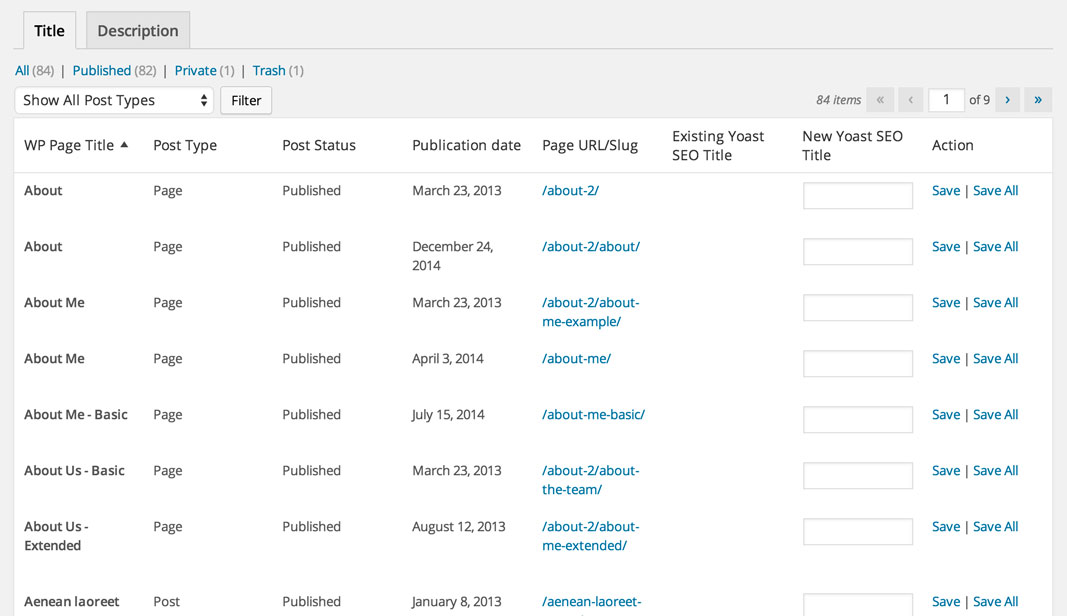
The page below allows you to see the Meta Descriptions associated with each Page and Post and gives you the ability to enter new ones. So, aptly, you can edit the meta descriptions in bulk if you need to. Again, this is beneficial if you’re in the writing zone and need to go back through your posts and add keyword laden meta descriptions.
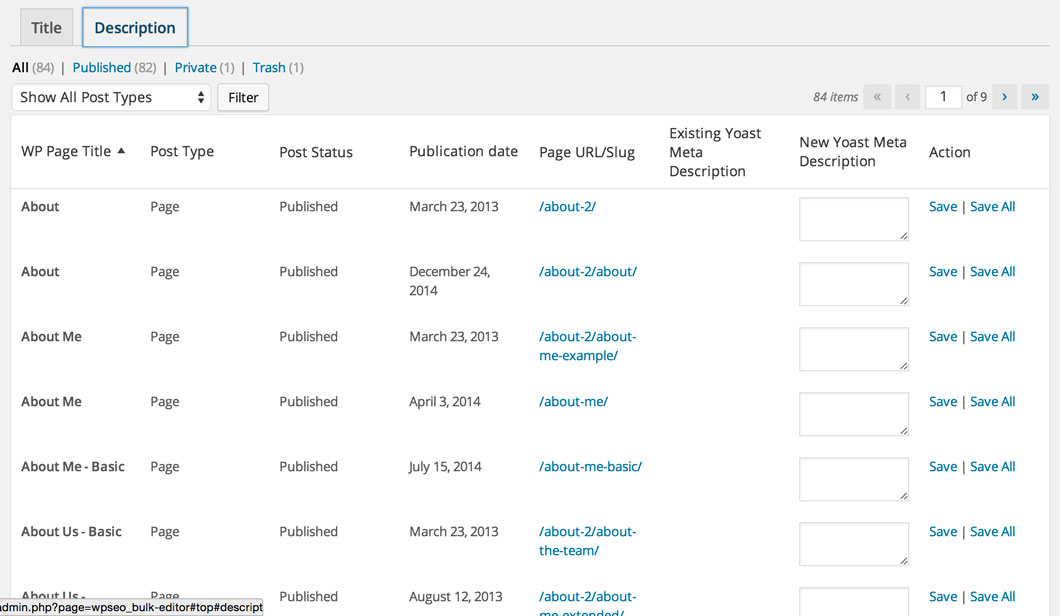
Make sure to click the Save or Save All links in the right side of each row once you’ve updated a bunch of Titles or Meta Descriptions and would like to move on with the tour. Click on the Next button in the Bulk Editor box to move to the File Editor part of the Yoast plugin.
File Editor Settings
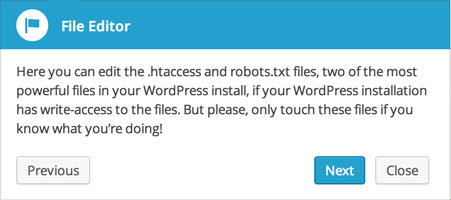
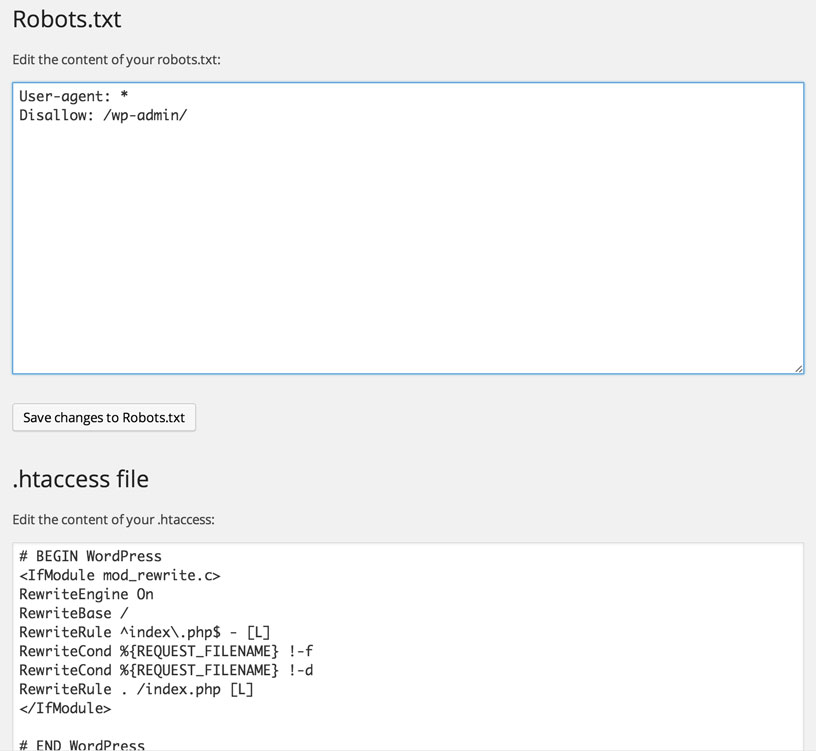
We love the File Editor tool – we love it so much we may marry it 😉 We’ve used it a bunch of times on our site – mainly for editing the .htaccess file. As you can see from the description in the image below, this allows you to edit the content of the robots.txt and .htaccess files. The robots.txt file talks to robots….literally! It tells search engine bots what they are allowed and disallowed to crawl. The .htaccess file can do a bunch of different things from adding passwords, to redirecting urls, to setting what file should handle the routing of your urls, etc.
We HIGHLY suggest not editing either document if you don’t know what you’re doing (as Yoast says as well). This is especially applicable to the .htaccess file, because you can make your site inoperable if you add the wrong thing.
If you do know what you’re doing, make sure to click the Save changes button after you edit either file.
Then, click on the Next button in the File Editor box.
Extensions and Licenses Settings
You’re done with the hard work – you’ve now arrived to the last section, the Extensions and Licenses section.
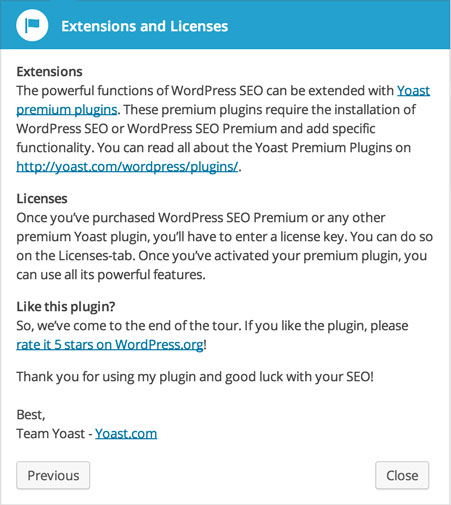
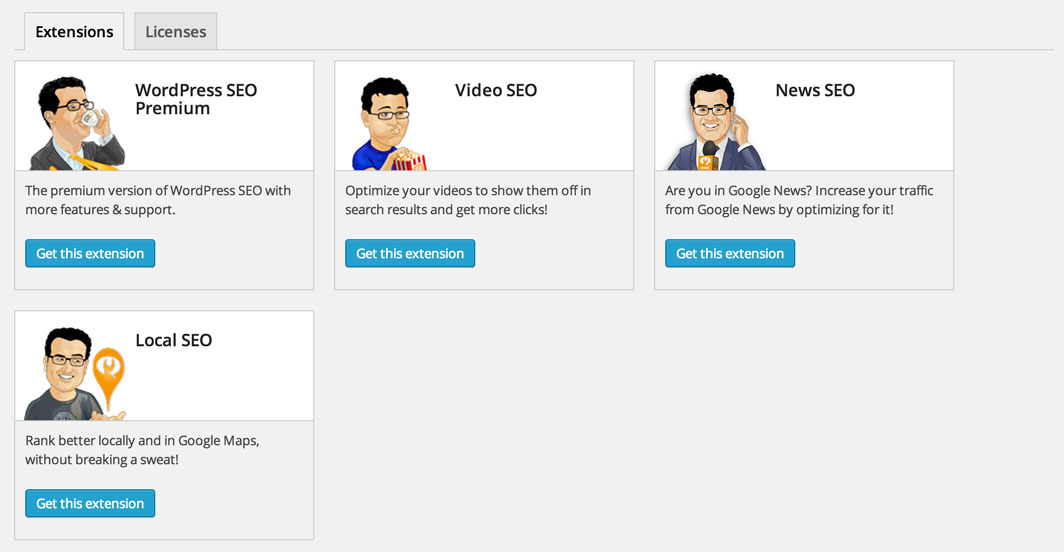
Here, Yoast tries to get you to buy a couple of their premium plugins. Since we’re thrifty thoroughbreds, we haven’t used these personally, but we’re sure they would be beneficial.
System Overload – Brain Exploding Now
That was a pretty monstrous step, but you’ve got some great SEO settings in place and hopefully now you have a solid understanding of the different Yoast sections (in case you want to change anything going forward). We talk about adding the Title and Meta Descriptions to individual posts in a later step. Great job!! Tap your fingers together like Mr. Burns and say, “EXCELLENT” because guess what? It’s finally time to start building your beautiful new blog website! In the next step, we’re going to be adding the pages to your new blog.