I created an RDS instance for a client the other day and needed to connect it to their Lightsail instance. I had never done this before and the documentation out there isn’t as simple as it should be. So, how do you connect RDS to Lightsail? There are 4 simple steps to connecting your RDS instance to Lightsail.
Step 1: Enable VPC Peering in Lightsail
You need to start off by connecting, also known as VPC Peering, your Lightsail Virtual Private Cloud (VPC) with the VPC where your RDS instance lives. So, make sure to select the region that is associated with your RDS instance. Go to Lightsail and click on Account in the top right corner (visible in the image below).
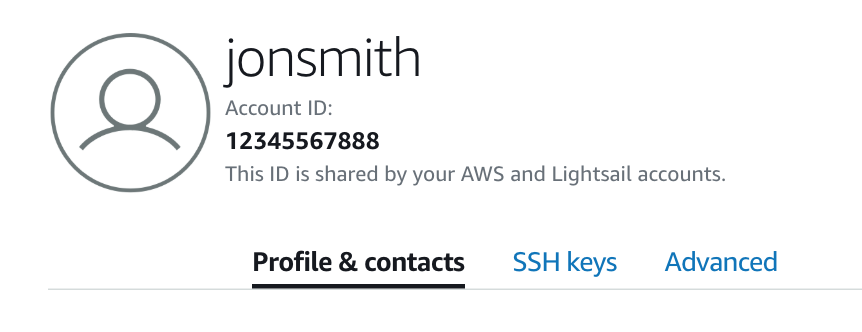
Now, click on the Account link that appears in the drop down.

Now, click on the Advanced tab (visible below):
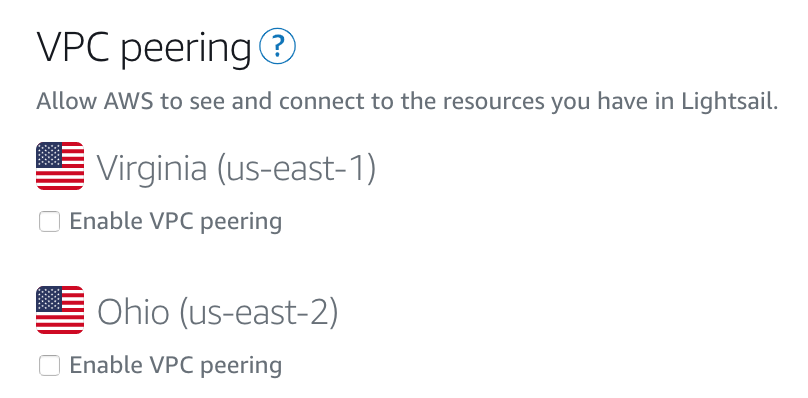
This will bring you to the VPC Peering area. Simply click on the check box next to the region that holds your RDS Instance.
Step 2: Get your Lightsail Instance’s Private IP Address
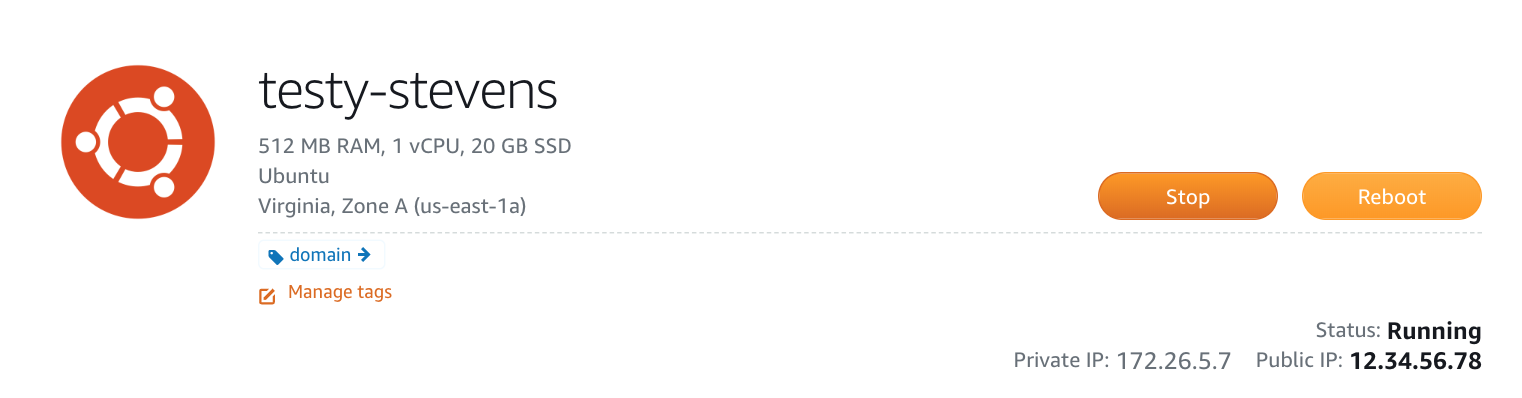
Simply go to your main Lightsail dashboard and find the instance you want to connect an RDS instance to and click on the name of the instance. This will bring up a page like the image shown below. The Private IP address is shown next to Private IP. So, in our example below, the private IP address is 172.26.5.7. Copy the private IP address as we will use it in the next step.
Step 3: Update Your RDS Instance’s Security Group Settings
Now that you’ve enabled VPC peering and have copied your private IP address, you need to make sure that any requests you make from your Lightsail instance will make it past the Security Group rules that have been set up for your RDS instance. So, you need to add a rule to your RDS Instance’s Security Group that allows inbound requests from the private IP address that is associated with your Lightsail Instance. To do this, first you need to go to the EC2 service and click on Security Groups in the left sidebar underneath the Network & Security label.

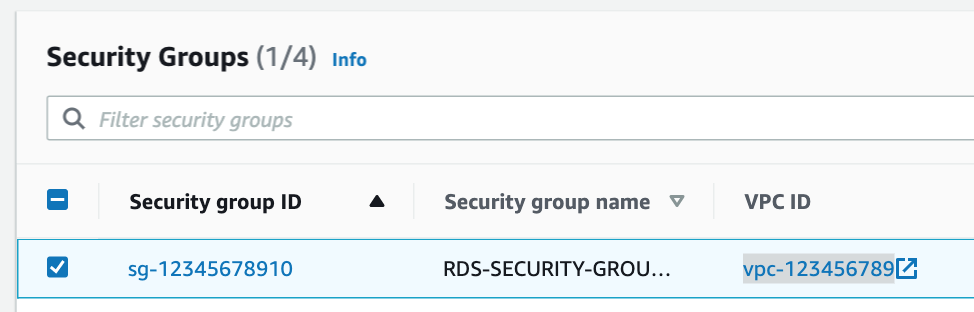
Now, you need to find the Security Group that is associated with your RDS instance. Then, click on the Security group ID, in our case, sg-12345678910.
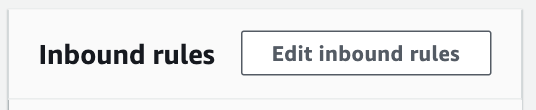
Once you’re in your RDS instance’s Security Group settings, click on Edit Inbound Rules:
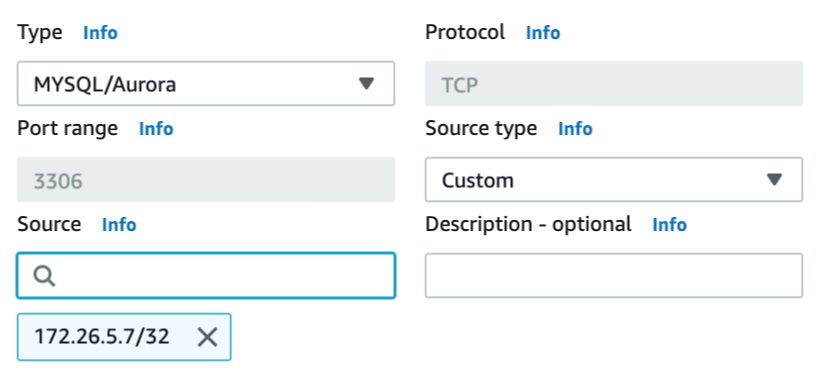
Then, add the rule to allow inbound traffic to RDS from your Lightsail instance. As you can see below, we set the type to MYSQL/Aurora, port 3306 (which may be different depending on your configuration), and the Source to a CIDR that identifies our specific private IP address for our Lightsail instance (172.26.5.7/32 in our case).
Then, make sure to save the rule by clicking on the orange Save rules button.

Step 4: Test Your the Connection Between RDS and Lightsail
Now that you have hooked everything together, you should be able to connect to your RDS instance from your Lightsail instance. You can test the connection by running the following command in an SSH terminal:
mysql -h <host_name> -P 3306 -u <db_user> -pAnd that’s all there is to it! If you want to use RDS in your application you just need to update the database credentials in your application to use the credentials associated with your RDS instance.