We wanted to create an automated email newsletter for our WPLauncher blog readers. We wanted this automated email newsletter to send emails to our subscribers on a weekly basis with all of the newly added
To start, you need a WordPress website and a MailChimp account. Sign up for a MailChimp account if you don’t already have one at login.mailchimp.com.
Step 1: Create an Automated MailChimp Campaign
After logging into your MailChimp account, click on the Create Campaign button in the top right of your dashboard page.

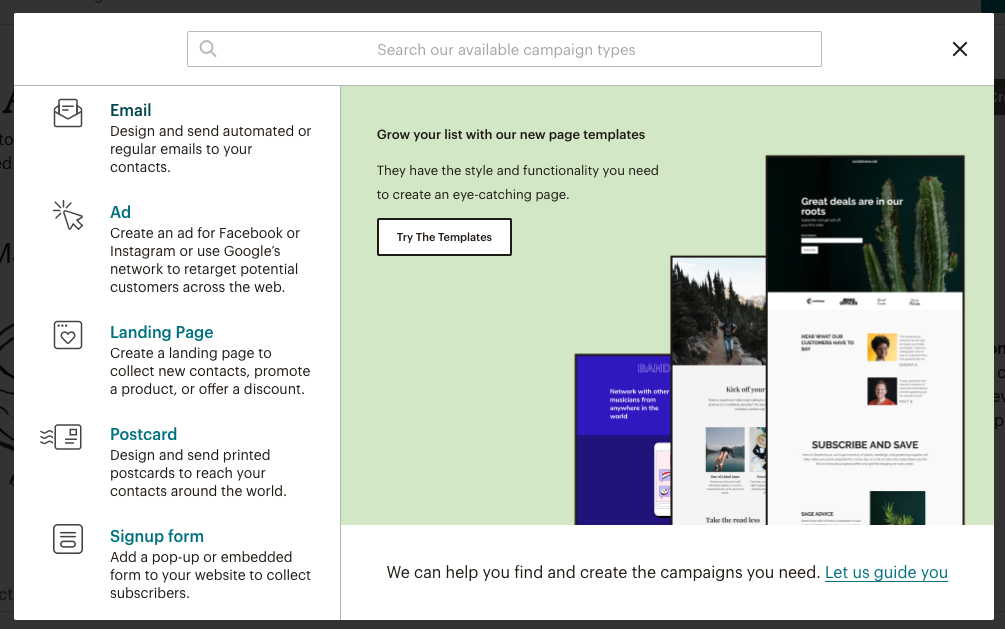
After clicking on the Create Campaign button, a popup will display giving you the option to select the type of campaign you want to create.
Click on the Email option.
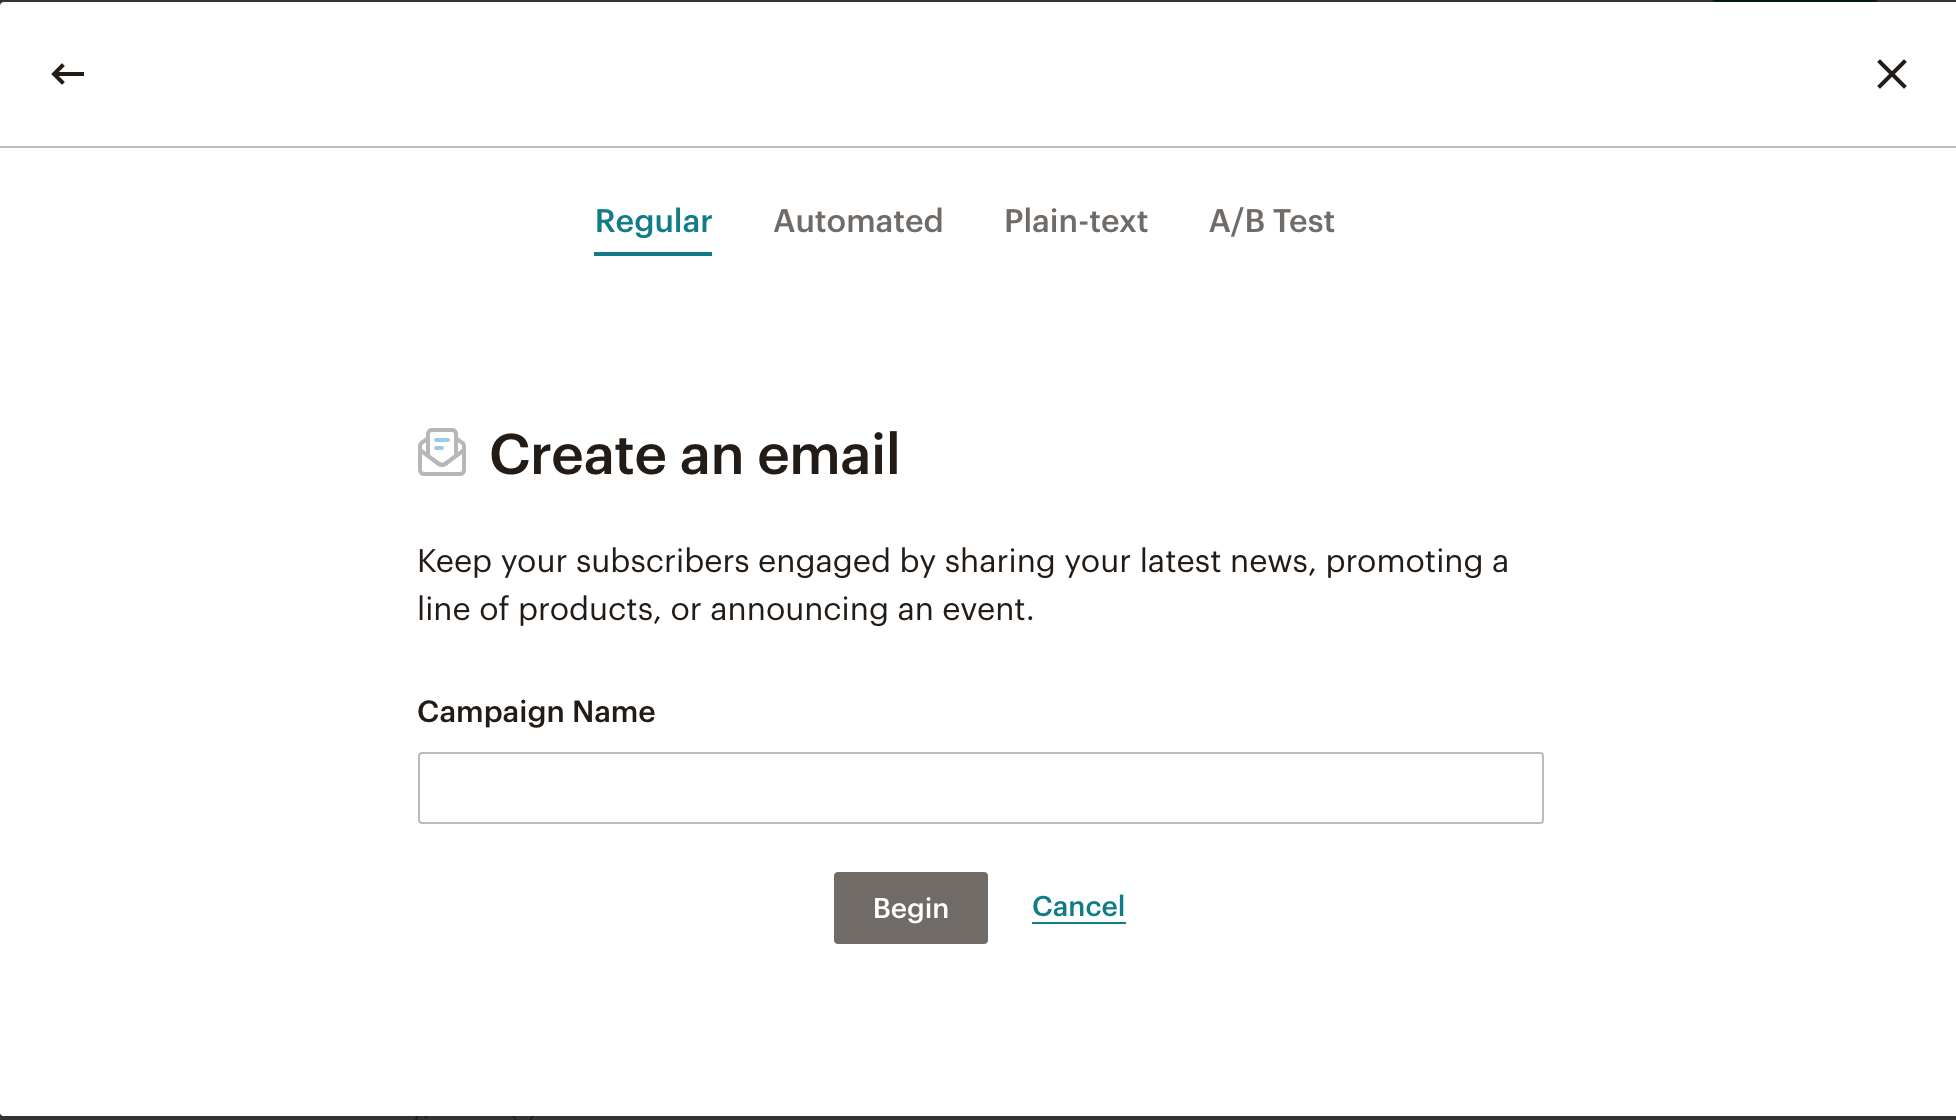
You will then be redirected to the popup below, but you don’t want to use that.
Click on the Automated link (to the right of the Regular link).
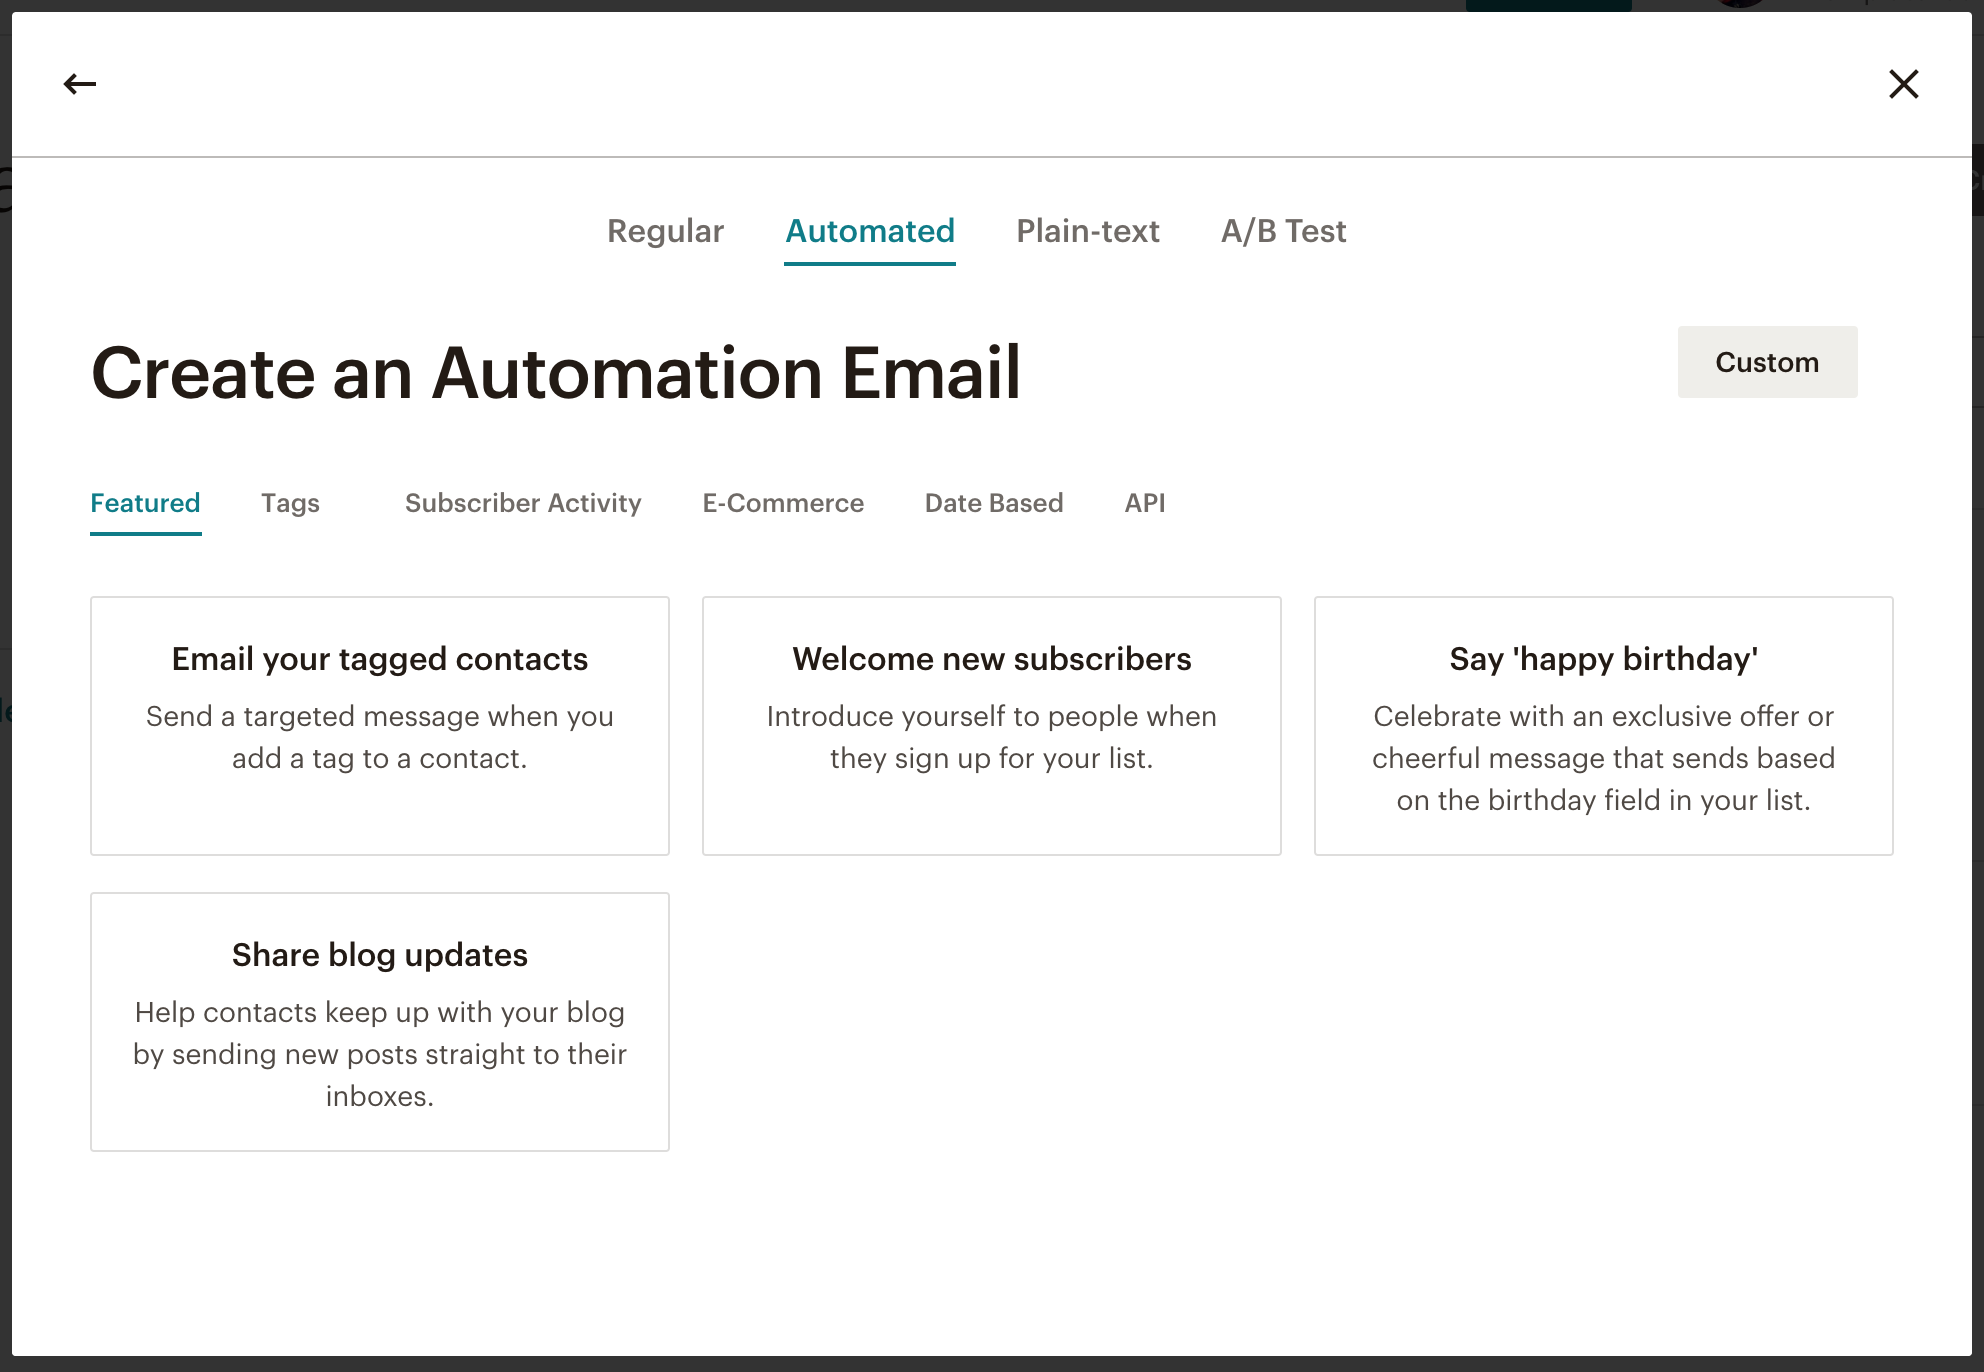
You will now see the following popup, which asks you to select the type of automation email that you want to create. In this case, we want to create an automated email newsletter that shares newly created posts from our WordPress website.
Click on the Share blog updates button.
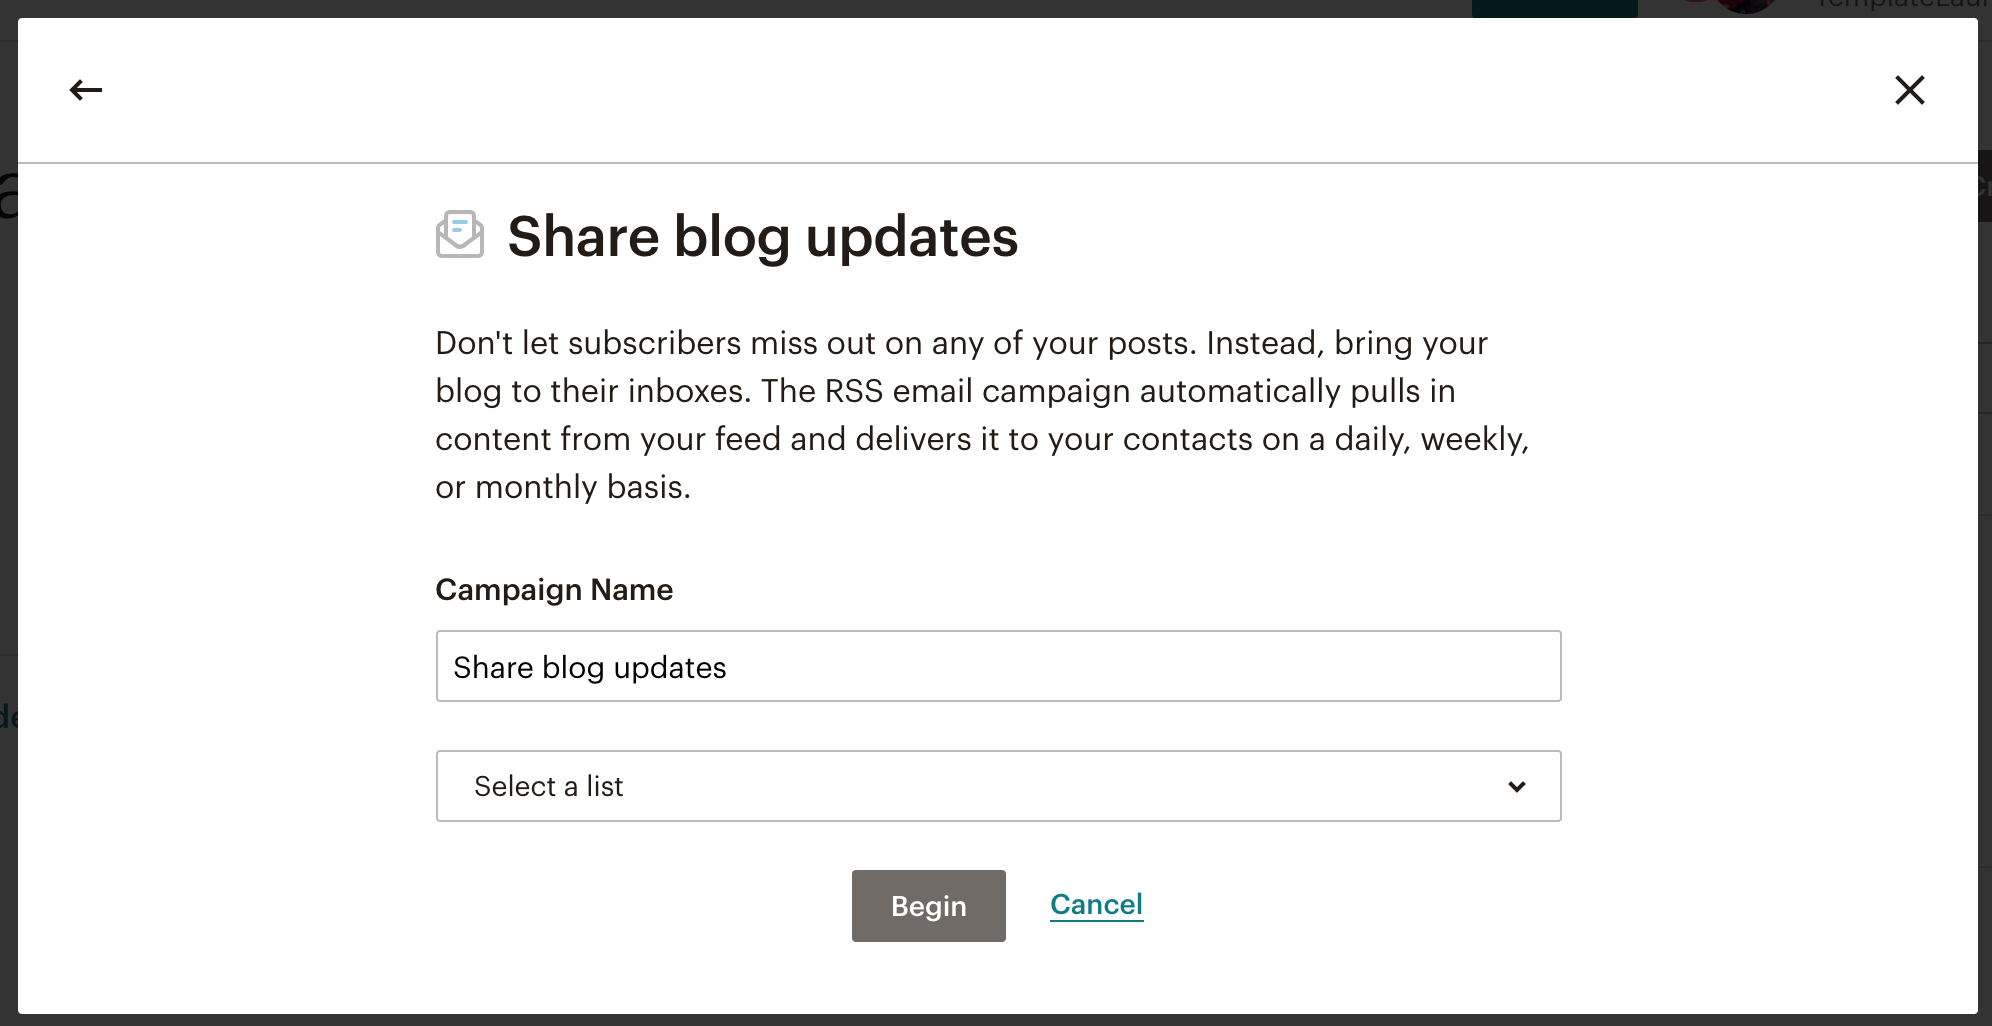
Now, you need to name your campaign and select the list of subscribers that you want to send this automated newsletter to. Then, click on the Begin button.
Step 2: Add WordPress RSS Feed Details and Schedule
Now, let’s get to the fun/tricky part. You need to enter the RSS feed URL, decide what day and time the campaign should be sent, and whether you would like to resize images. The mechanics of this are pretty cool. Any time you write a new post on your WordPress site, your WordPress RSS feed is updated with the details of that post, and MailChimp detects when there are changes to that RSS feed. So, whenever a new post is added, MailChimp knows it and sends the email out to your list based on the schedule that you setup.
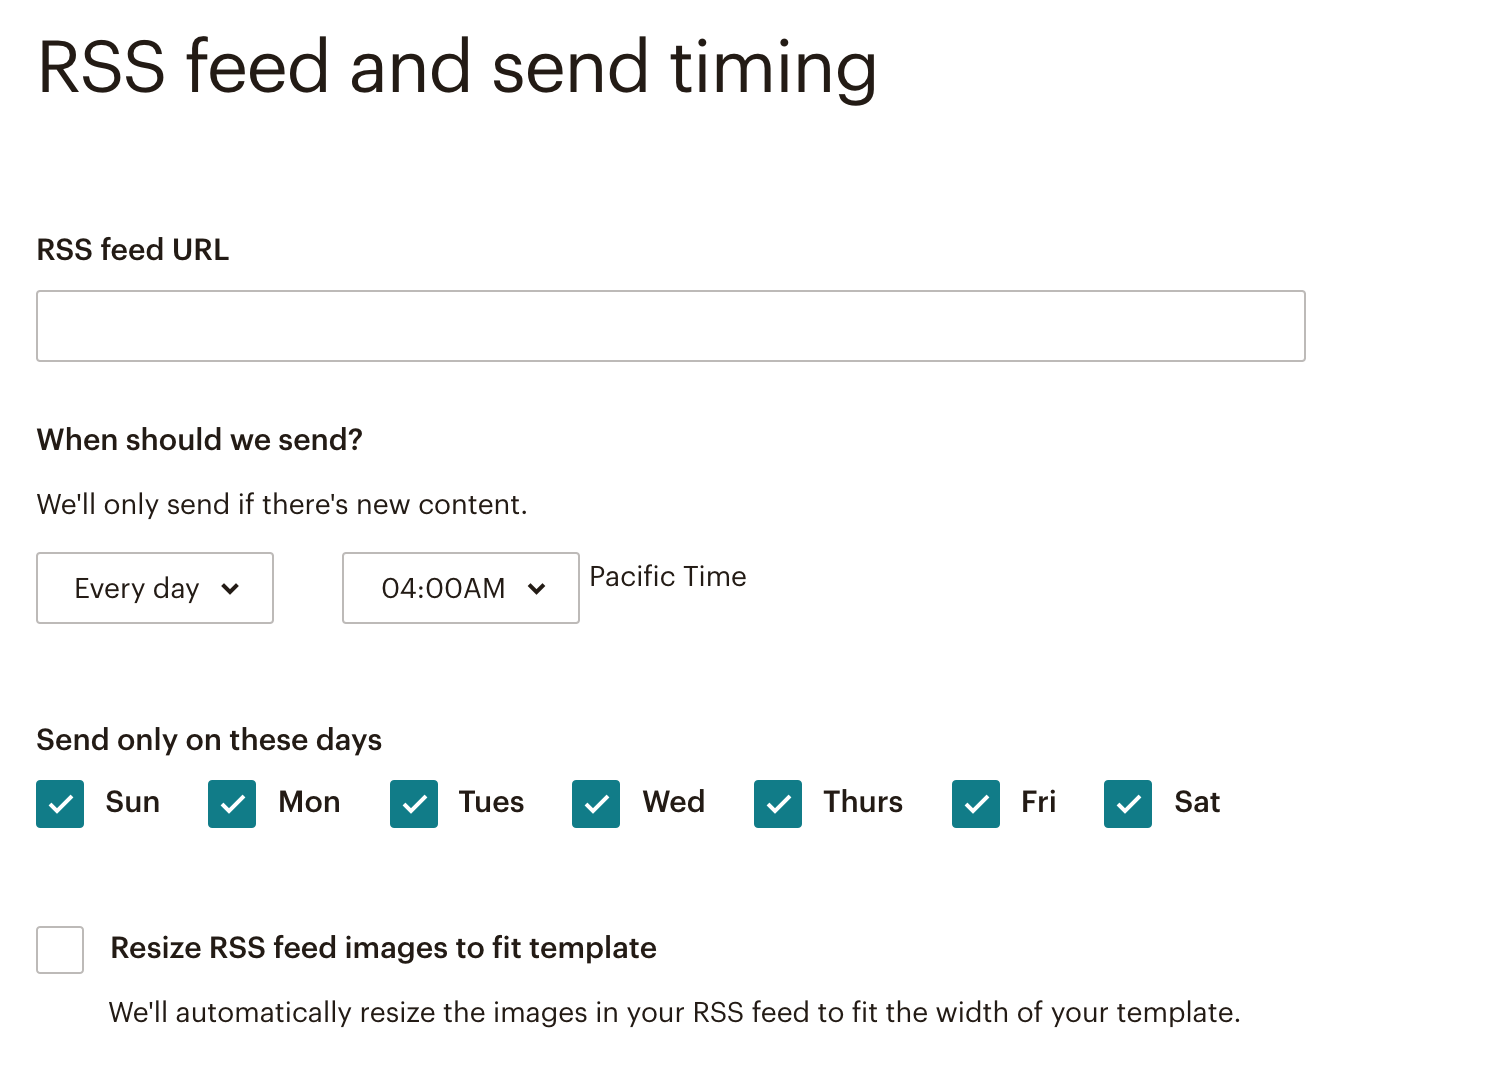
But, how do I get my WordPress RSS URL? You have a number of options in regards to finding/creating WordPress RSS feeds. You can find/create an RSS feed for all posts within a category, for all posts within a tag, for all posts by a certain author, for all posts in search results, for all comments, for custom post types, etc.
In our case, we wanted to use all blog posts associated with the blog category in our automated email newsletter, So, we will be using the following RSS feed URL:
https://blog.wplauncher.com/category/blog/feed/Again, there are a ton of different ways to customize your RSS feed, check out our post on finding/creating WordPress RSS feeds, to use the one that suits you best.
You also need to set the day and time the campaign should be sent (every day, every week, or every month), and whether you would like to resize images in the email. Then, make sure to click on the next button in the bottom right corner.
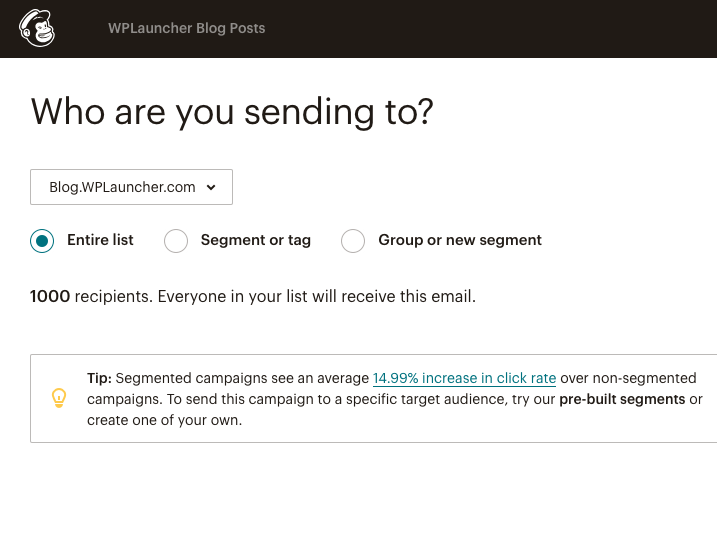
Step 3: Add your Recipients
Now, add your Recipients. We’re going to send the newsletter out to our whole WPLauncher Blog list, so we selected Entire list, but you can also send your automated newsletter to different subgroups within your MailChimp list. Click on the Next button to move onto the Setup phase.
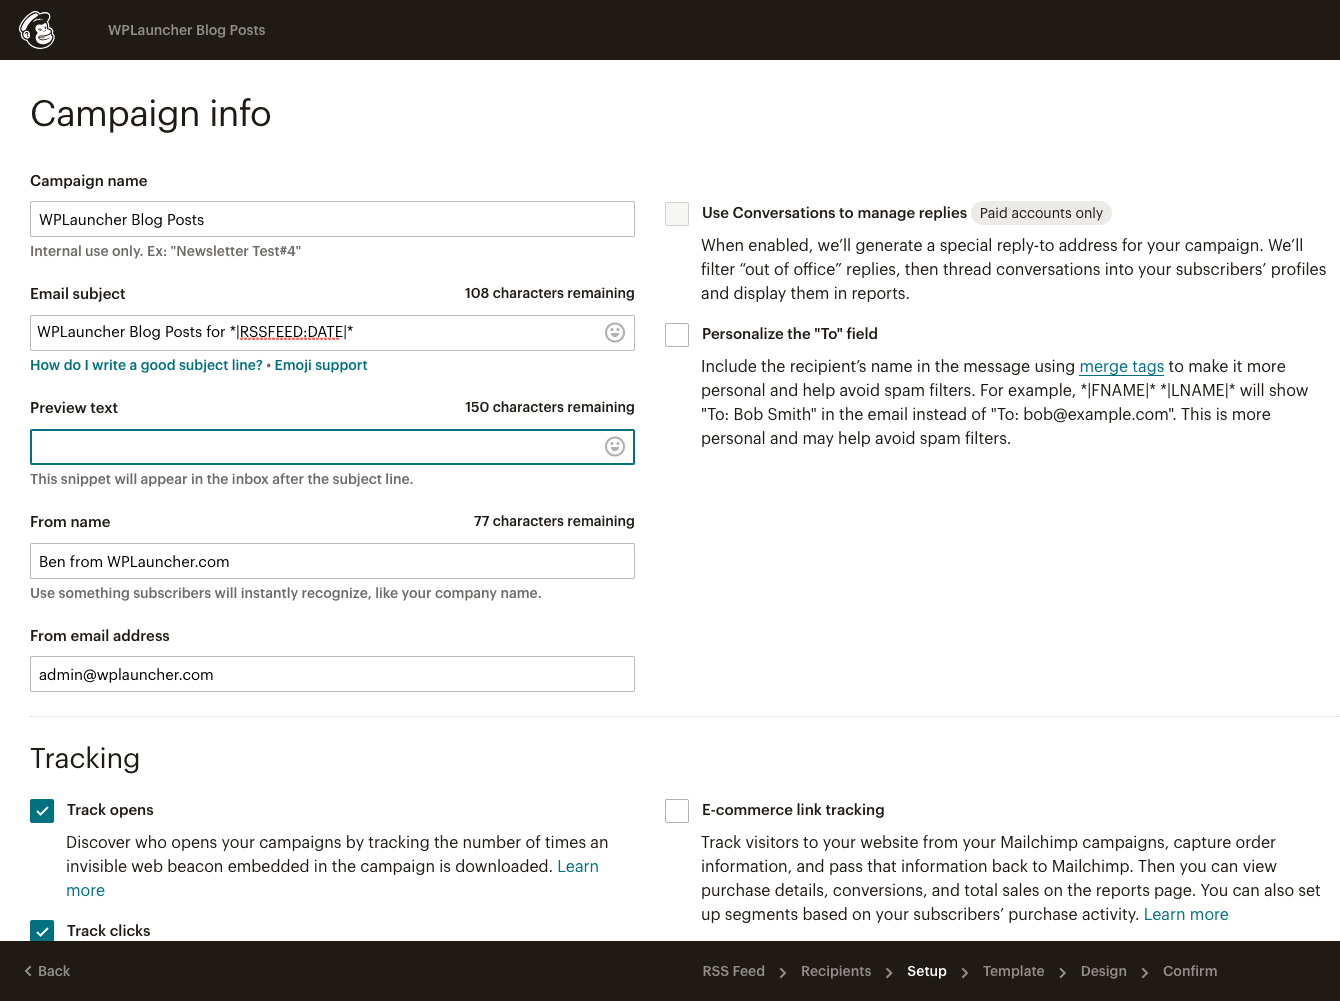
Step 4: Add your Campaign Details
Now, add your campaign details. This includes the campaign name, subject of the emails that will be sent, preview text, the
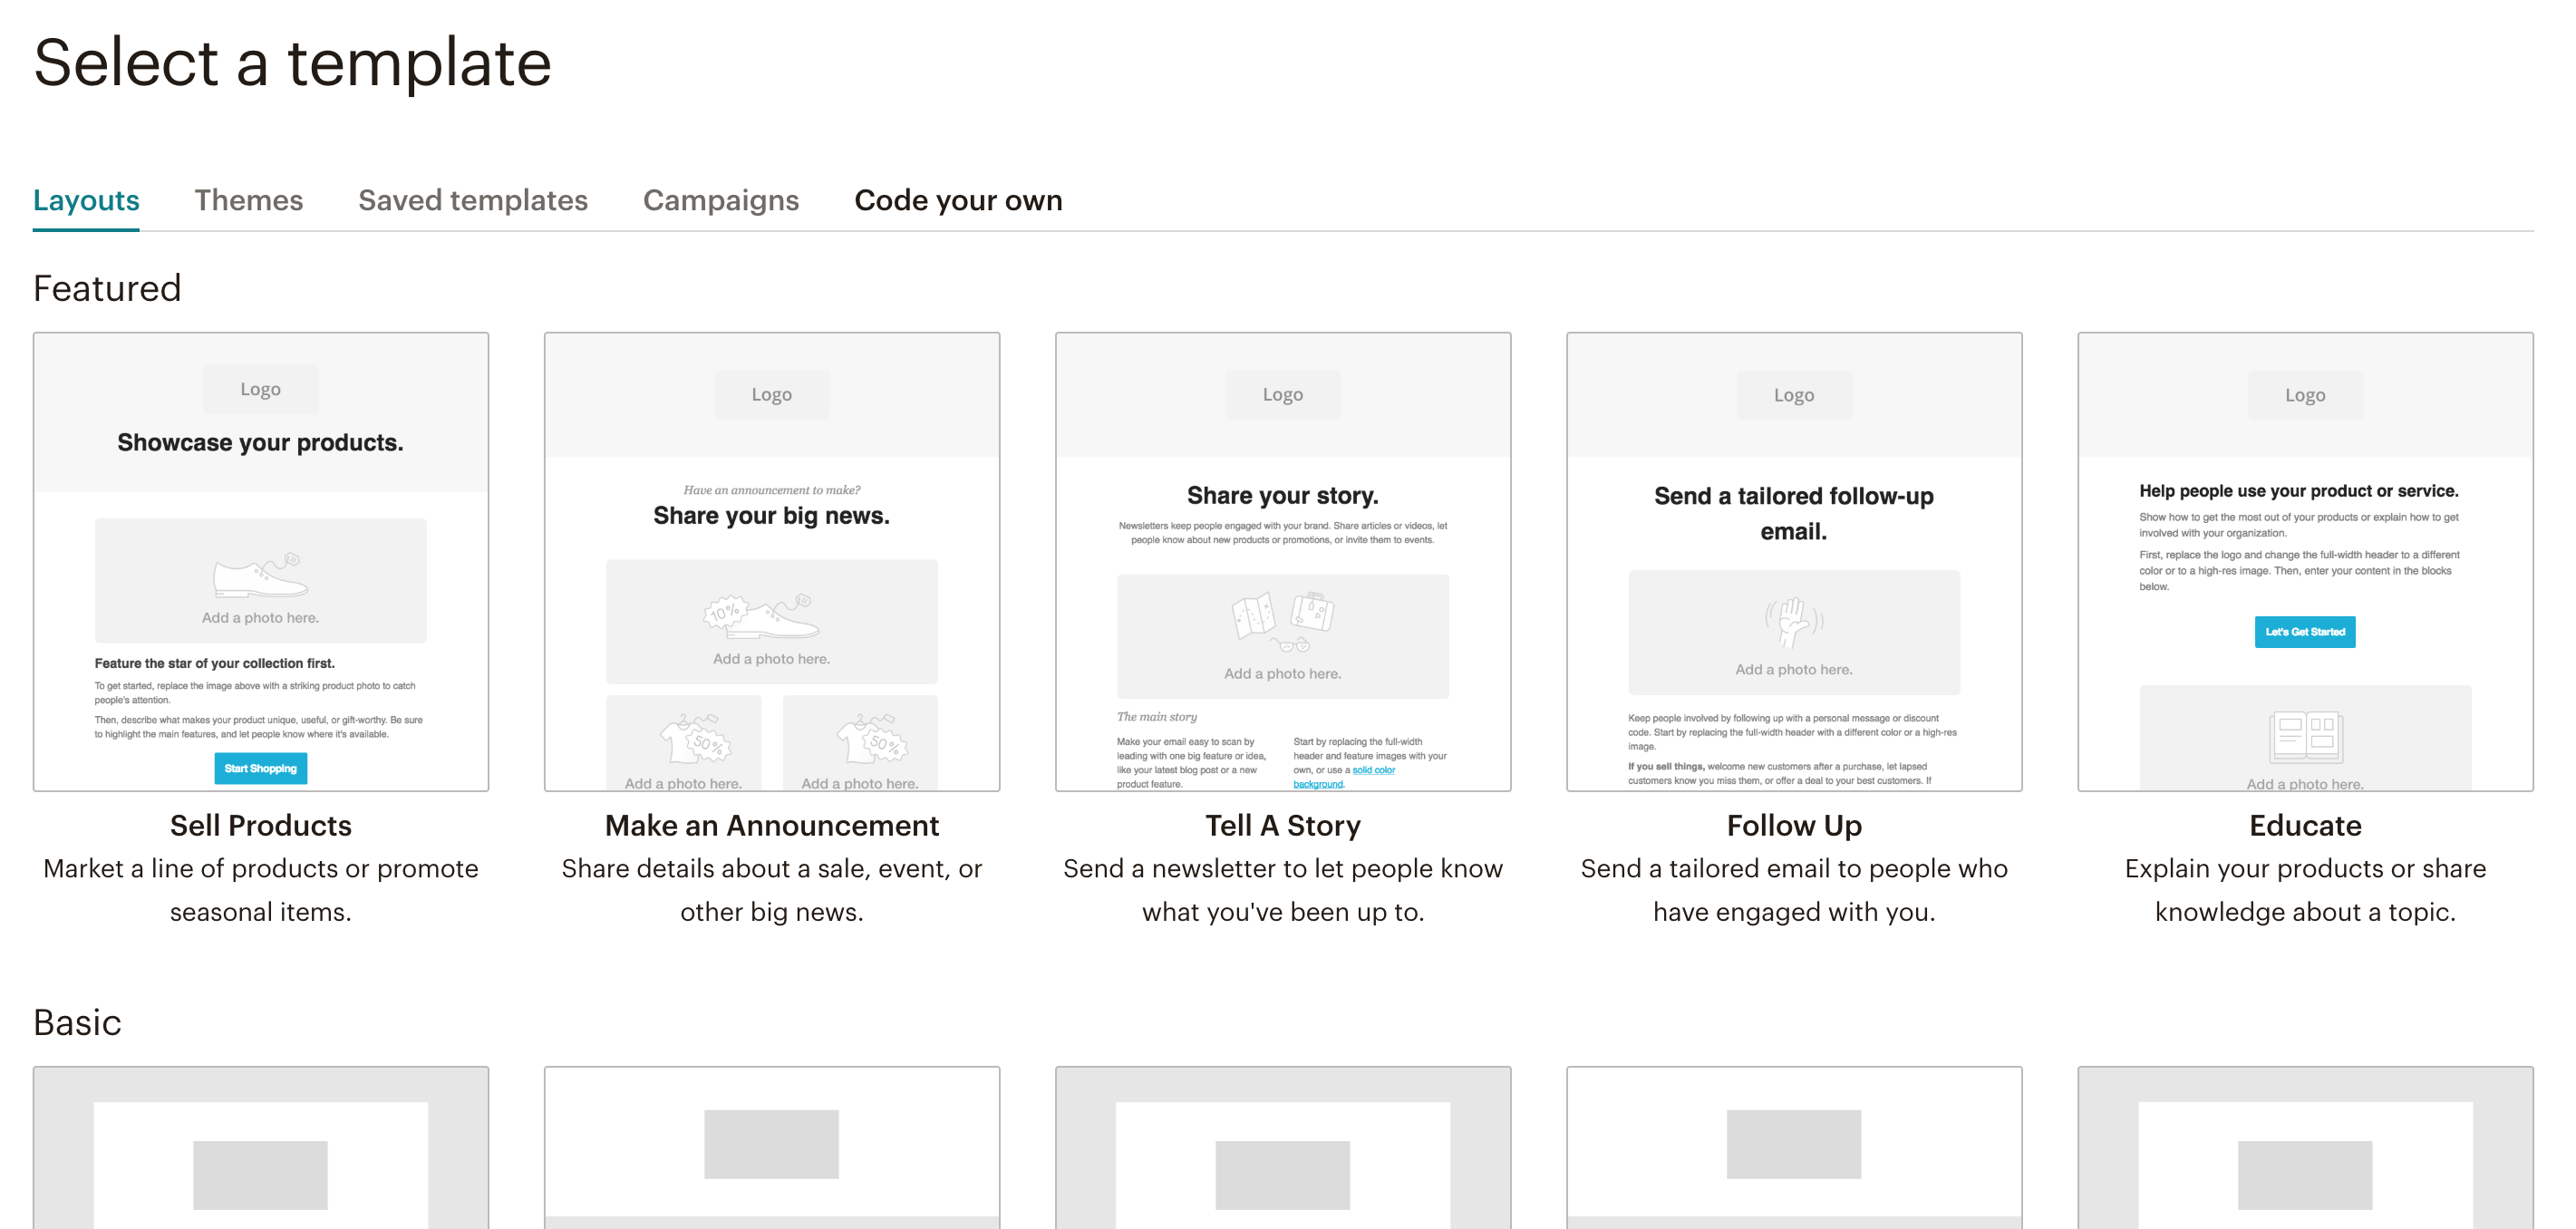
Step 5: Design your Automated Email Template
This is the fun part for all of the design-oriented folks reading this post, you get to put together the beautiful email that will be sent to your users every day, week, or month. We just used the first template shown in the list, called Sell Products. Click on the next button.
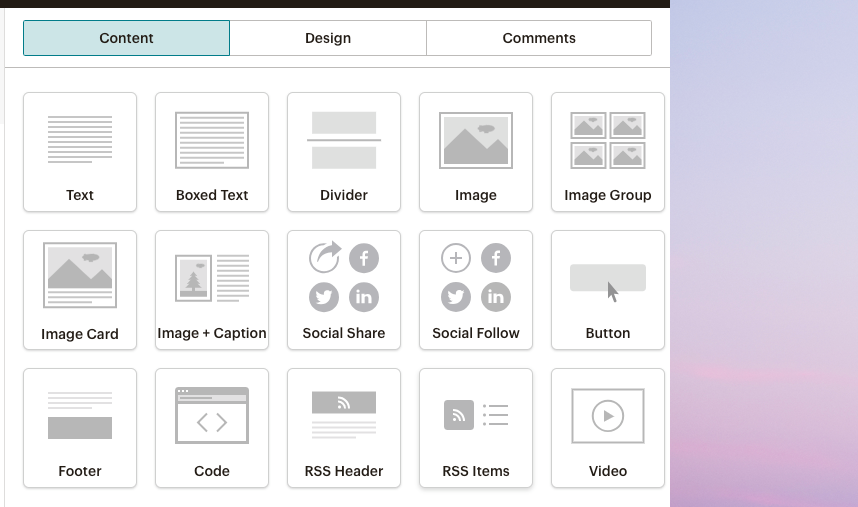
Now, it should show an editor that allows you to adjust different sections of the email. We deleted a bunch of the sections in this email and then the easiest way to add your RSS feed information is to drag the RSS Feeds button on the right side of your screen over to the email editor (visible in the image below).
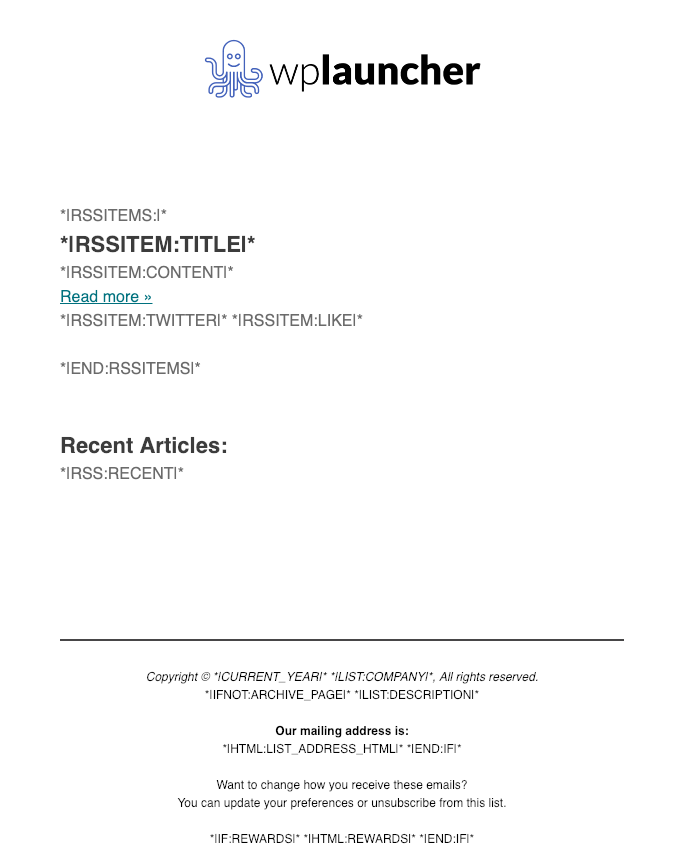
However, you can also edit the RSS feed content that shows up in the email by using MailChimp’s RSS Merge tags. We edited some of the content in the default button (as you can see from the image below). We also added our logo at the top of the email and adjusted the background color of the header and footer to be white. Our email looks like the following image:
You’re almost there! Make sure to click the Next button when you are satisfied with your email
If you would like some help designing or creating your automated email template, reach out to us.
Step 6: Review and Launch
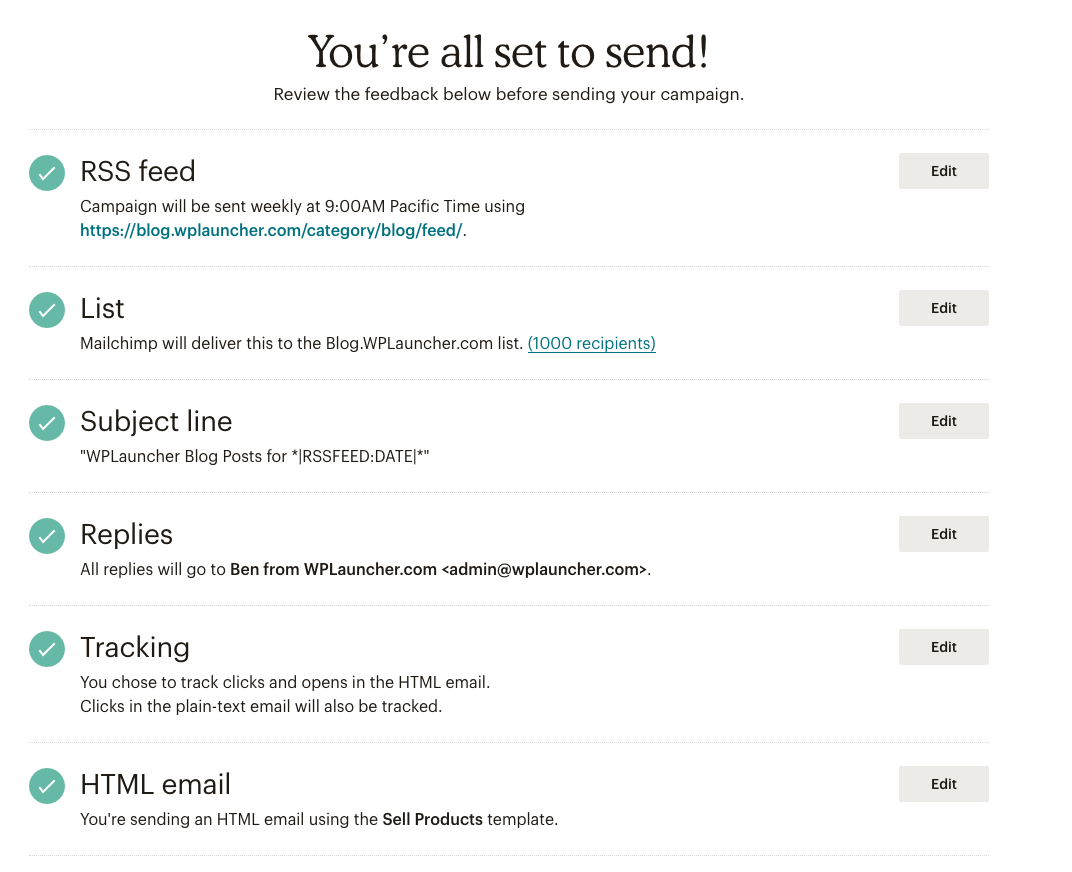
MailChimp should take you to the following page, allowing you to make sure you have everything set up properly. Once you have green (or yellow) checks next to everything, click on the Start RSS button at the bottom
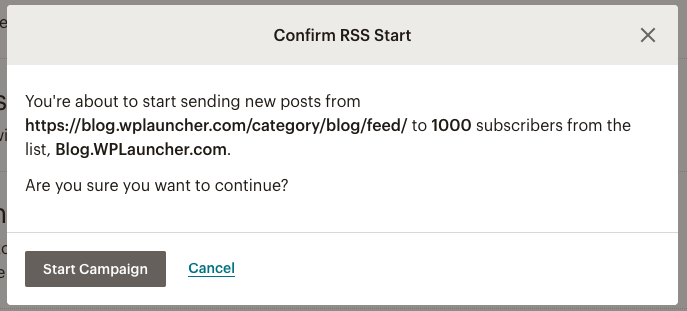
This should popup an additional confirmation message, asking if you’re reading to start your amazing new automated email newsletter. Yes, I am! Let’s do this 🙂 Click on the Start Campaign button.
MailChimp then sends you to this fun page where they congratulate you on your awesomeness 🙂
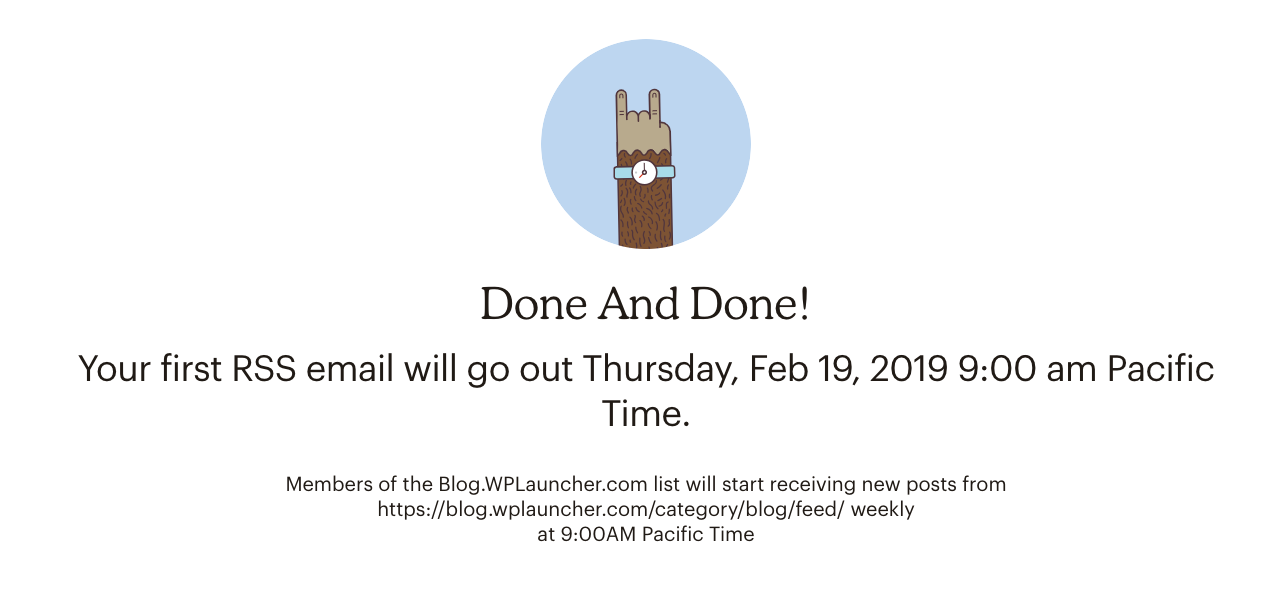
And, that’s all there is to it! Now, onto the fun part, growing your newsletter’s subscriber base and adding new posts.
Amazing post Ben!! Thank you for sharing how to do this, it sounds like a trivial thing to set up but obviously it’s not, it’s a multi-step process to create automated email workflows!