Learn how to create a MailChimp campaign in 4 easy steps. We’ll describe what the terminology means and how to start sending out newsletters to your audience.
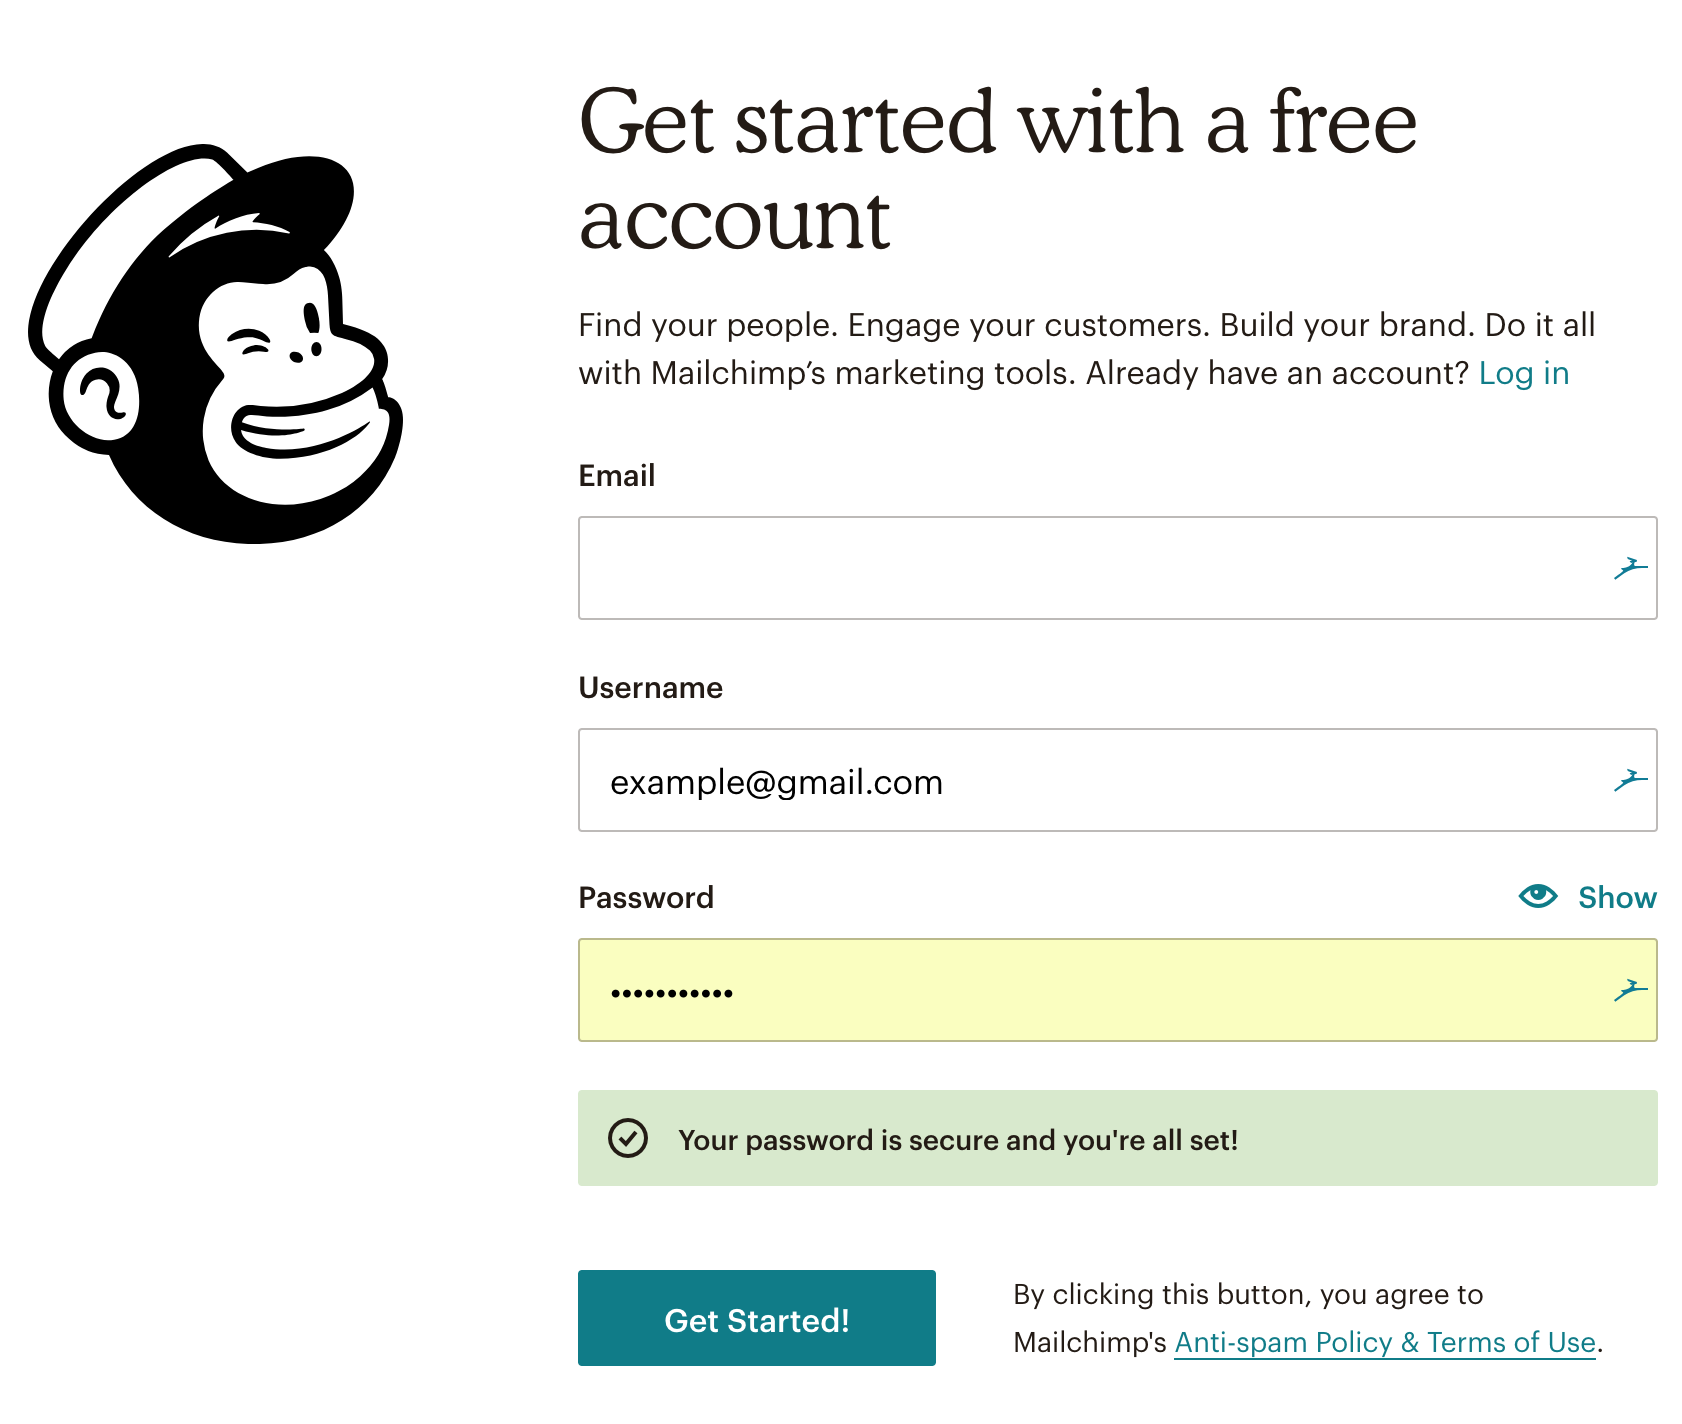
Step 1: Sign up for MailChimp
Sign up for MailChimp at https://mailchimp.com/signup/
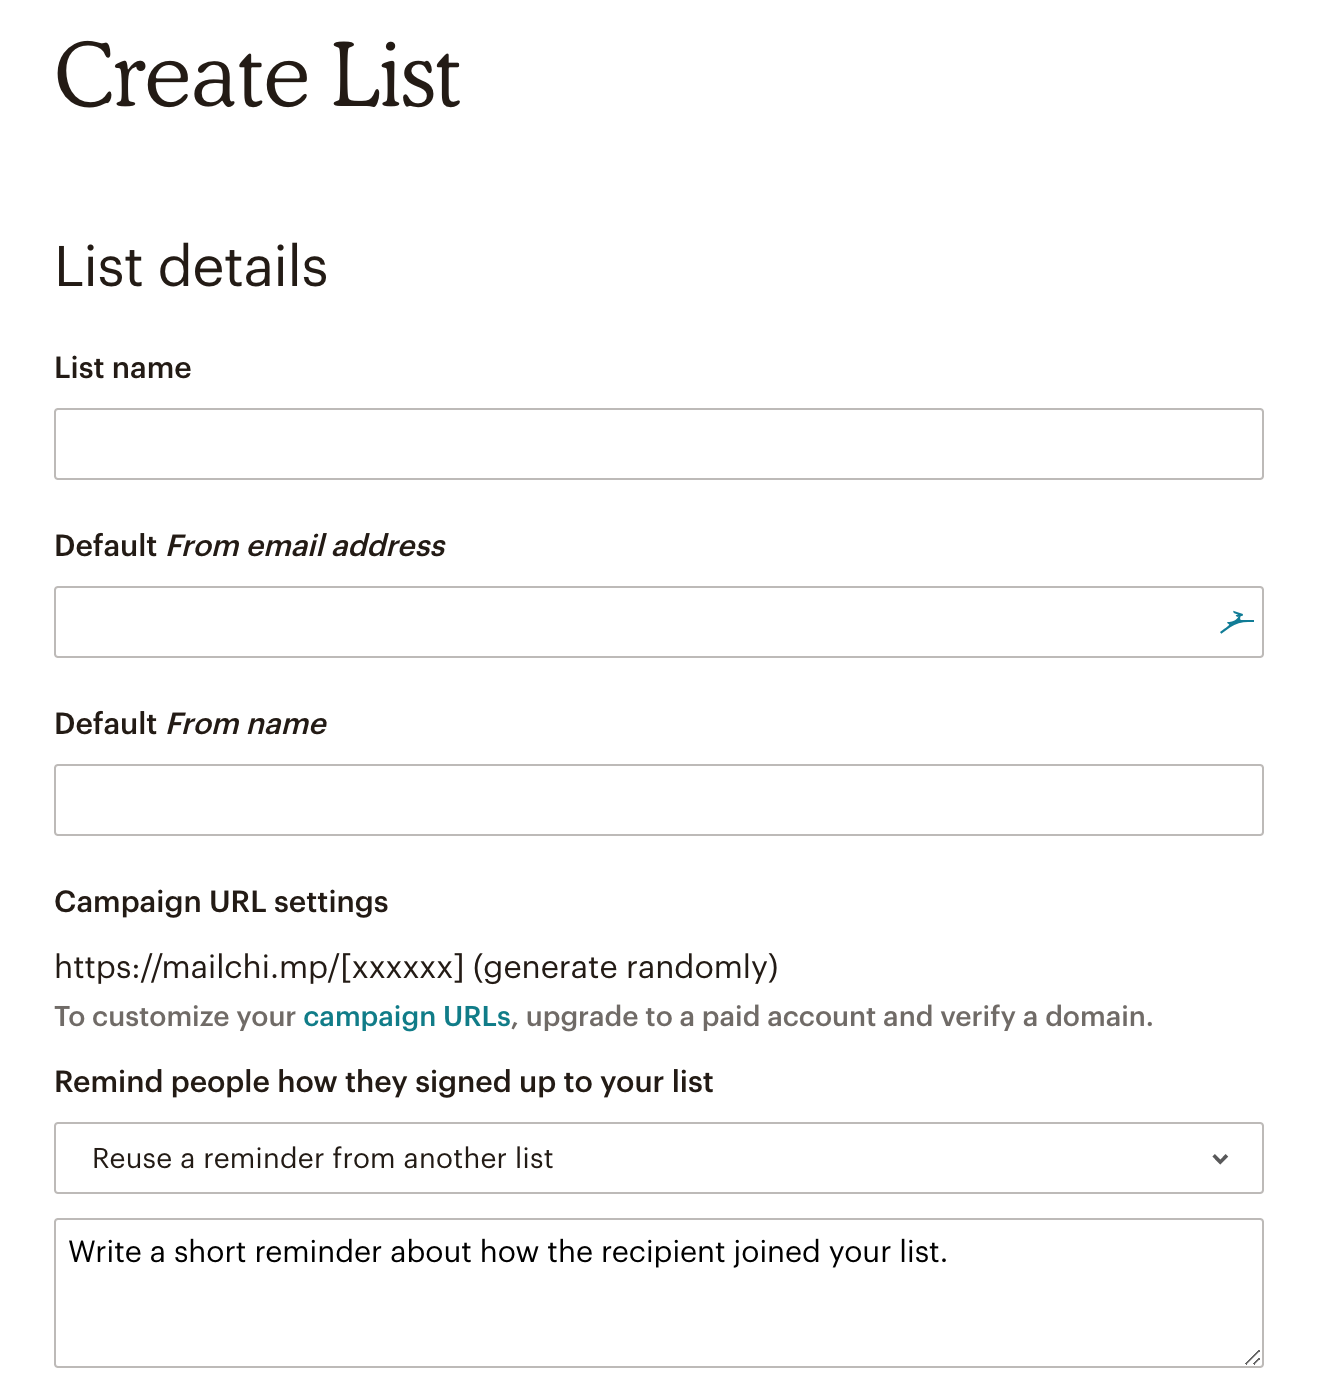
Step 2: Create List
Now that you have an account and are logged into your MailChimp account, your first step is to create a list. For your information, a list consists of a collection of email addresses. Enter in all of the relevant details and click the Save button.
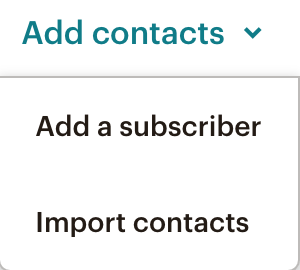
Step 3: Add Emails to the list
Now that you’ve created your list, you want to add your customer email addresses to it. Click on the list that you want to add email addresses to. Once you’ve landed on the list dashboard, you will see Add contacts as an option. Click on that tab and a drop-down menu will appear. You can eventually put a form on your website to collect customer email addresses and have them automatically subscribe to your MailChimp list OR you can import a list of subscribers, but for now, we’ll manually add an email, so click on Add a subscriber.
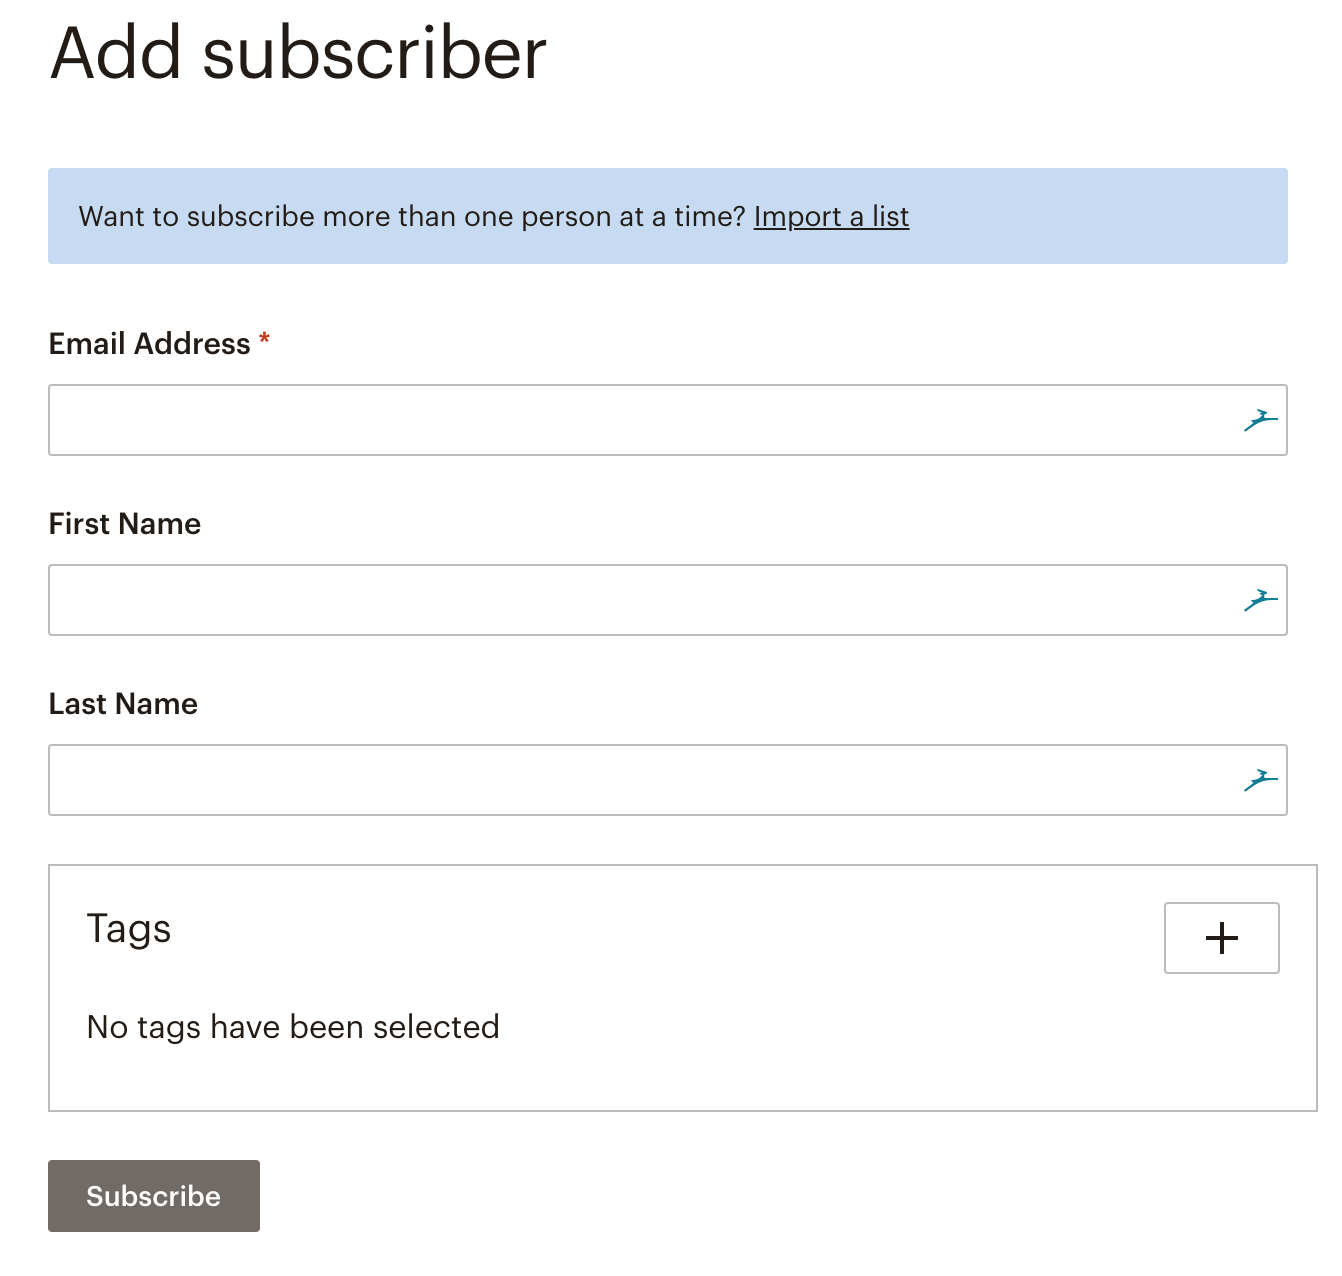
You will see the following form, start off by adding your email address and click on the Subscribe button, so that we can send the campaign to your email address.
Step 4: Create Campaign
Now that you have a list with an email address in it, you should create a campaign. For your information, a MailChimp campaign allows you to send emails to your list of subscribers (email addresses). Click on Campaigns in the top MailChimp navigation bar. Then, click on the Create Campaign button.

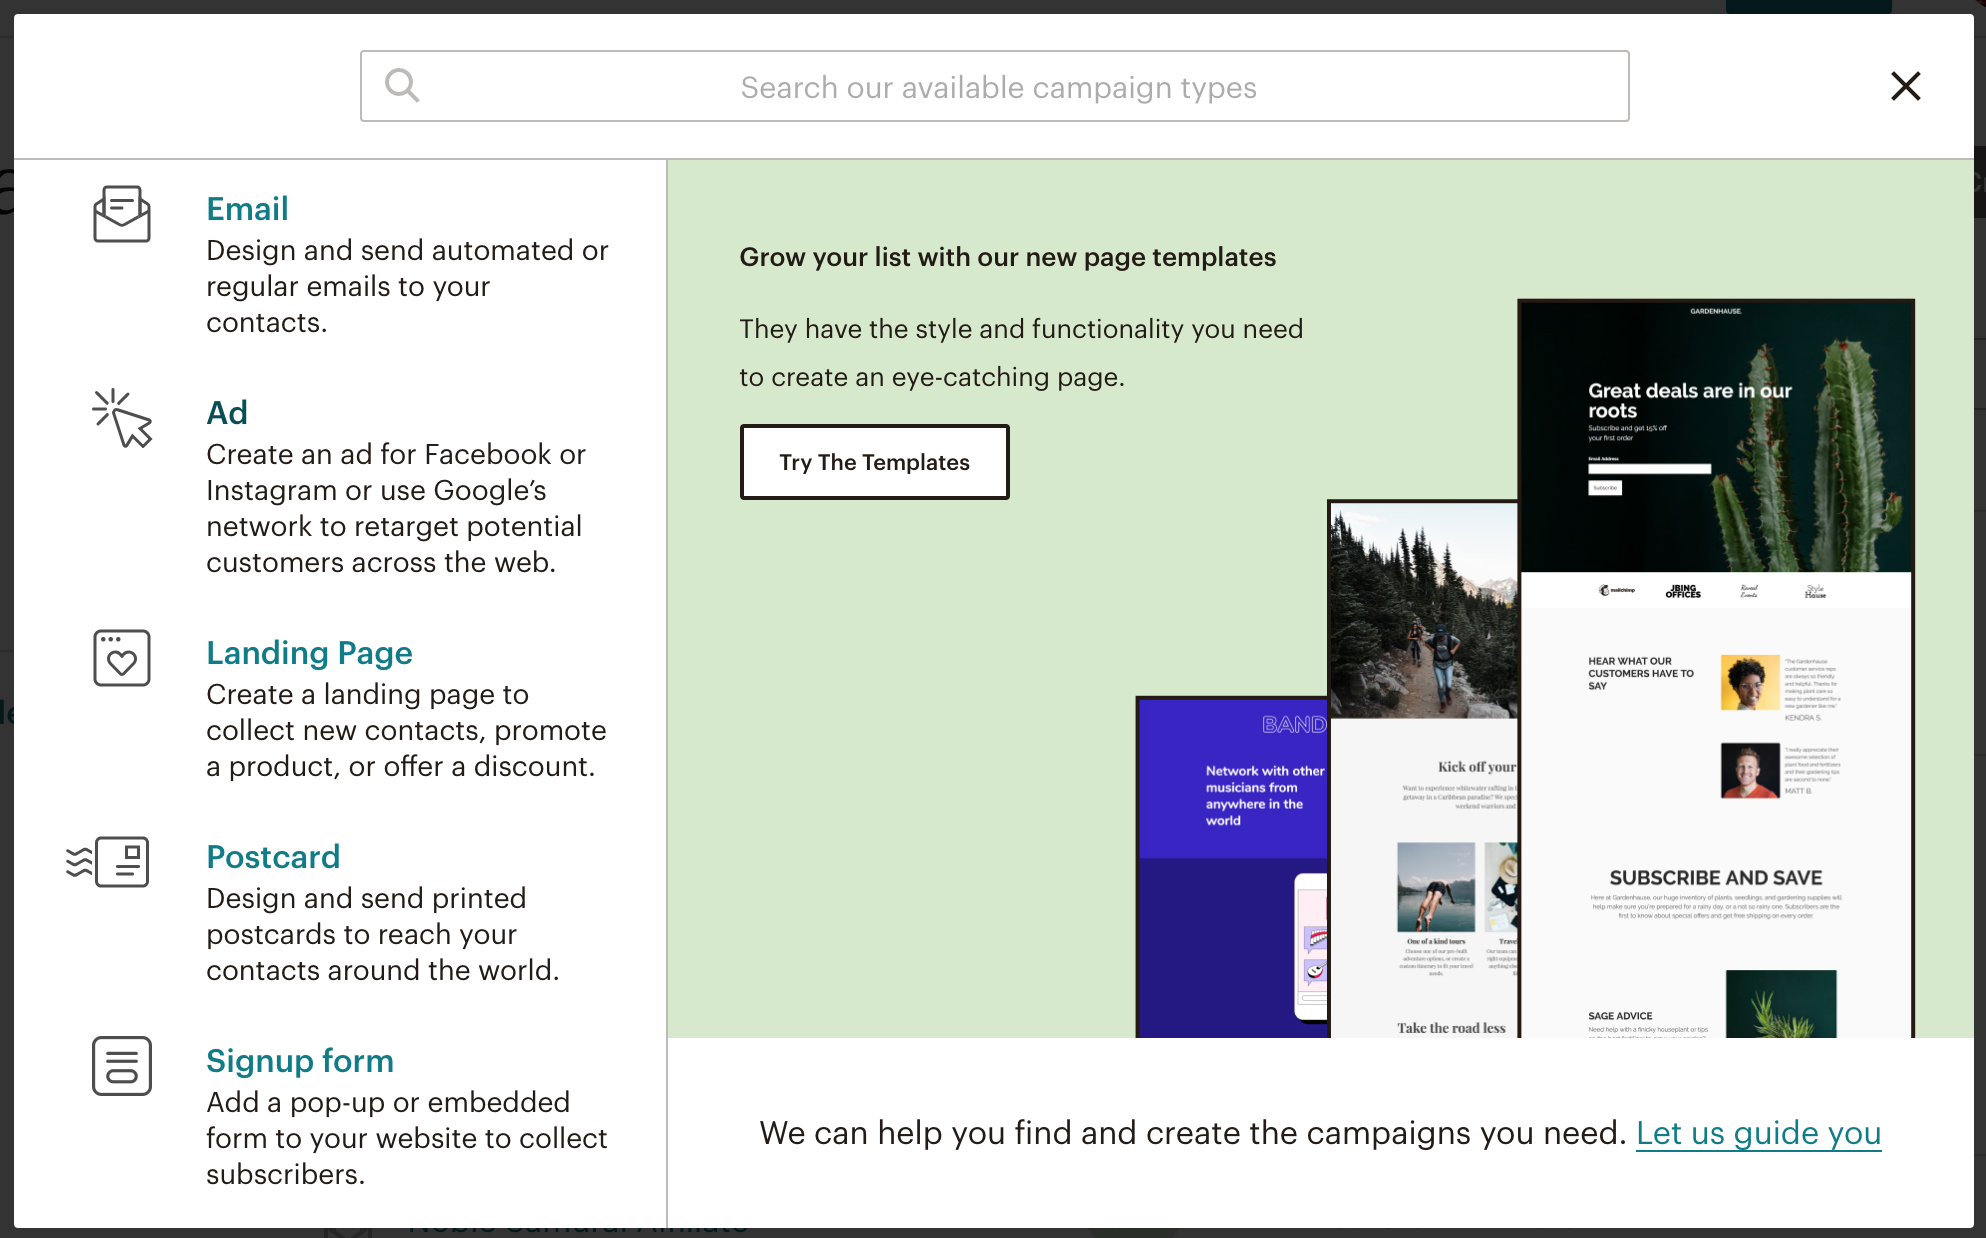
You should see the following page. Click on the Email option.
Now, you’re going to give the campaign a name. Make this something that accurately describes the content of the email that you will be sending out. In my case, I used Test Campaign as the name, but for a real campaign that I will send to
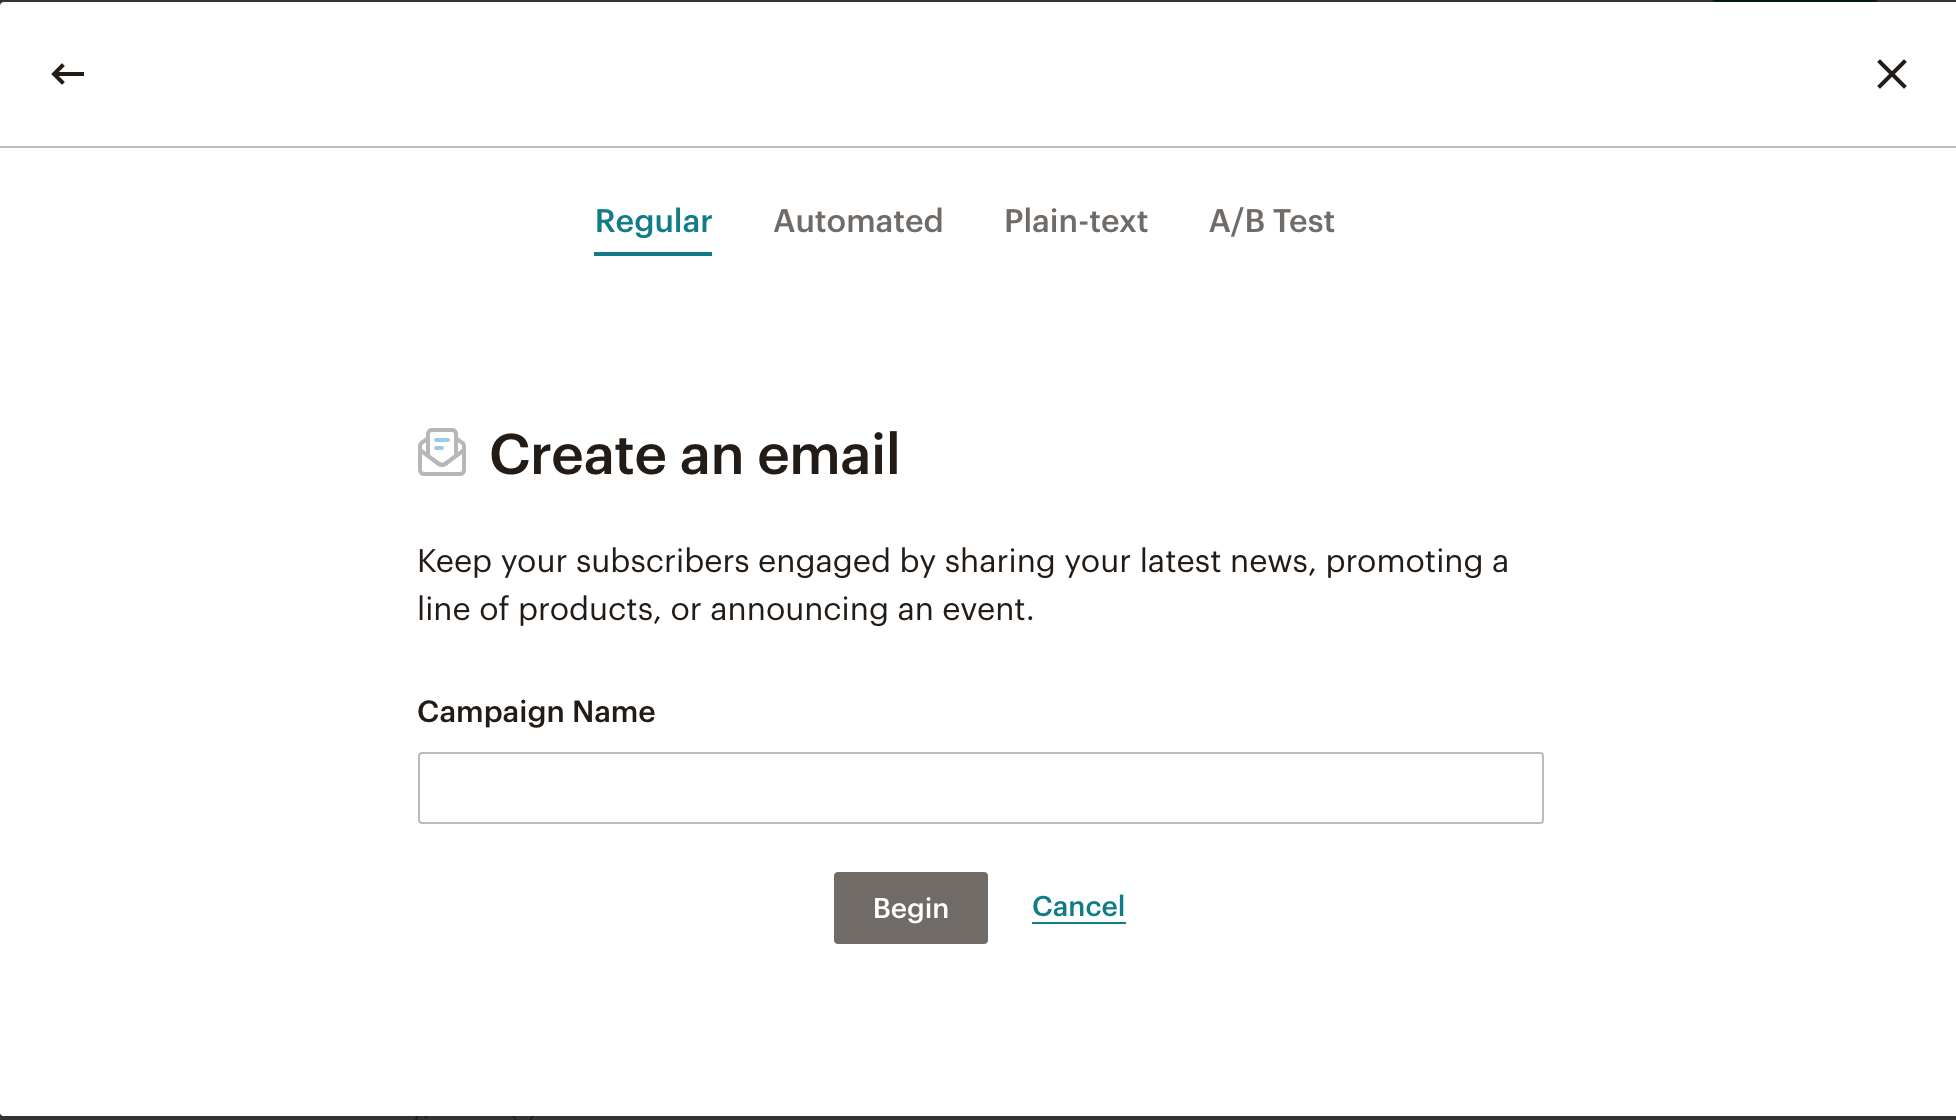
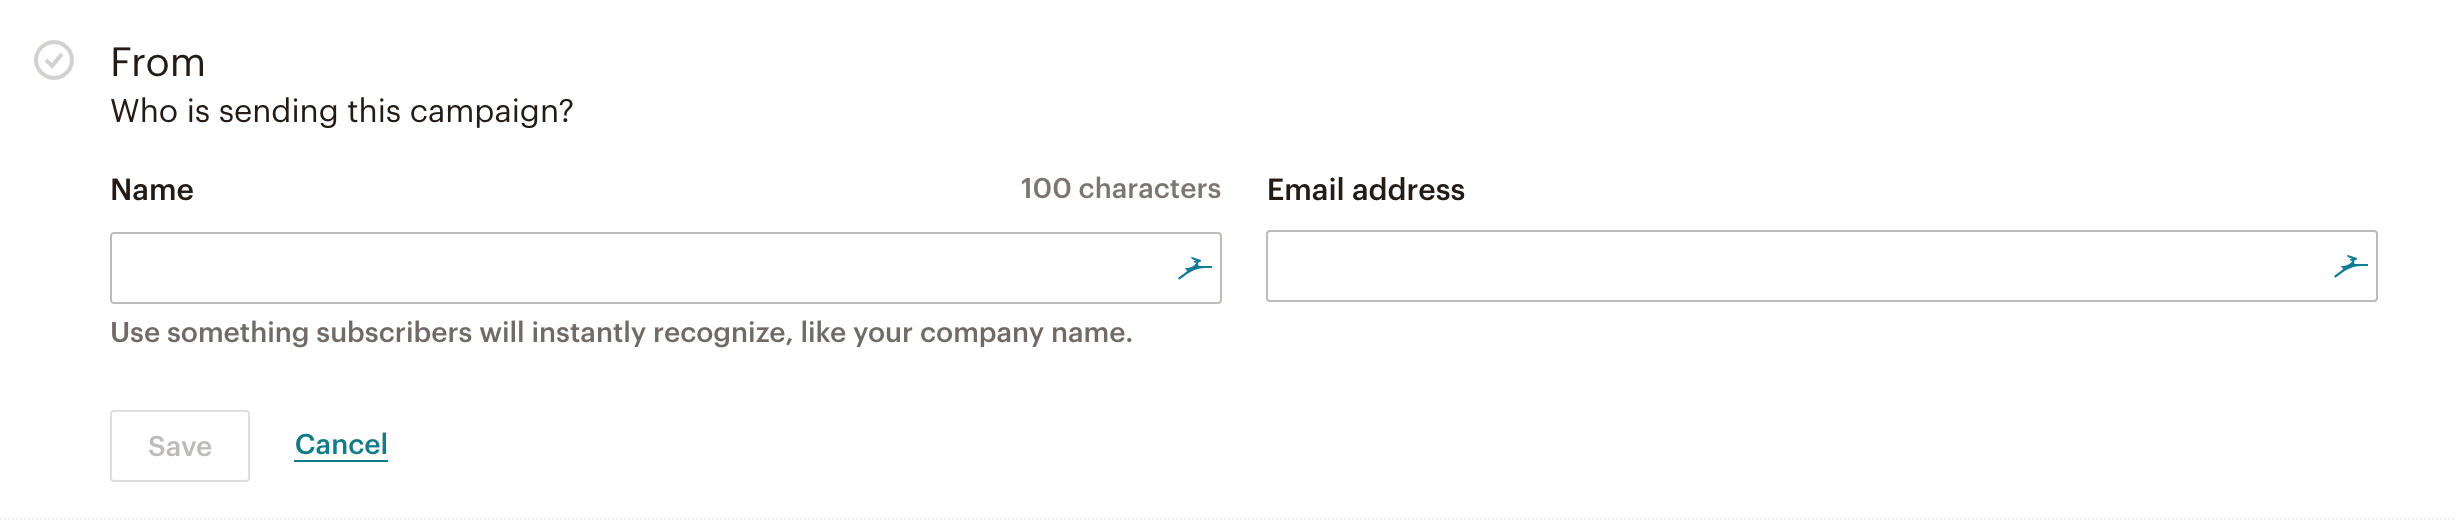
After adding the name, you’re going to want to add all of the other details associated with the email.
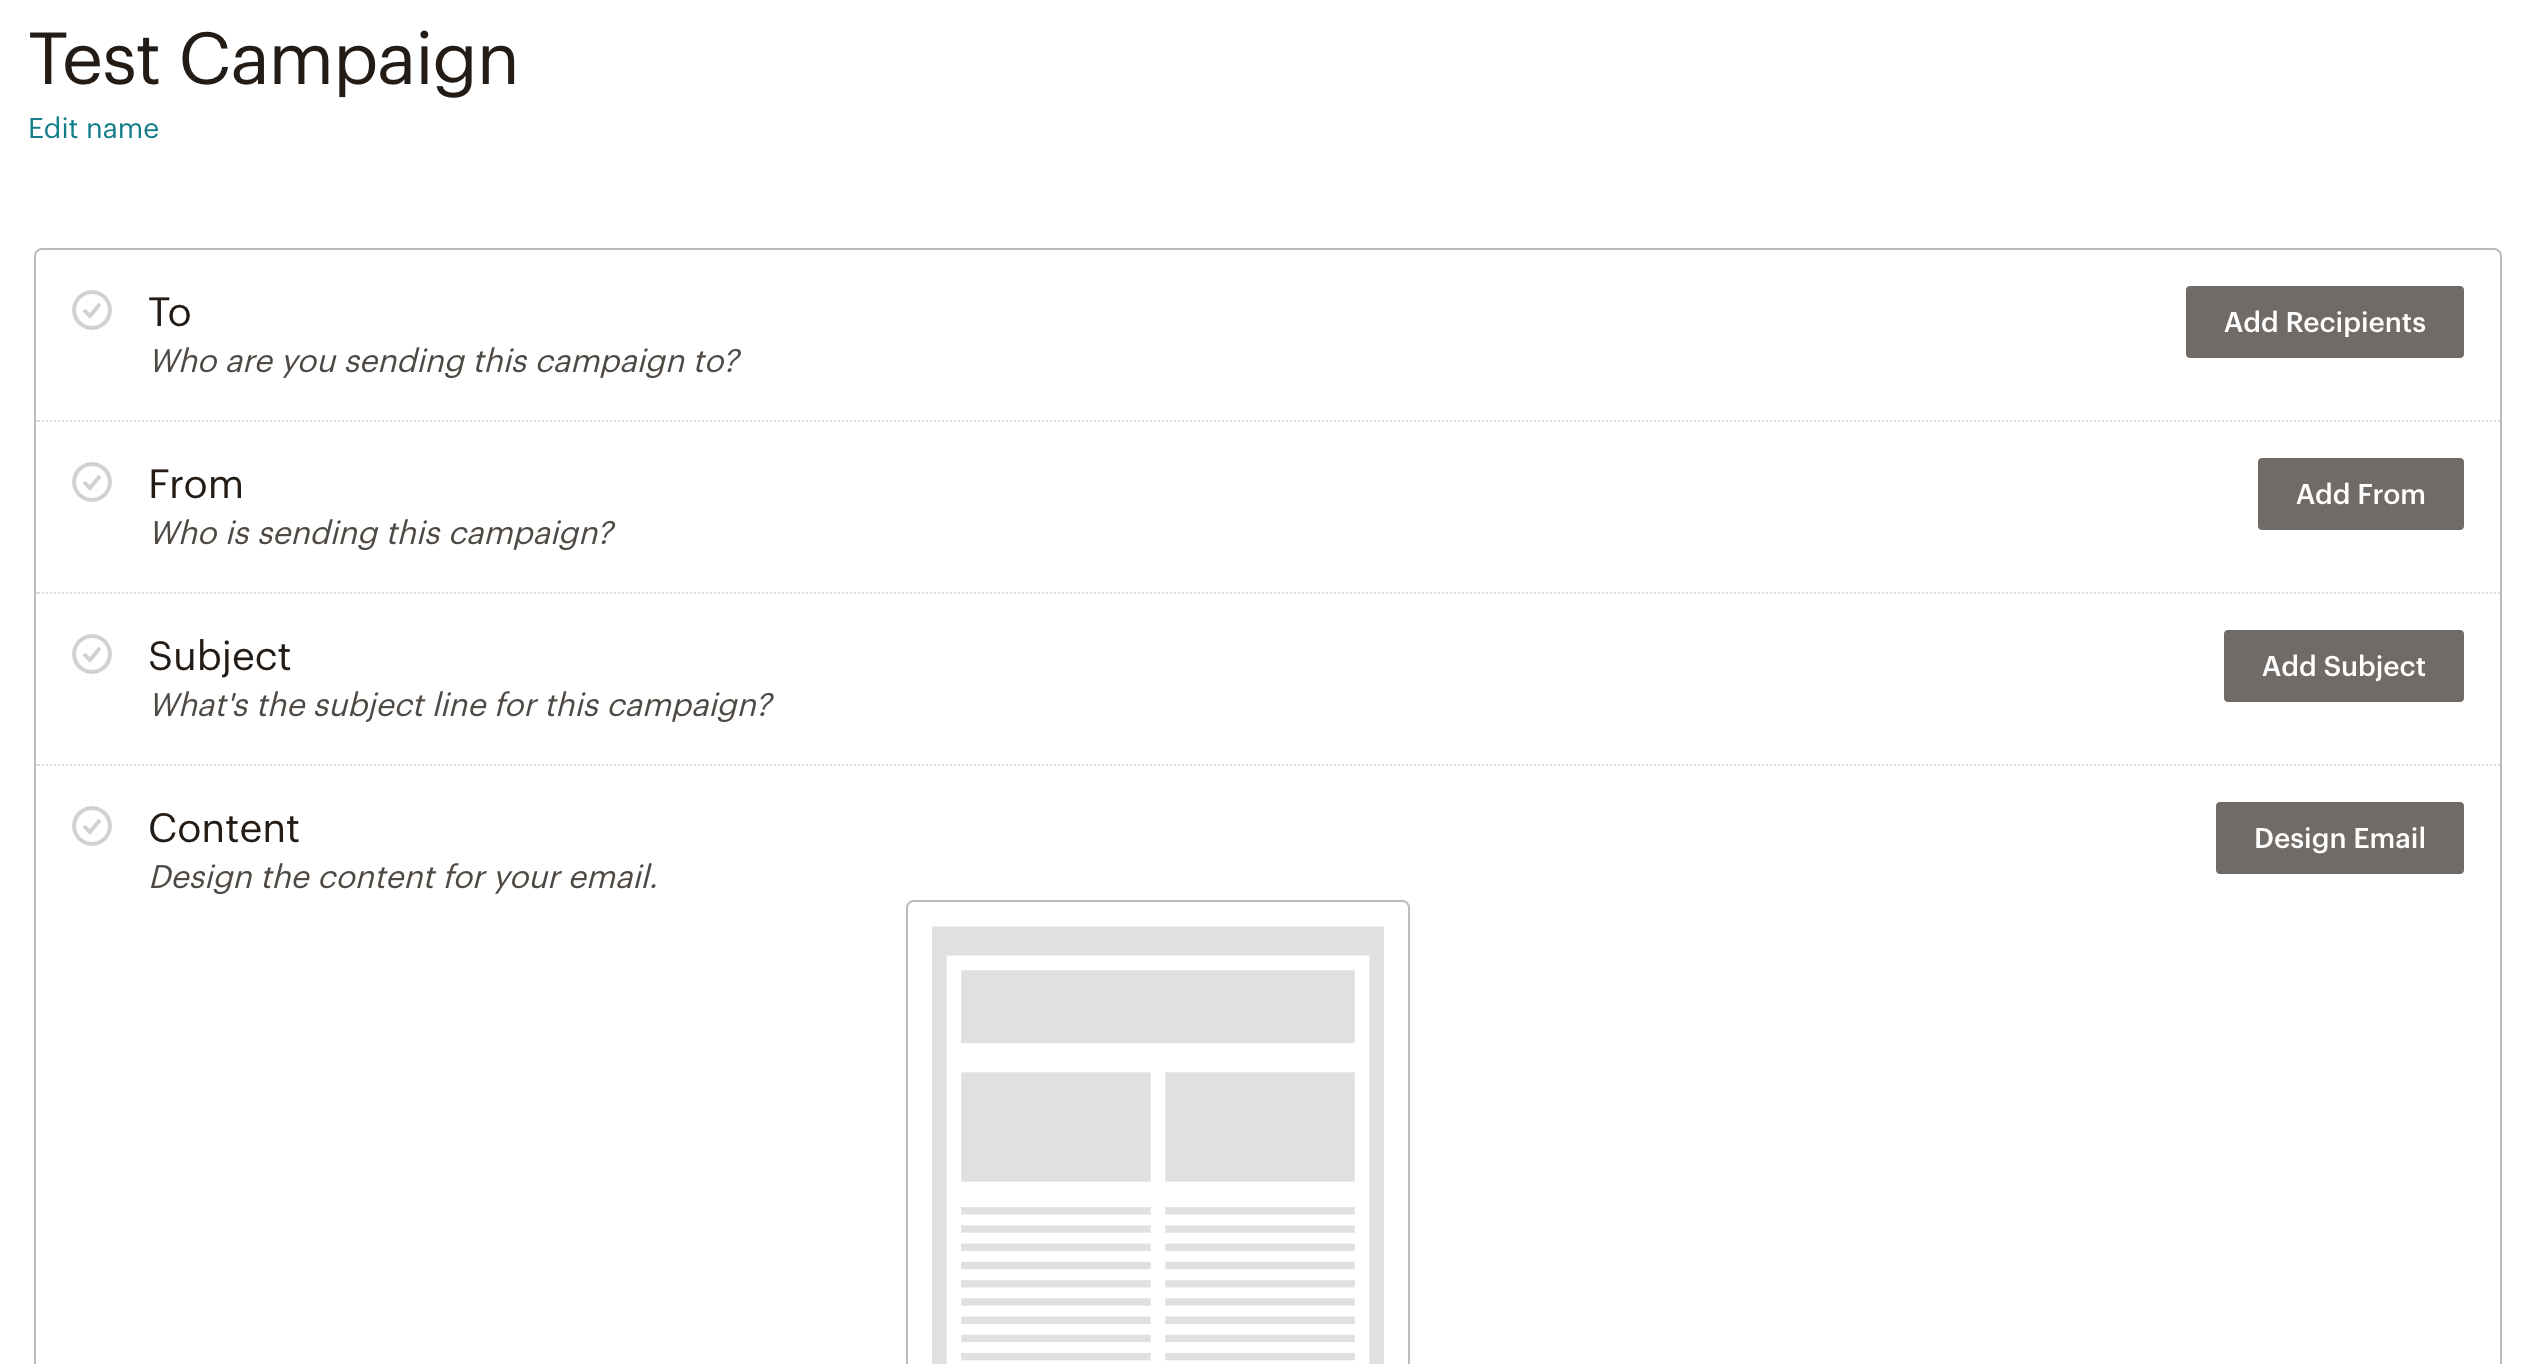
Click on the Add Recipients button. Choose the list that you just created.
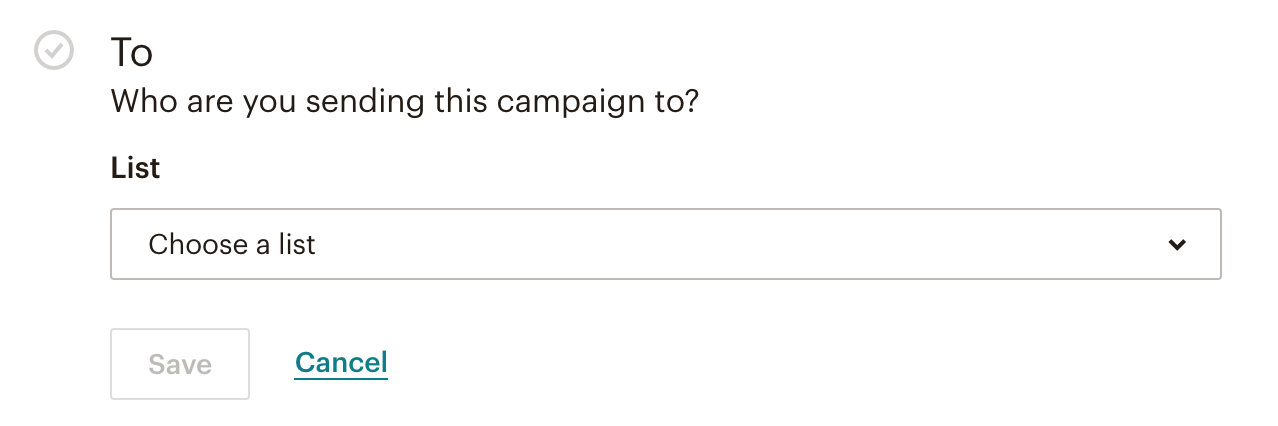
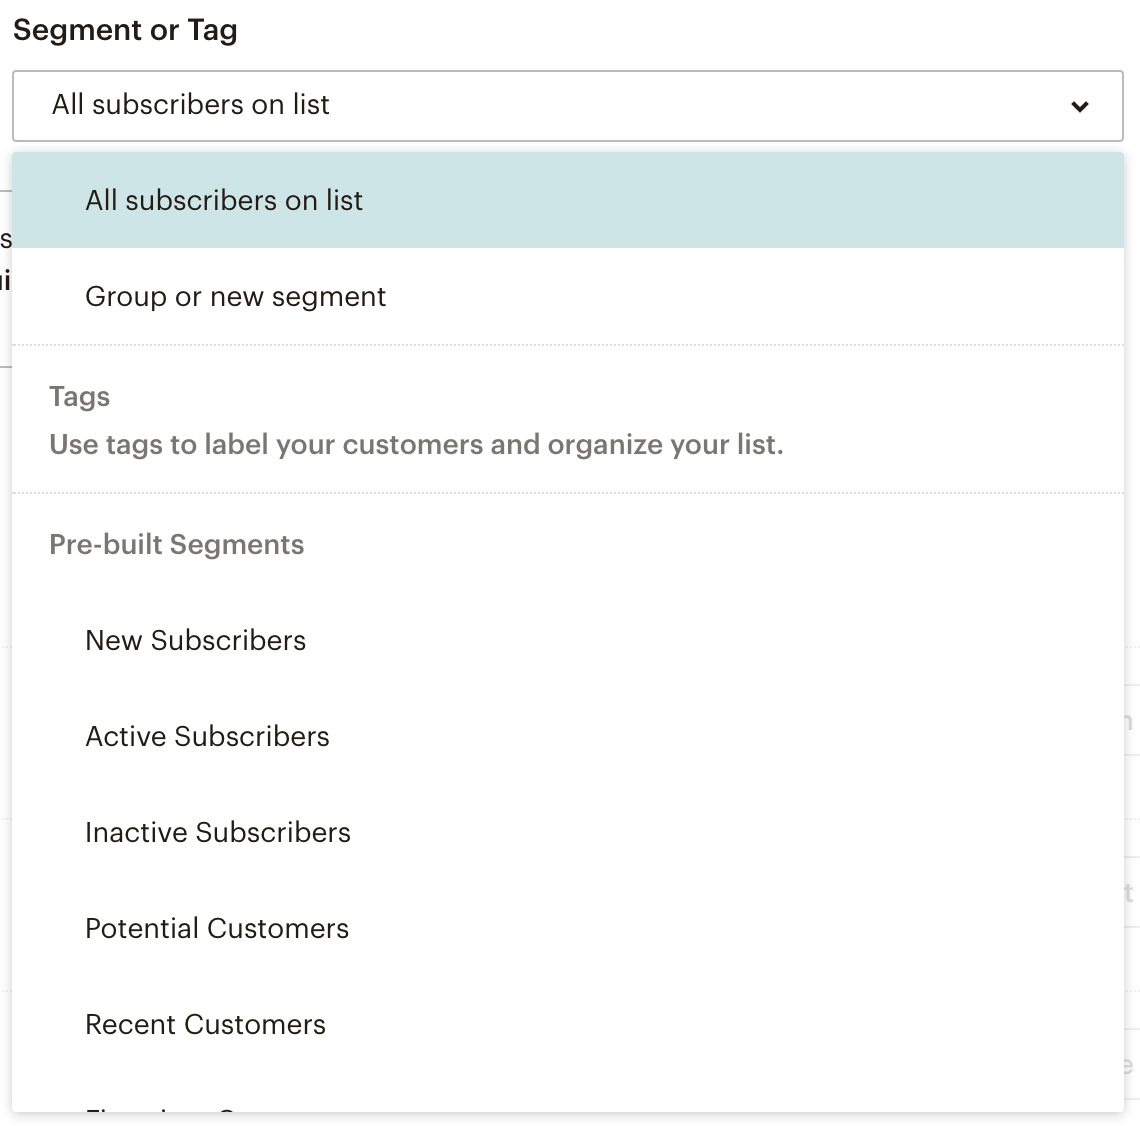
Then, choose the segment that you would like to send the email to. In our case, I just left the segment set to All subscribers on
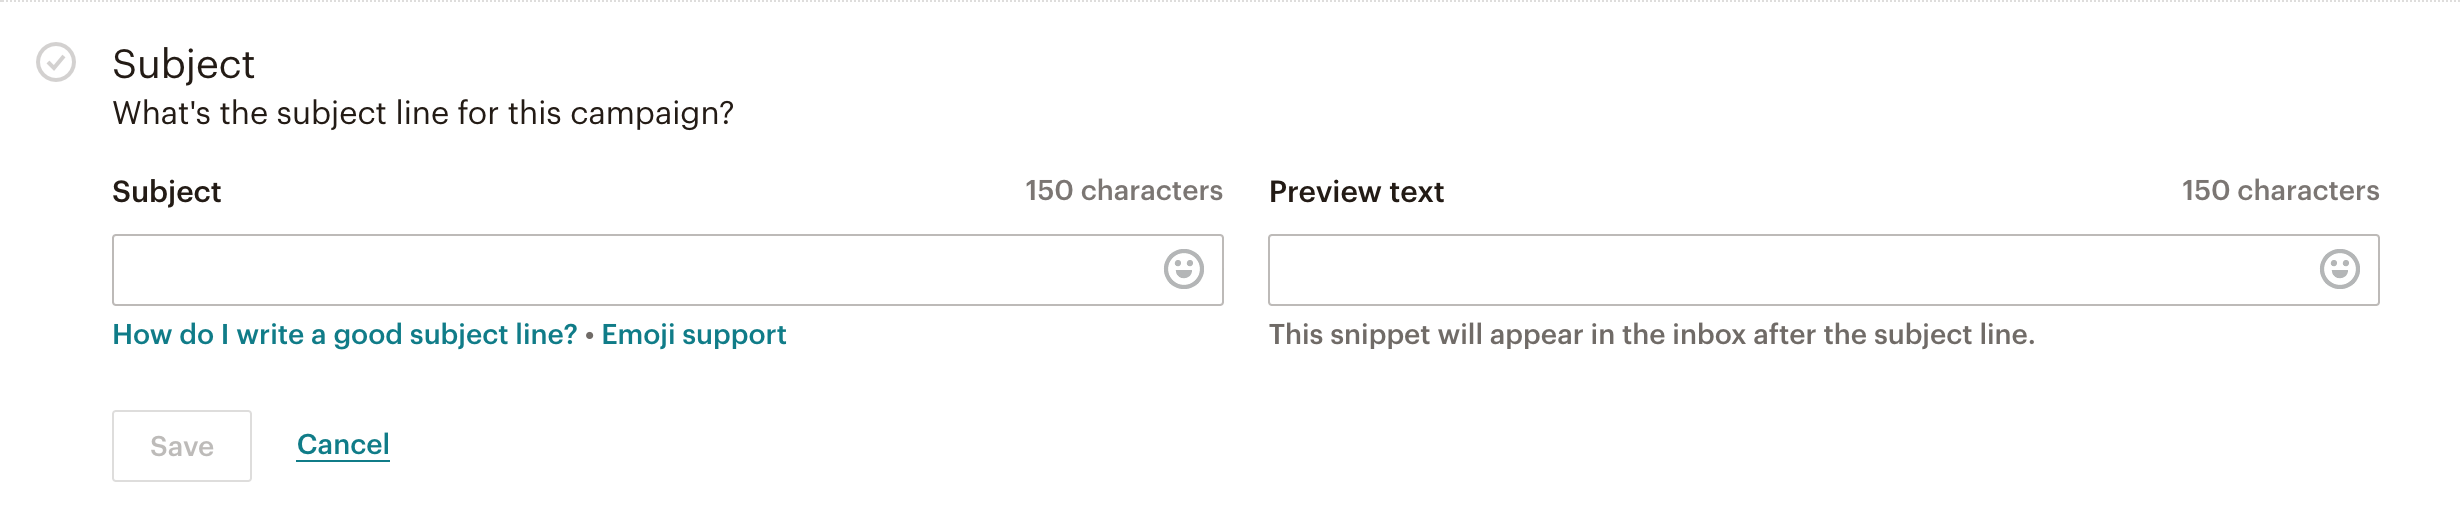
It is now time to add the “
Once you’ve saved
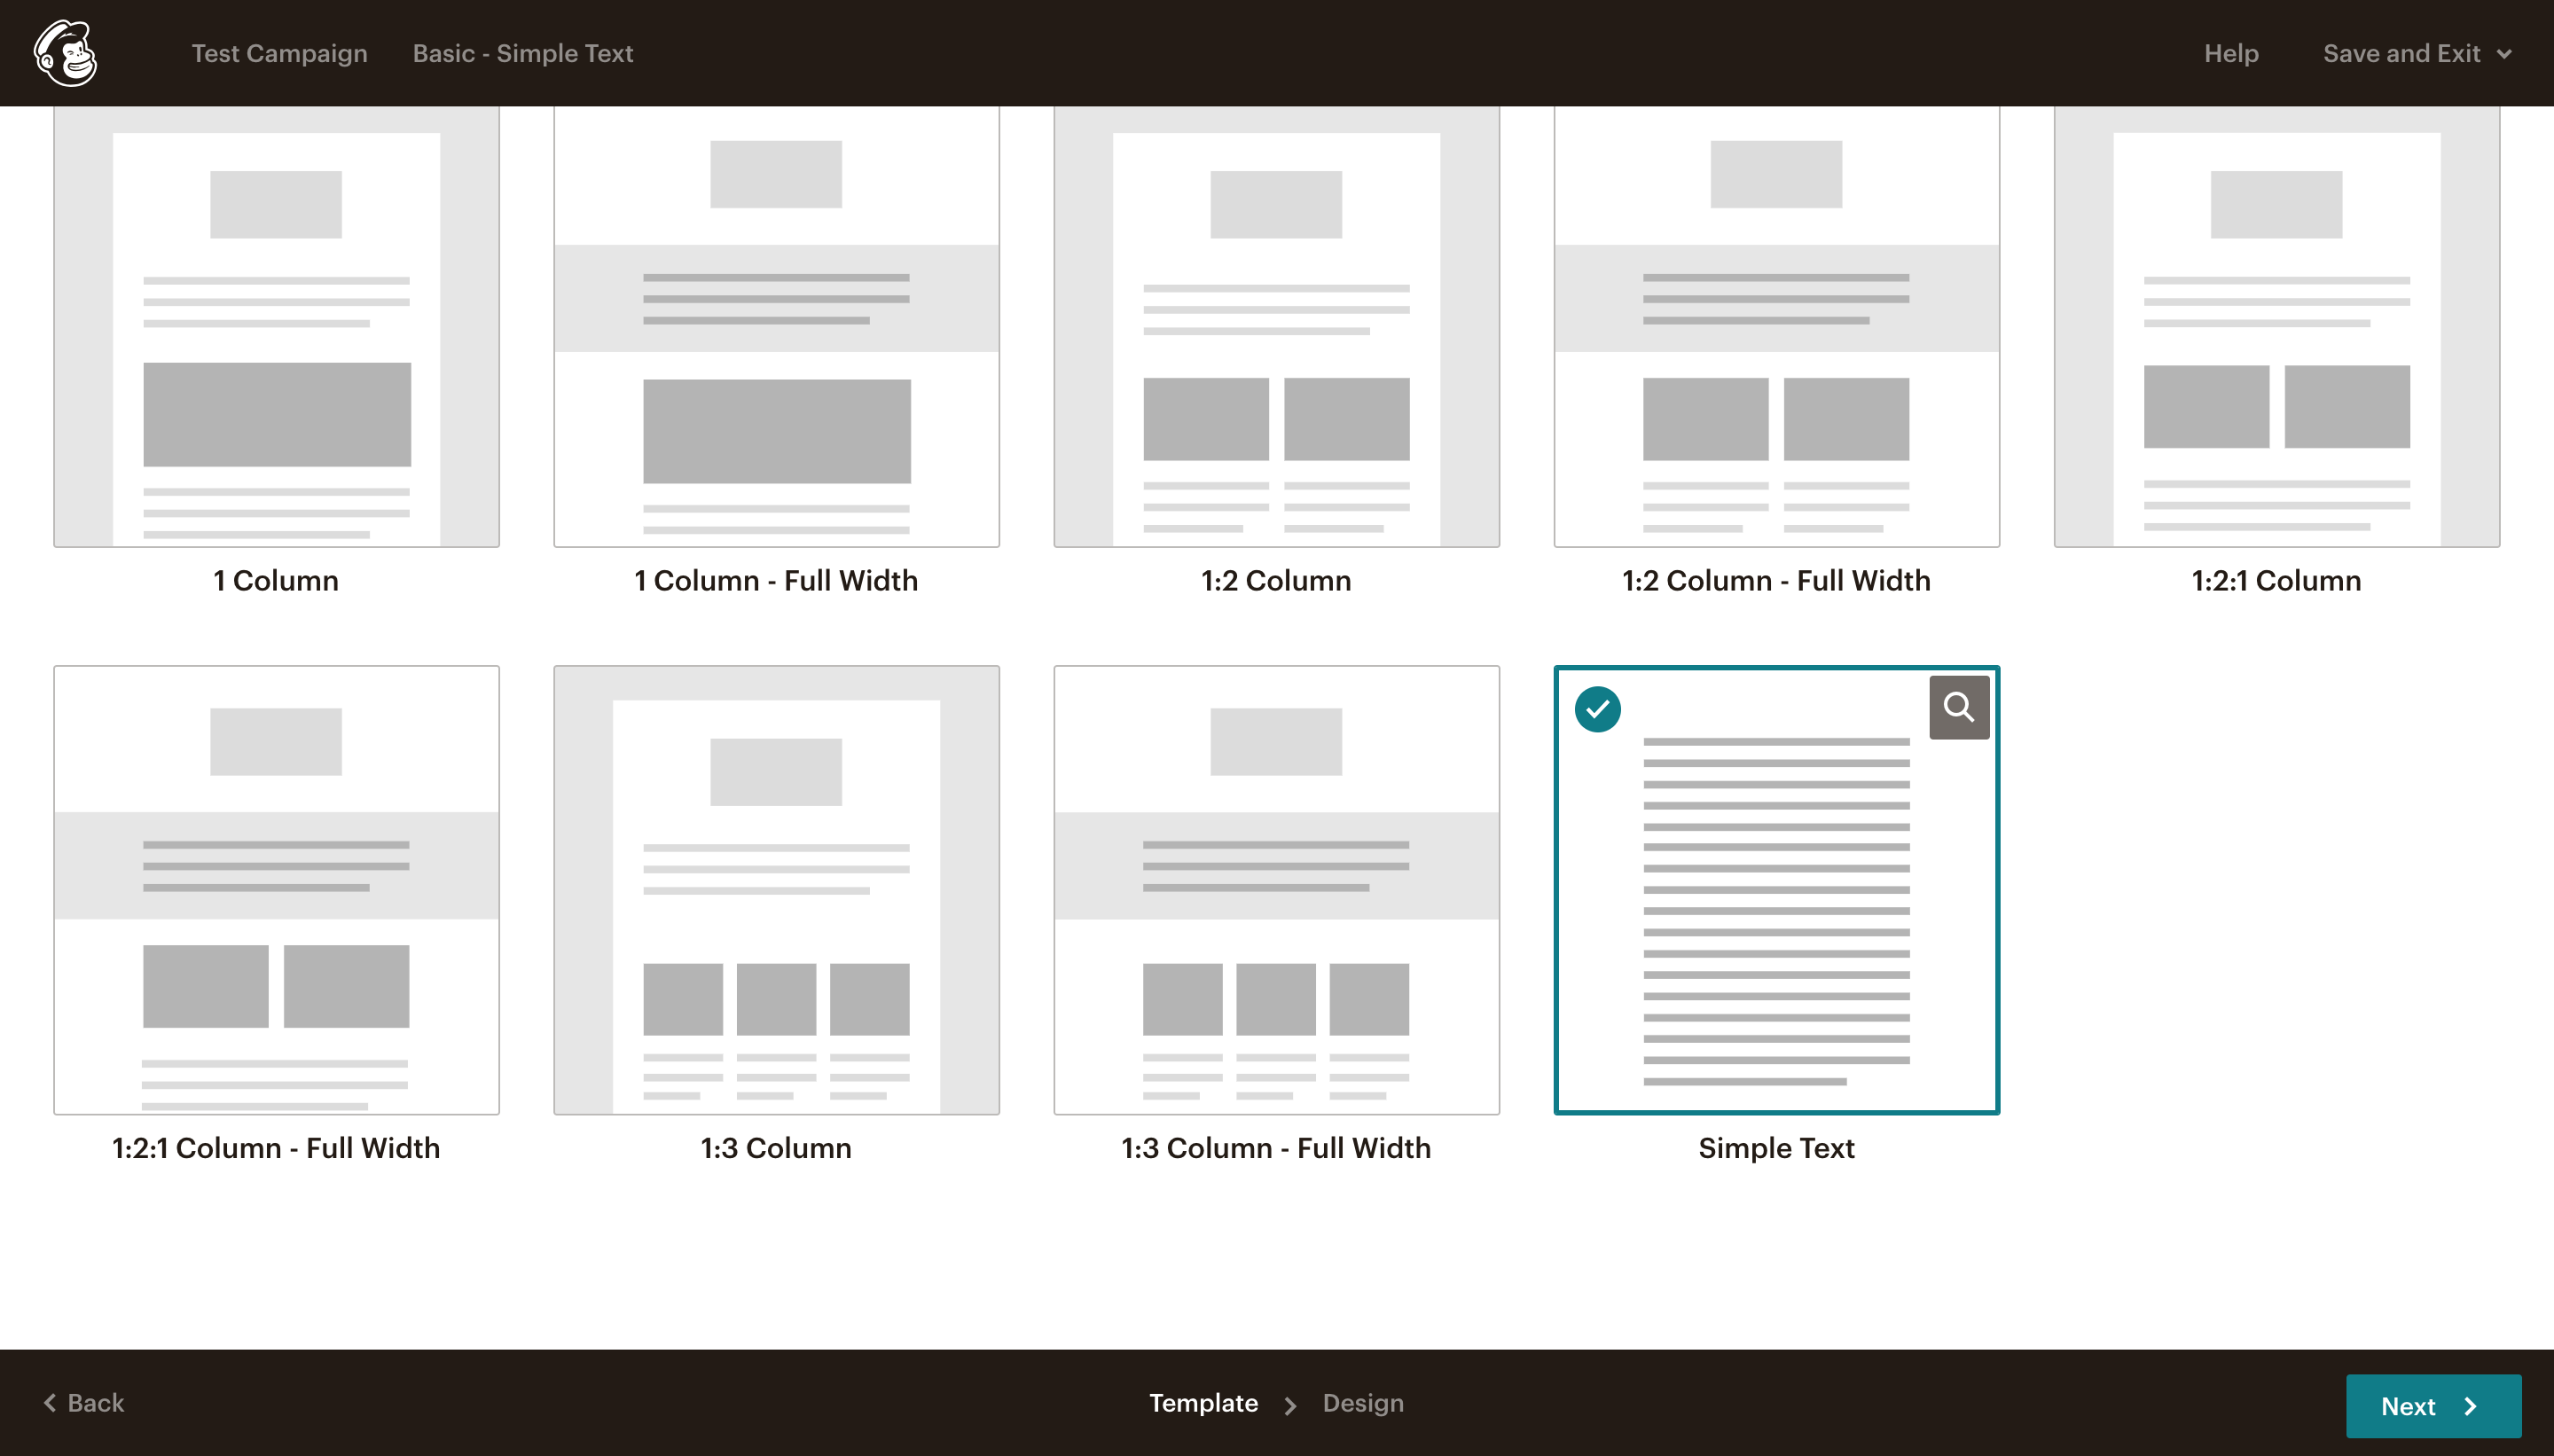
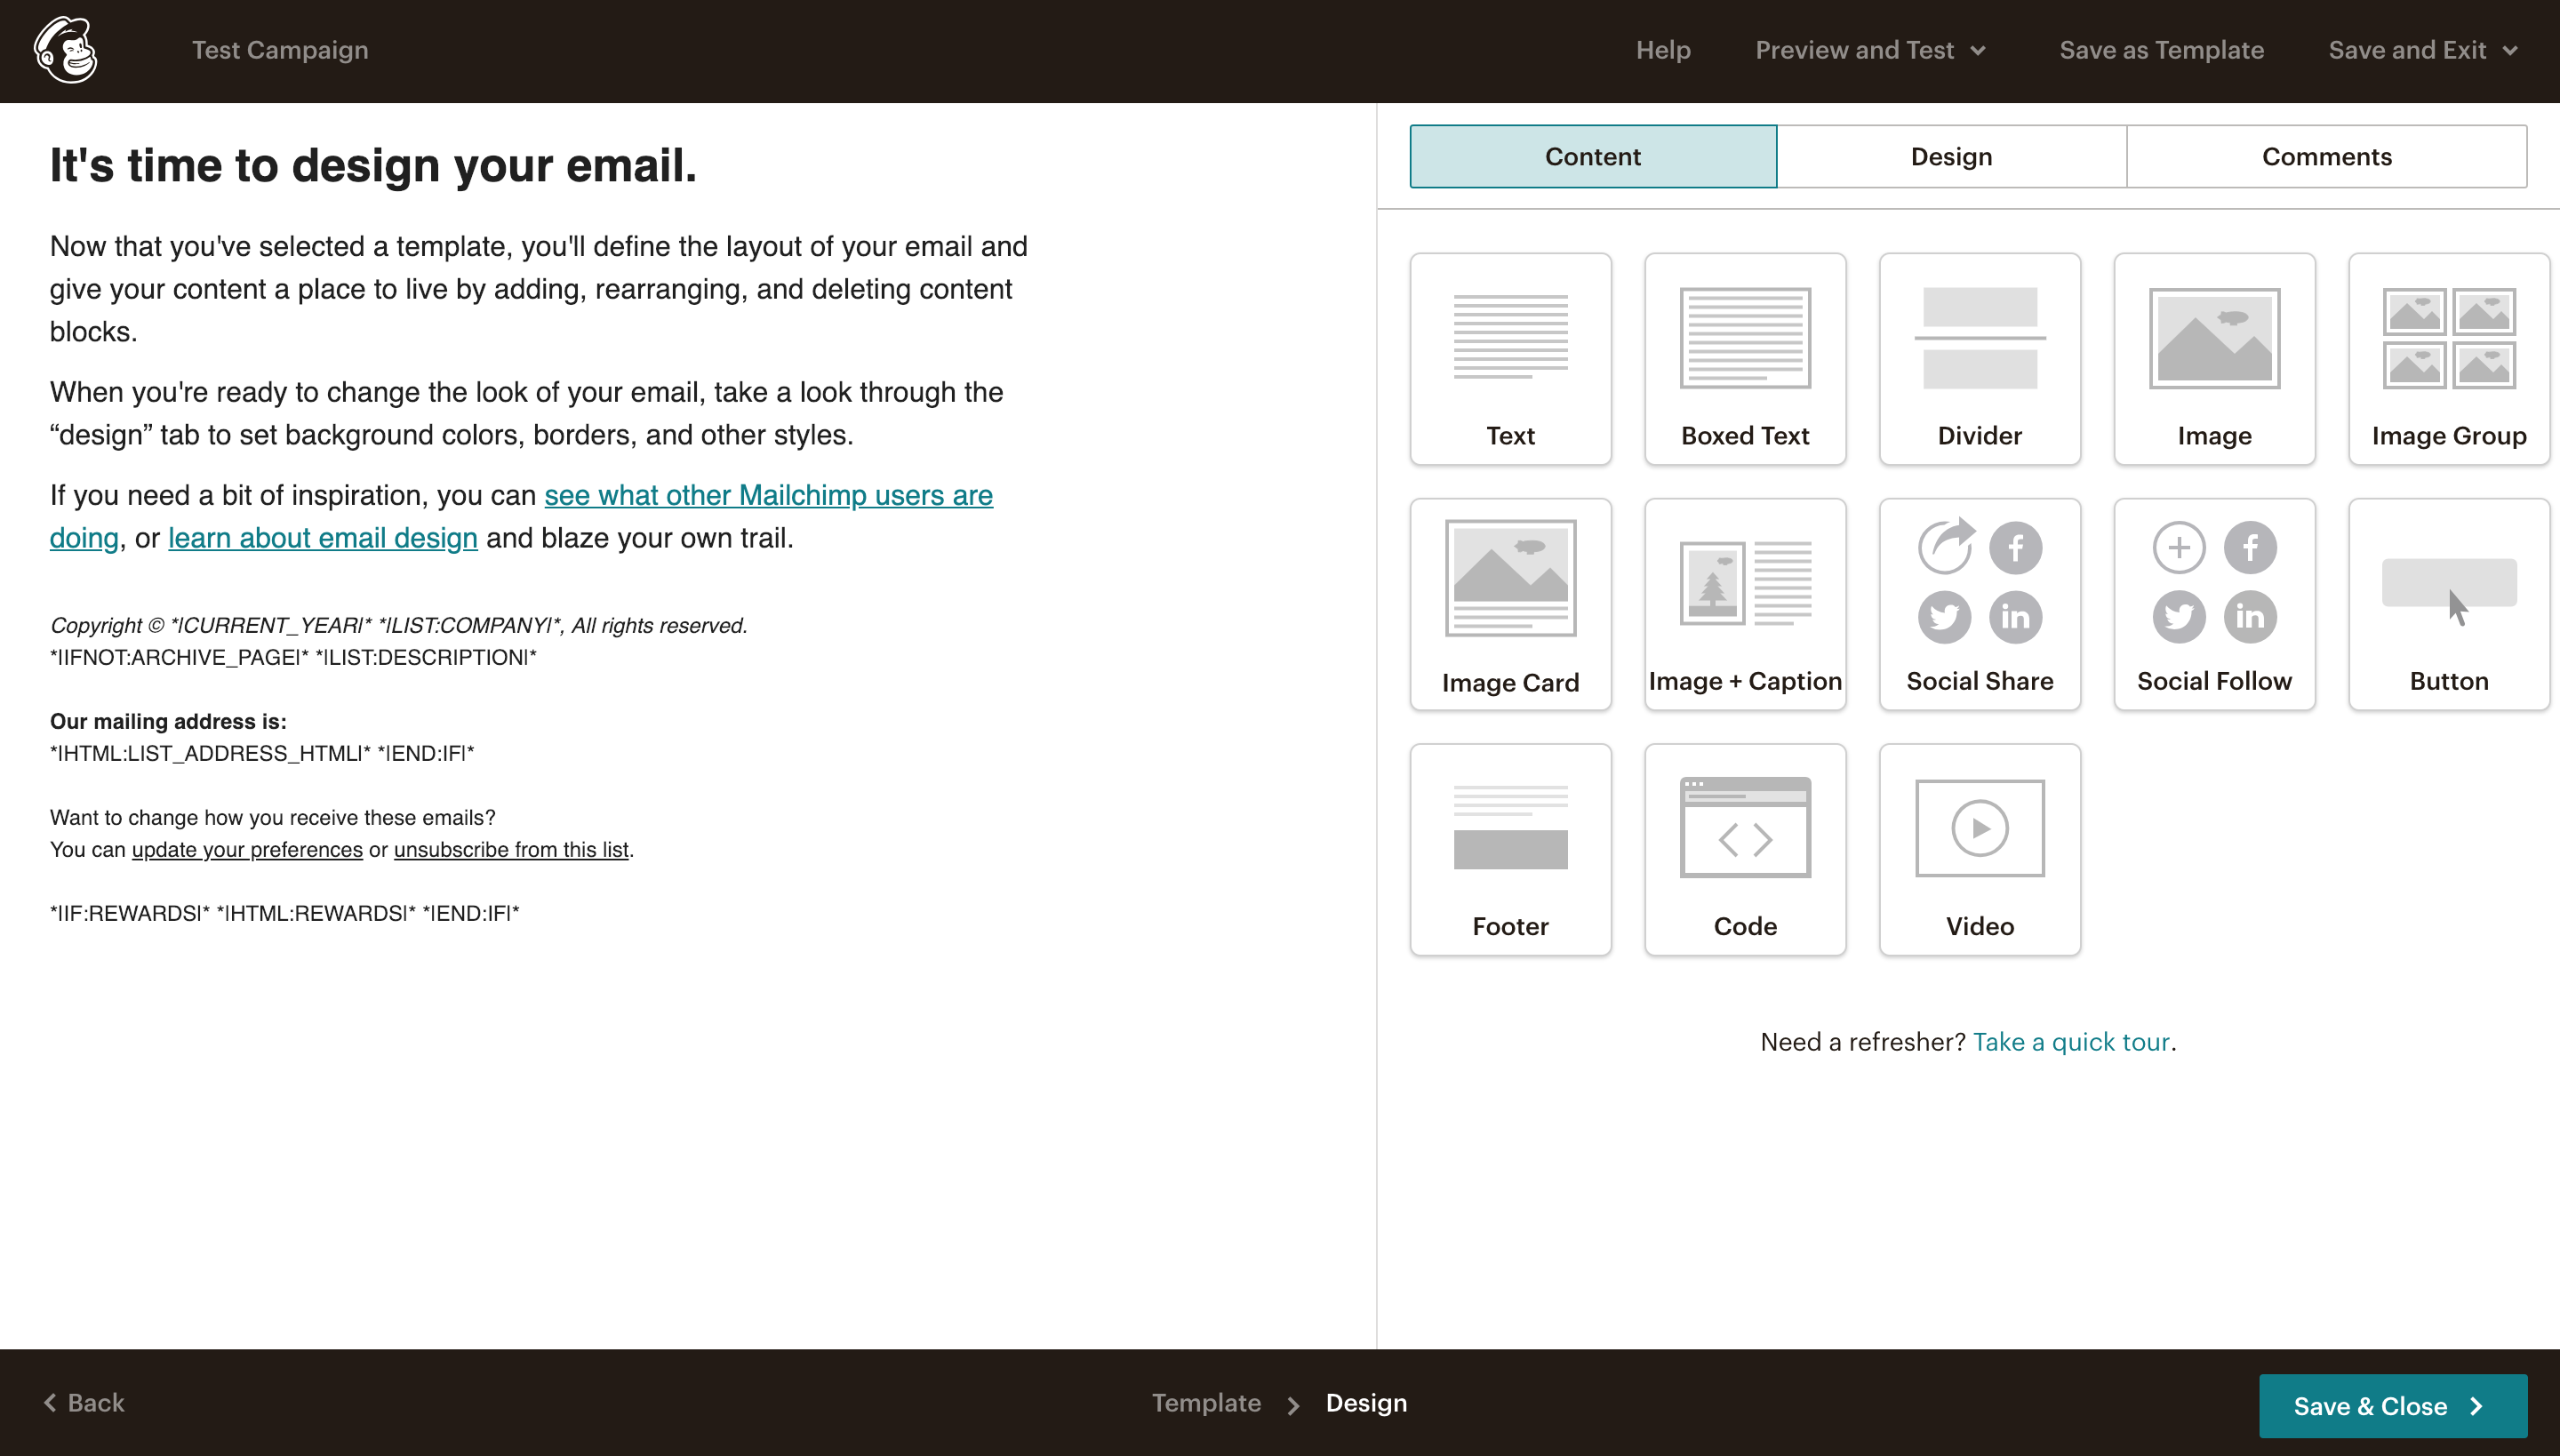
After clicking on the Save button, you’re onto the fun part, designing the email. Click on the Design Email button. I like to select the Simple Text layout because it has been shown that when simple text is used, you get higher click-through rates. Click on the Next button.
At this page, you can start to edit your email. Click on the text that you want to edit and type in the content that you would like to appear. Make the entirety of the text of your email is clear and succinct, and make sure the subject and the content are consistent. You can also click on a button on the right side of the page and drag it into your email. So, if you want to add an image to your email click on the Image button and drag it where you want it to go in your email.
Once you have finished editing and designing your email, click the Save and Close button.
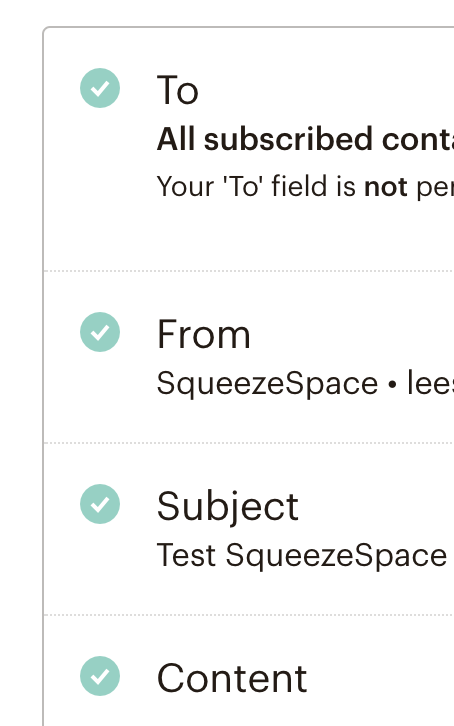
Then, make sure all items have green checks next to them. Great, as you can see from the image below, all of the items have green checks next to them.
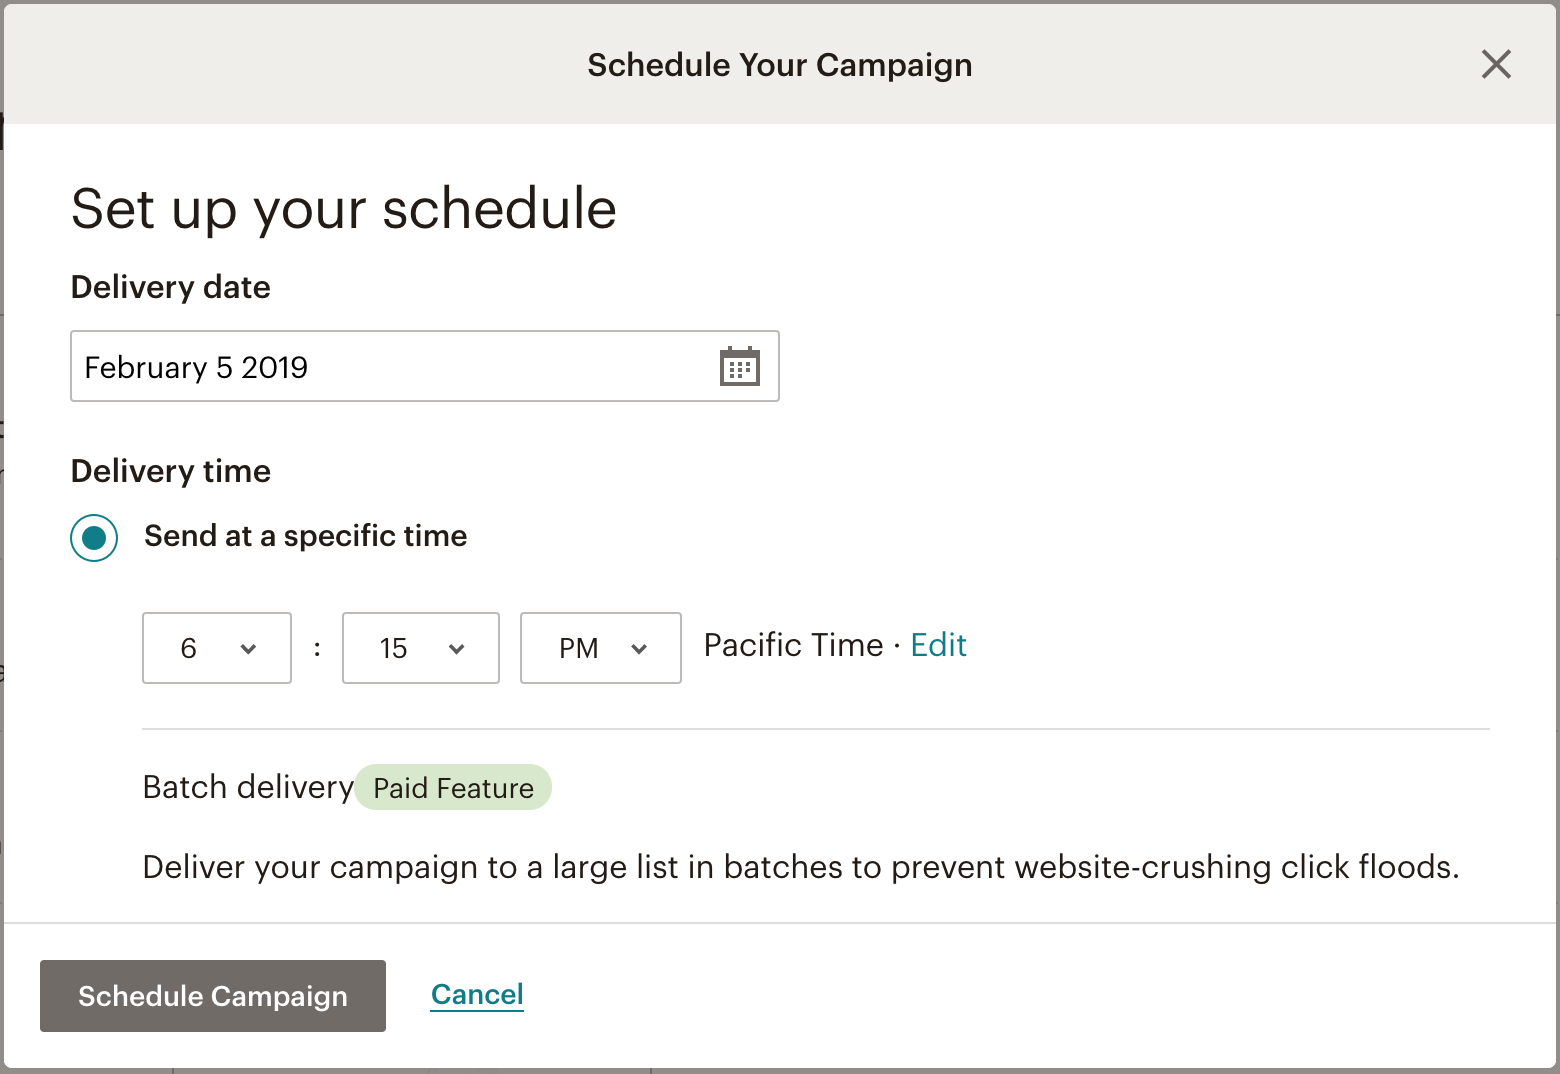
Lastly, you can either click on the Schedule or Send button.

If you click on the Schedule button, the following popup will display. Add the date and time when you would like to send out the email.
If however, you would like to send the email immediately, the following popup will display. You simply have to click the Send Now button and the email will send out to your list of subscribers!
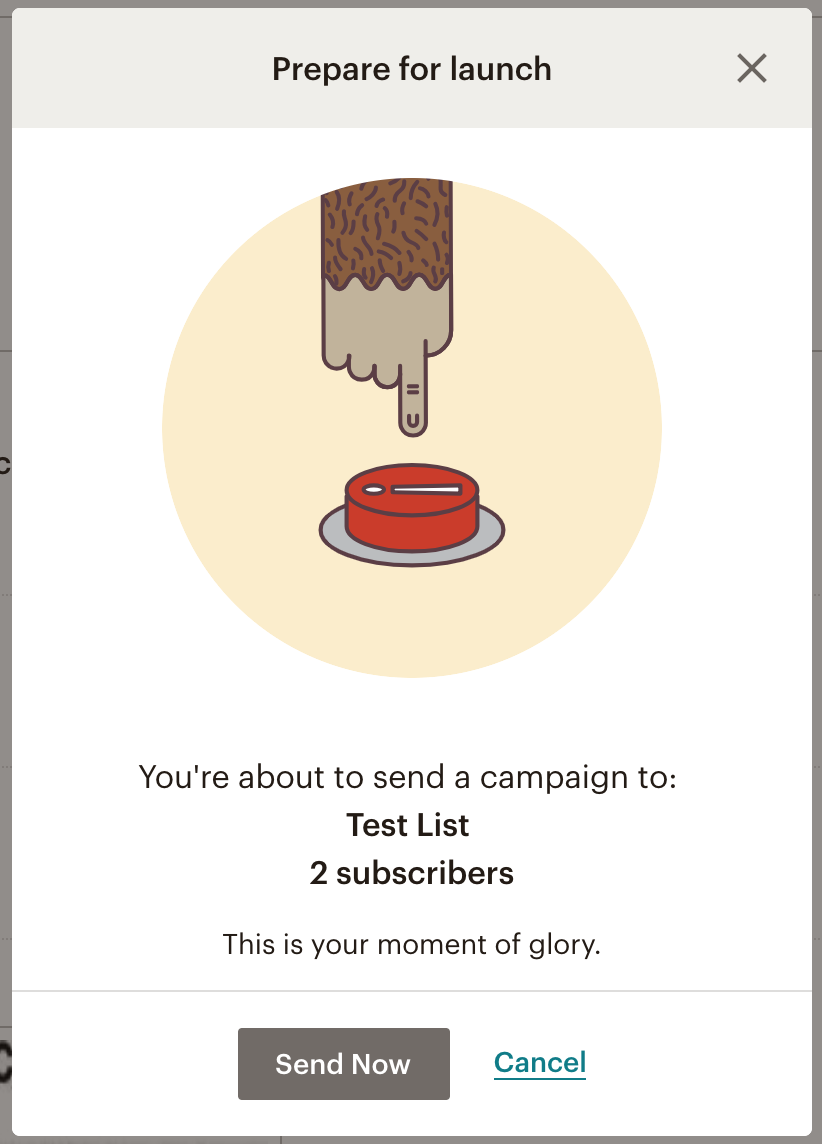
And, that’s all there is to it!