Now that you’ve created your plugin, let’s delve into the definition of a shortcode. A shortcode is an element that you add to a page or post that gets turned into something else by the plugin or theme that registered the shortcode.
Here is an example shortcode:
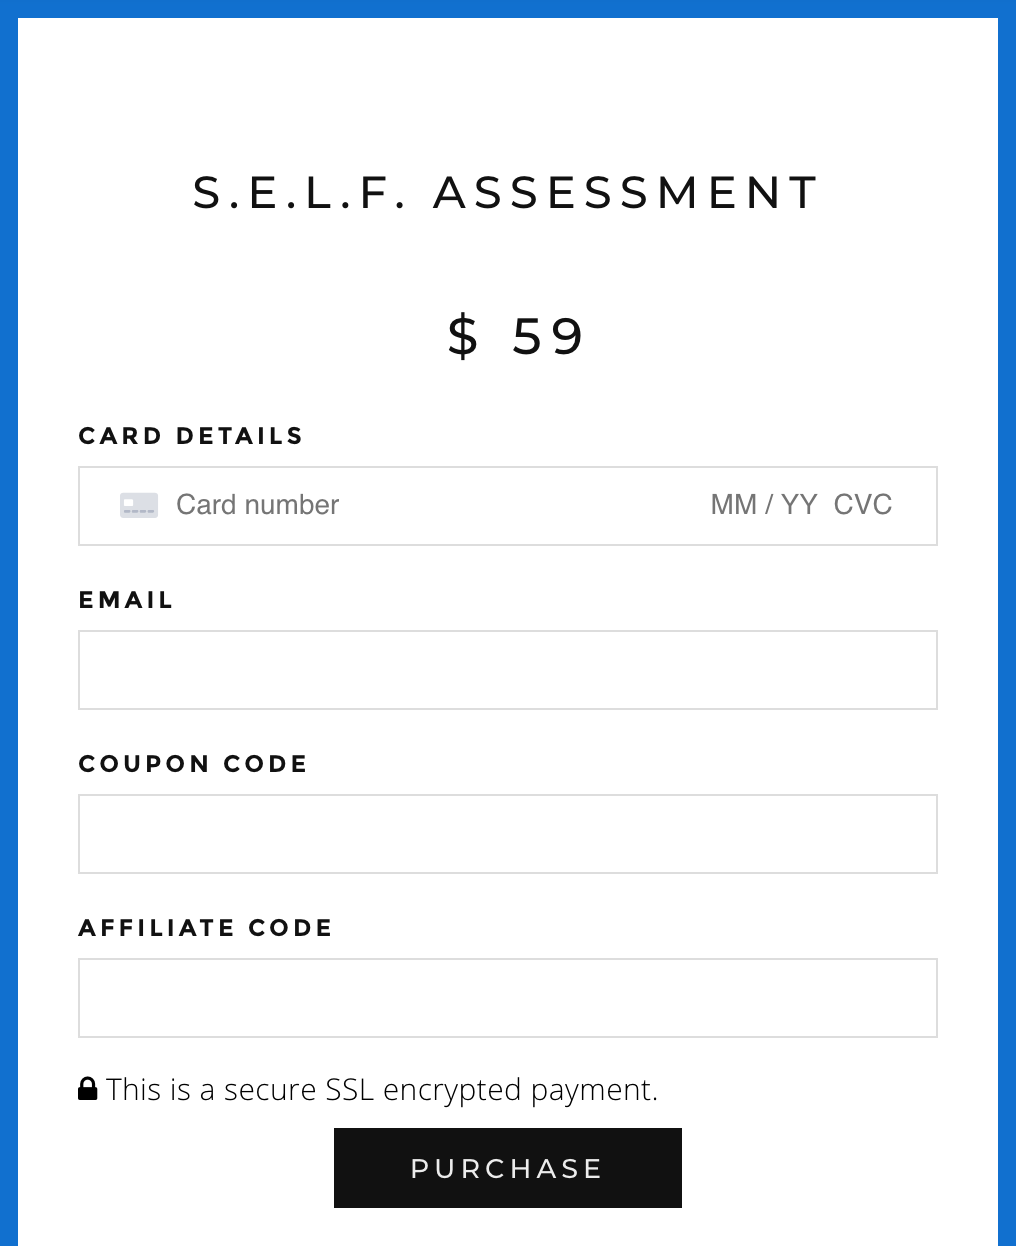
[wpmerchant_form products="" button_text="Subscribe" plans="2222" classes="" style="" email="true" hidden="data-currency:usd;data-description:Test Plan;"][/wpmerchant_form]If you install and activate WPMerchant and you add this shortcode to a post or page, you can collect payments from your customers. This shortcode gets turned into a payment form by the WPMerchant plugin. When you view the page that you added the plugin to, you will see the following:
Important Note:
As a reminder, we’re using the WordPress Plugin Boilerplate to build this plugin. If you have never used this WordPress plugin framework, check out our post on WordPress Plugin Development.
So, let’s add a shortcode to your new plugin. You’re going to open the class-plugin-name-admin.php file that exists within the admin directory (in your WordPress Plugin Boilerplate framework).
Step 1: Open up admin/class-plugin-name-admin.php
Please note that your plugin name will change the name of this file. So, if your plugin name is
This file is the controller for all of your admin actions. The __construct method is a special PHP function that runs when a PHP class is initialized. Think of it like your table of contents for all of the functions on this page.
Step 2: Add the add_shortcode function to the __construct method
You’re going to want to add the following line to the file’s __construct method.
add_shortcode( 'test_shortcode', array( $this, 'testShortcode' ));add_shortcode is a WordPress function and it allows you to hook into WordPress’s code and create a new shortcode that can be used on pages, posts, or any other post type.
The ‘test_shortcode’ parameter in the add_shortcode function is what the actual shortcode will look like. The other parameter, array( $this, ‘testShortcode’ ), defines what method WordPress should run when that shortcode is found on a page or post.
The __construct method in your class-plugin-name-admin.php file should now look like the following:
public function __construct( $plugin_name, $version ) {
    $this->plugin_name = $plugin_name;
    $this->version = $version;
    add_shortcode( 'test_shortcode', array( $this, 'testShortcode' ));
}
Step 3: Add the testShortcode Method to your admin/class-plugin-name-admin.php file
Now that you’ve added the add_shortcode hook, you are going to need to add the method that you defined in that add_shortcode command to your class.
If you following the naming conventions above, you are going to call this method testShortcode. Make sure your function is at the bottom of the page, but ABOVE the last curly bracket on the page (otherwise you’ll run into PHP errors). Your new function should look like this:
public function testShortcode( $atts, $content = "" ) {

}
The $content parameter will be equal to any content that you’ve added between the opening and closing shortcode tags. So, in the
You can use the $atts variable to pull any attributes that you’ve entered into the shortcode. You can access the $atts directly from the $atts variable but I like to run $atts through the shortcode_atts function to set default values for each attributes. Do this by adding the following to your
$a = shortcode_atts( array(
    'products'=>'',
    'classes'=>'',
    'style'=>'',
    'hidden'=>'',
    ), $atts );
$a[
[test_shortcode products="Baseball Cap" classes="" style="" hidden="data-currency:usd;data-description:Test Plan;"]Test Content[/test_shortcode]Step 4: Return the HTML associated with your shortcode
Now, you’re going to want to return the HTML associated with that shortcode. Add the following to your testShortcode method:
return '<table class="'.$a['classes'].'" style="width:100%;'.$a['style'].'">
  <tr>
    <th>Products</th>
    <th>Hidden</th>
  </tr>
  <tr>
    <td>'.$a['products'].'</td>
    <td>'.$a['hidden'].'</td>
  </tr>
</table>';
Your testShortcode function should look like the following:
public function testShortcode( $atts, $content = "" ) {
$a = shortcode_atts( array(
    'products'=>'',
    'classes'=>'',
    'style'=>'',
    'hidden'=>'',
    ), $atts );

return '<table class="'.esc_attr($a['classes']).'" style="width:100%;'.esc_attr($a['style']).'">
  <tr>
    <th>Products</th>
    <th>Hidden</th>
  </tr>
  <tr>
    <td>'.$a['products'].'</td>
    <td>'.$a['hidden'].'</td>
  </tr>
</table>';
}
Make sure to use WordPress’ esc_attr function when placing user input into an HTML element.
When you add the following shortcode to a page or post, you will see the table with the values that you set in the shortcode.
[test_shortcode products="Baseball Cap" classes="" style="" hidden="data-currency:usd;data-description:Test Plan;"]Test Content[/test_shortcode]Your table should look like the following:
| Products | Hidden |
|---|---|
| Baseball Cap | data-currency:usd;data-description:Test Plan; |
And, that’s all there is to it. Do you want to learn how to add a custom post type to a WordPress plugin? Check out our post on Creating a Custom Post Type by clicking on the button below.