Building a successful online business depends on your ability to create or find an audience that generates revenue. We have found email list building to be a great way to create and grow our audience. We leverage our posts to collect newsletter subscribers. There are a bunch of different ways to build an email list for your WordPress site. One of the tools that we’ve had a lot of success with is called a LeadBox. A LeadBox is a product by LeadPages and it allows you to provide your subscribers with a digital reward for subscribing. You create the free reward, for example, an eBook or in our case a plugin. Ask your subscribers if they want a FREE eBook on building email lists with the Salient theme? You’ll give them the free product if they subscribe to your newsletter.
LeadPages costs you a monthly fee though, and we don’t want to pay for it. We built a FREE LeadBox alternative by building a WordPress plugin and we integrated it with FREE services like MailChimp because we don’t like paying for software if we can help it. We’re going to show you how to use MailChimp but you could easily use other email newsletter services if you would prefer.
Our FREE plugin allows your users to open up a popup immediately after the WordPress page loads OR after a user clicks on a link in the page.
Before showing the whole process on how to set up the plugin and the whole process to build your email list on the Salient Theme, we have a quick question about your current WordPress host.
The plugin that we built to grow our email list is called Modal Madness, because it’s absolutely mad how easy it is to set it up!
STEP 1: Download, Install and Activate the Modal Madness Plugin
If you click on the button below, you’ll see an example of the user reward process that we described above. You’ll first need to sign up to our newsletter. After signup, you will receive an email from us congratulating you on making such a great decision and including a link to download the free Modal Madness plugin.
Get the FREE Modal Madness Plugin
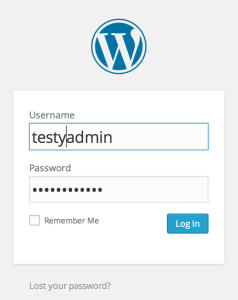
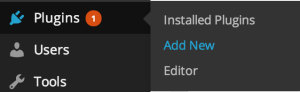
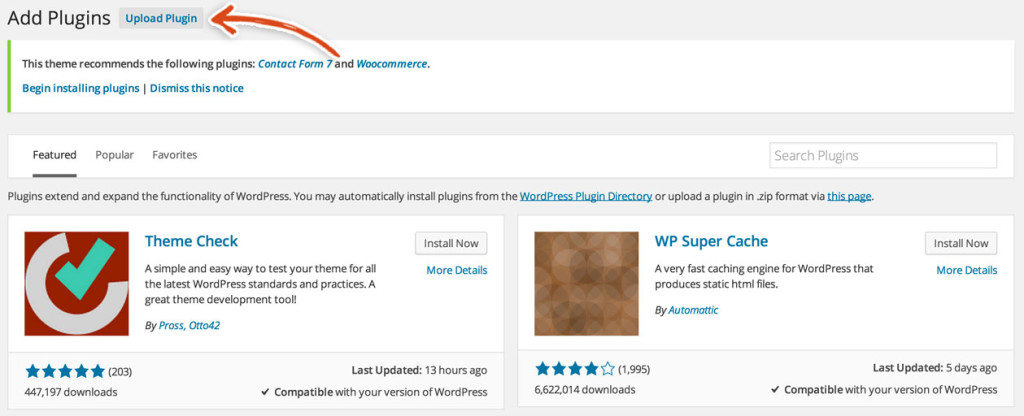
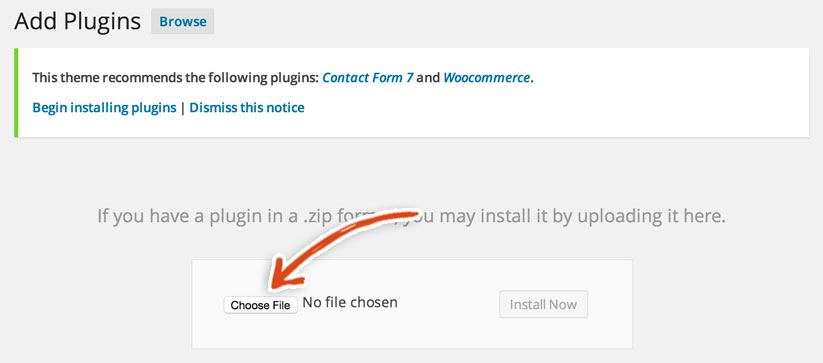
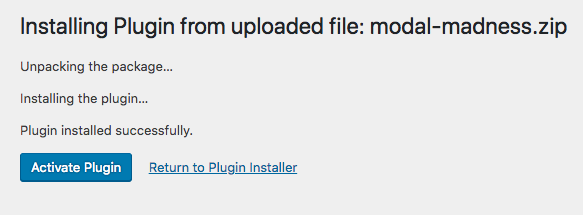

Once you have downloaded the plugin from our email, go to TheNameofYourDomain.com/wp-login.php to login to your WordPress Dashboard.Then, move your mouse over the Plugins link in the dashboard’s left sidebar and click on Add New in the menu that appears on hover.Click the Upload Plugin button that is shown at the top of the Add Plugins page.Next, click the Choose File button and select the Modal Madness zip file that you downloaded from our email.Now it’s time to activate The Modal Madness plugin by clicking on the link that says Activate Plugin (that will show up once the plugin has been successfully installed).You should now see the Modal Madness plugin in the list of plugins on your site.
In order to start building your email list for free, you need a mailing list provider.
STEP 2: Sign Up for MailChimp, Create a List and Add the Sign Up form to your Popup.
Sign Up for MailChimp.
After you sign up for their free plan, follow their instructions to create your site’s email list. Then, click on Sign Up forms in the dashboard
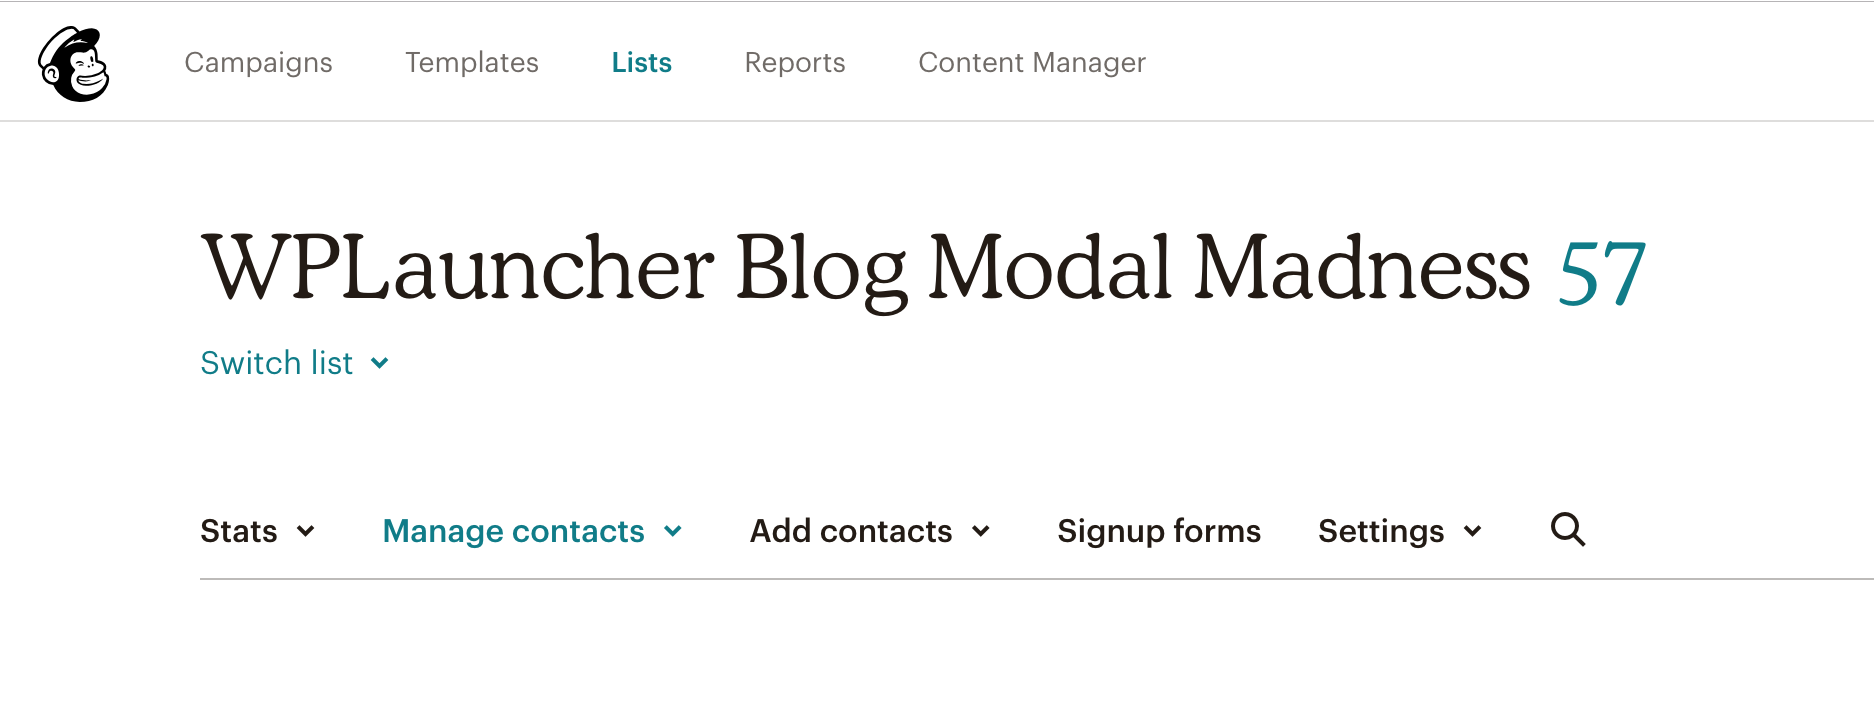
Click on the Select button within the Embedded forms row.

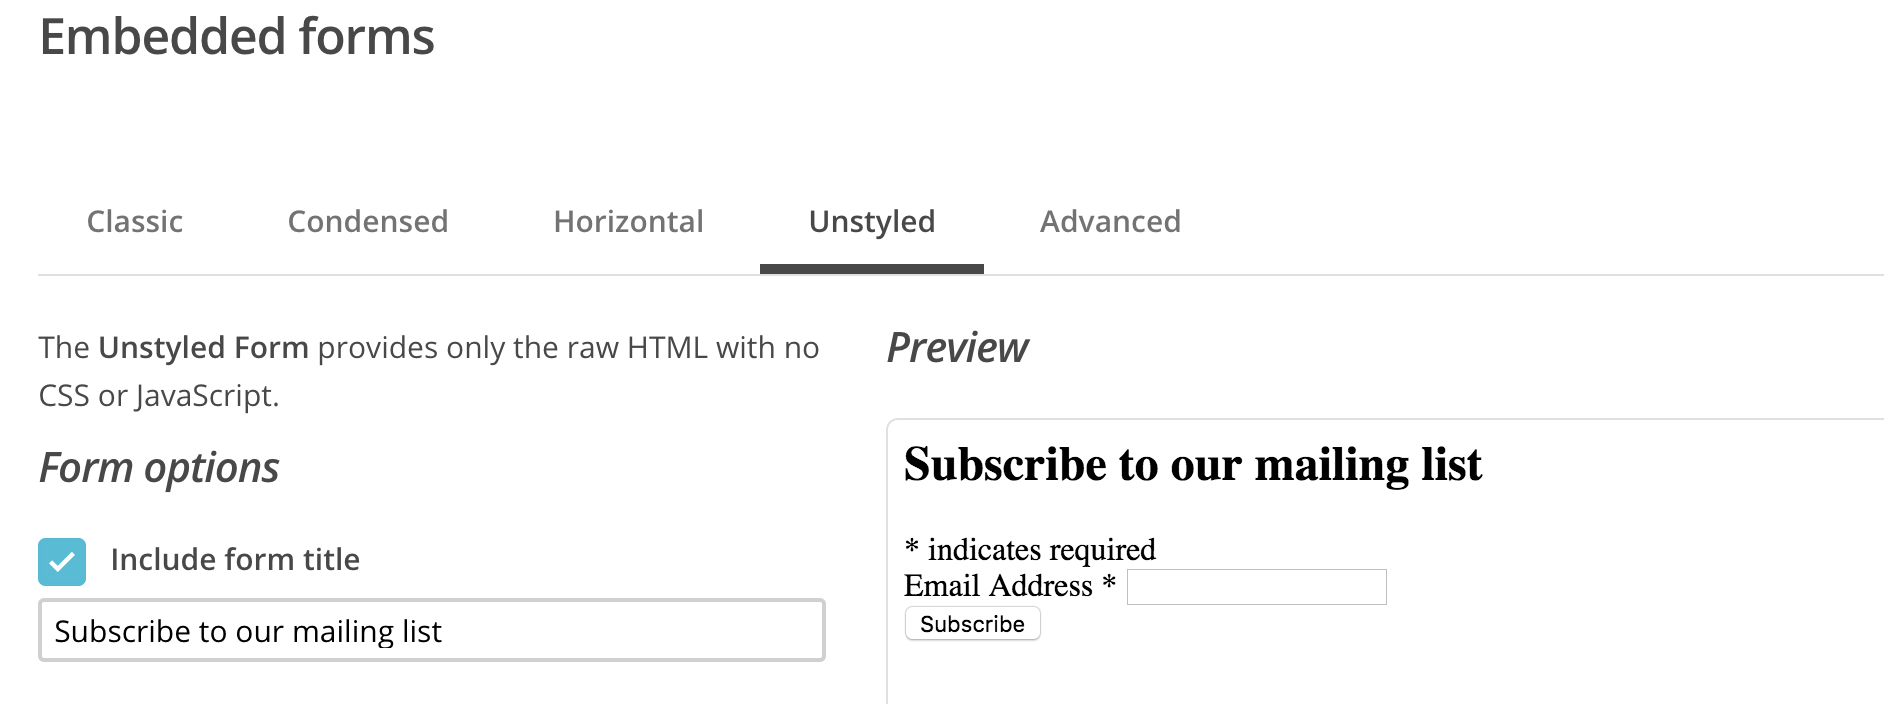
I like to simplify the form that we have so I just leveled it down to its most essential parts, ie just the email field. Once you’ve finalized everything, go to the Unstyled tab.
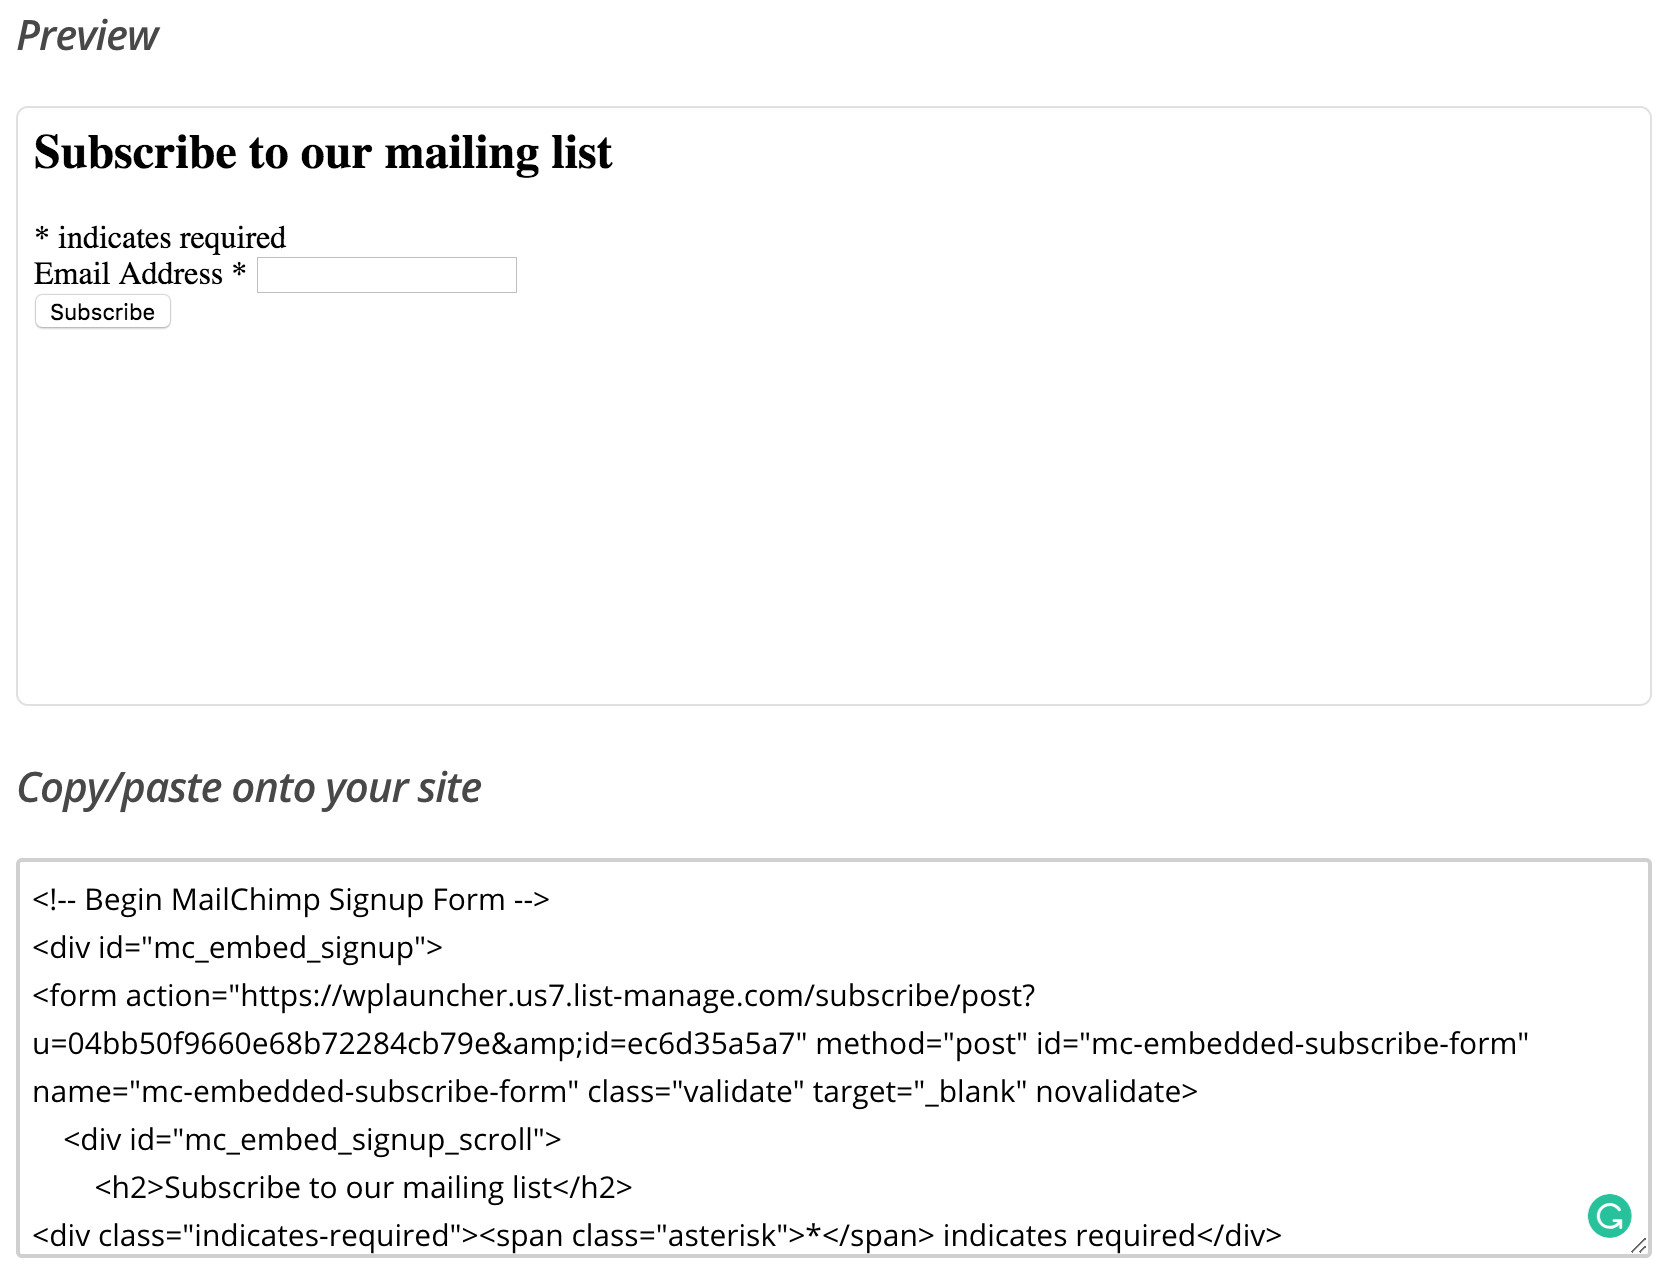
Copy the HTML that appears below the form preview area. Leave this page open or paste it in a text editor for use later.
STEP 4: Create and Enable the Final Welcome Email for your MailChimp List
This email is what will allow you to send the reward to your subscriber after their initial sign up to your newsletter.
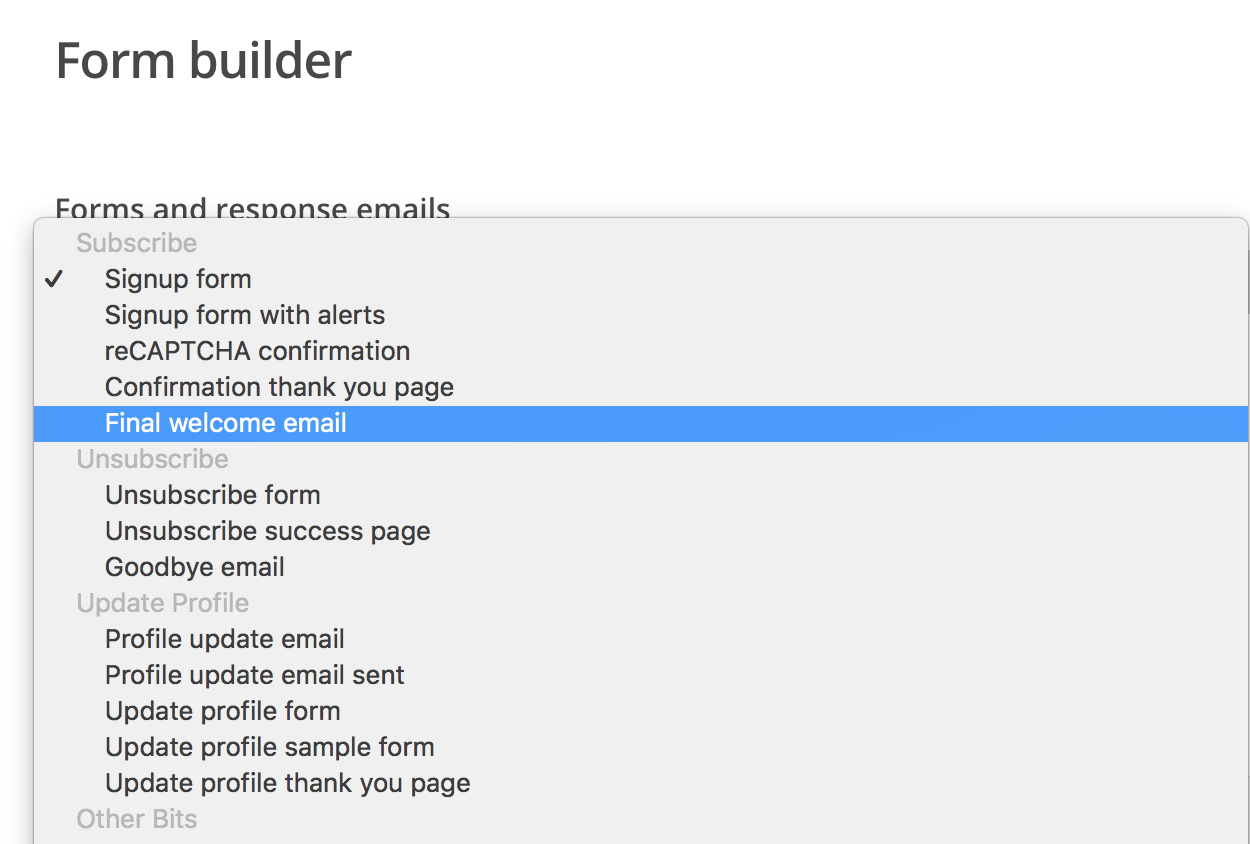
Then, click on SignUp forms again in the MailChimp dashboard. Click on the Form Builder row.

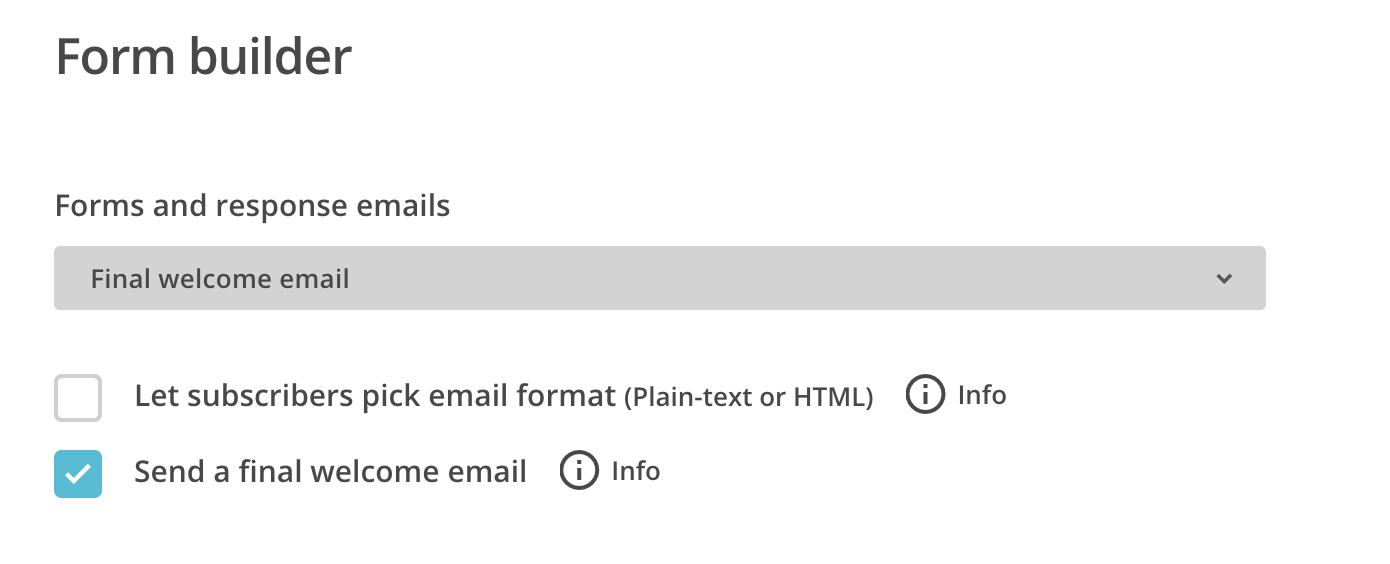
In the forms and response dropdown menu, click on the Final Welcome email. This is what will allow you to send the reward to your subscribers.
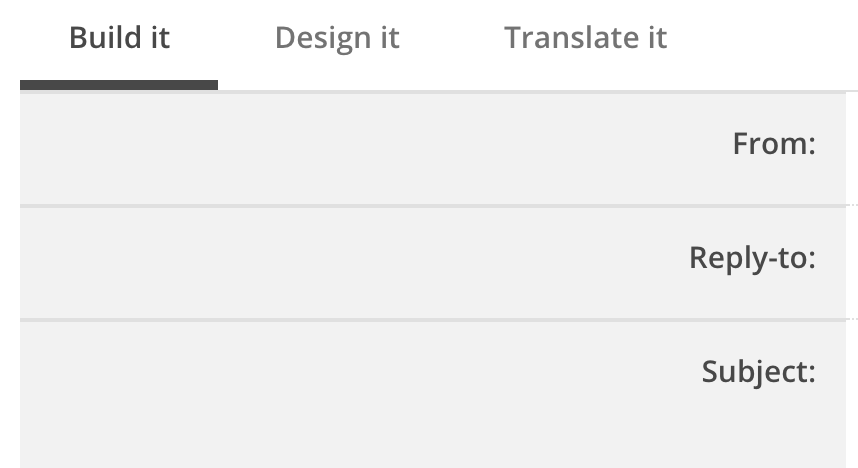
Make sure you are in the Build It tab.
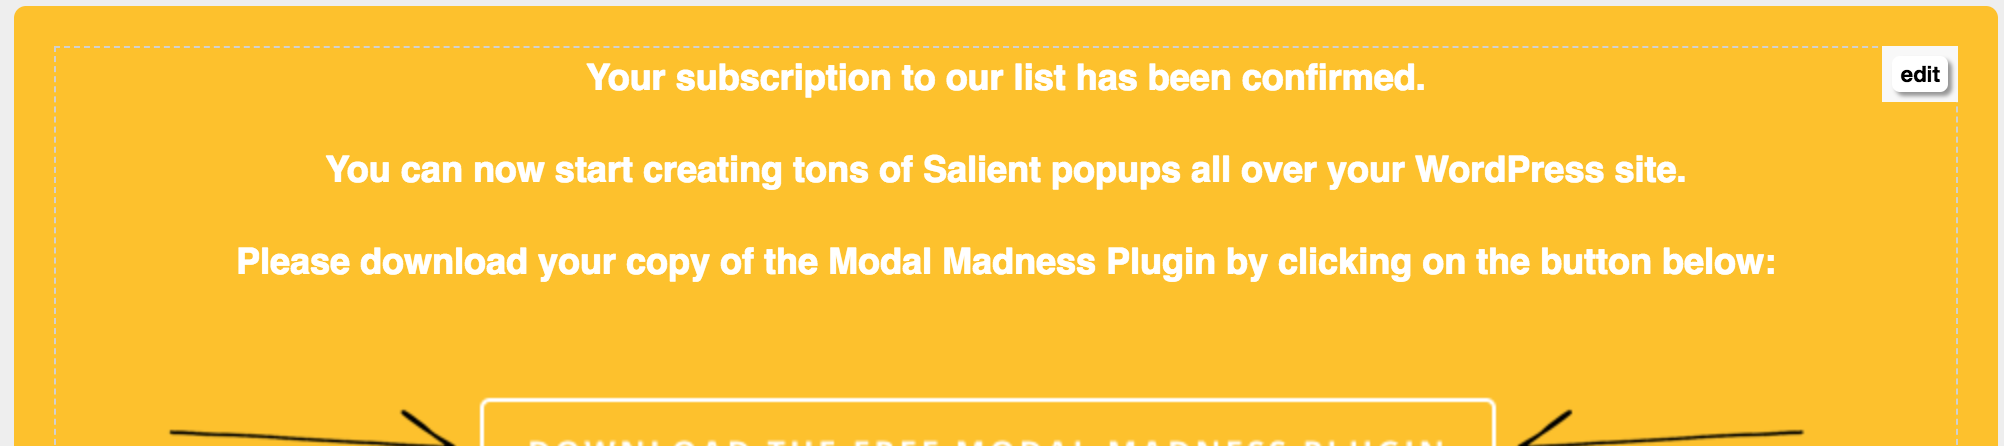
When you hover over the email preview, you will see an Edit button in the top right corner of the image. Click on that Edit Button
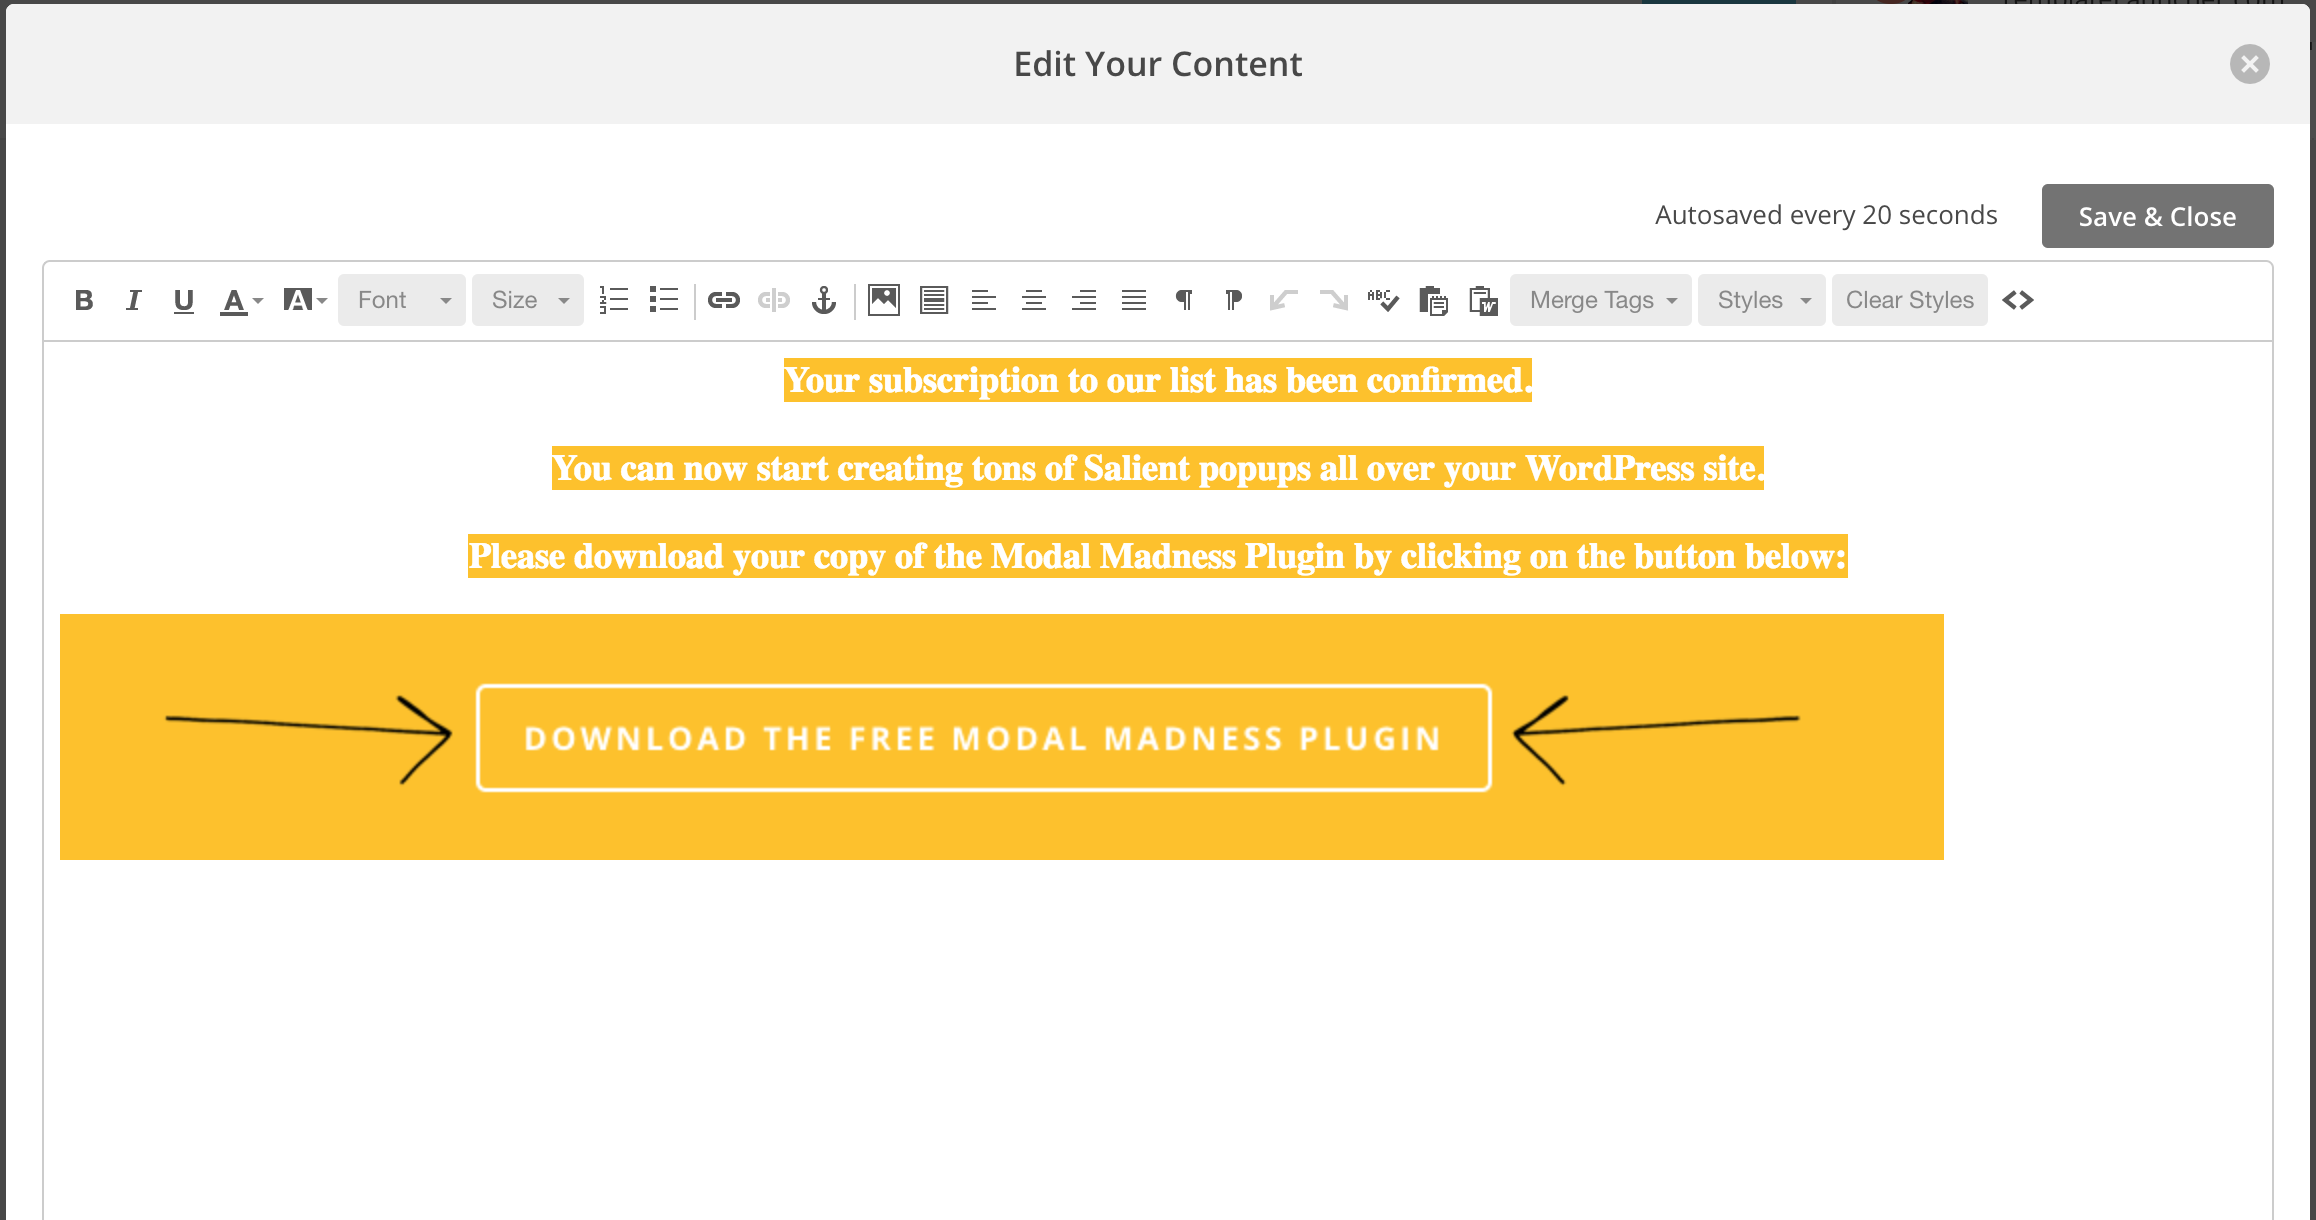
Update the content of this email to include the link to your free eBook, or in our case, the free WordPress plugin. Make sure to click on the Save and Close button.
Next and MOST IMPORTANTLY, make sure that the Send Final Welcome Email option is checked.
STEP 5: Add your MailChimp sign up form to your Modal Madness shortcode
Now that the plugin is installed, the MailChimp Signup Form has been created and the Final Welcome Email is enabled, you’re ready to add a popup to your site that contains your MailChimp Sign up form. You can add the Modal Madness modal shortcode to any page or post on your Salient WordPress website.
Below is an example modal_madness shortcode that you can add to your text editor for a post or page.
You can add any HTML content into the modal. For example, you can add a MailChimp signup form or just custom HTML into the popup.
If you’re using Salient version 10+ and Modal Madness version 2.0, make sure to add paragraph tags around your input and label elements to improve the spacing in the popup.
Our shortcode looks like this:
[modal_madness link_text="Get the FREE Modal Madness Plugin" class="nectar-button large accent-color regular-button" content_id="mm_inline_12"]<form action="https://wplauncher.us7.list-manage.com/subscribe/post" method="POST"> <input type="hidden" name="u" value="2355748345235234"> <input type="hidden" name="id" value="23534745745"> <input type="hidden" name="orig-lang" value="1"> <!-- people should not fill these in and expect good things --> <div class="field-shift hide" aria-label="Please leave the following three fields empty"> <p><label for="b_name">Name: </label></p> <p><input type="text" name="b_name" tabindex="-1" value="" placeholder="Freddie" id="b_name"></p> <p><label for="b_email">Email: </label></p> <p><input type="email" name="b_email" tabindex="-1" value="" placeholder="youremail@gmail.com" id="b_email"></p> <p><label for="b_comment">Comment: </label></p> <p><textarea name="b_comment" tabindex="-1" placeholder="Please comment" id="b_comment"></textarea></p> </div> <div id="mergeTable" class="mergeTable"> <div class="mergeRow dojoDndItem mergeRow-email" id="mergeRow-0"> <p><label for="MERGE0" style="margin-bottom:10px;">Email Address <span class="req asterisk">*</span></label></p> <div class="field-group"> <p><input type="email" autocapitalize="off" autocorrect="off" name="MERGE0" id="MERGE0" size="25" value=""></p> </div> </div> </div> <div class="submit_container clear"> <input type="submit" class="formEmailButton nectar-button large accent-color regular-button" data-color-override="false" data-hover-color-override="false" data-hover-text-color-override="#fff" style="visibility: visible;margin-top:20px;" name="submit" value="Subscribe to Get Free Plugin"> </div> <p><input type="hidden" name="ht" value="325236473474586585854523423526445756856464234246468"></p> <p><input type="hidden" name="mc_signupsource" value="hosted"></p> </form>[/modal_madness]
You’ll notice that we added our MailChimp Sign Up HTML form into the Modal Madness shortcode above:
You can see this modal in action again by clicking on the button below:
Get the FREE Modal Madness Plugin
If you would like to have multiple modals on one page or post, you must set content_id to a different value for each shortcode (the id value needs to be completely unique from each modal and from every other HTML element on the page or post). We recommend using the following naming convention: mm_inline prefix and then using _1 or _2 or _3 postfix so that you have unique modal id value for each modal on the page.
You can also add YouTube videos to this popup as well as add an attribute to the modal madness plugin shortcode that shows the modal on page load. Check out this post for information on how to add a YouTube video to a popup in a Salient powered WordPress website.