I have gotten sick of relying on Google Chrome Extensions that don’t work very well and are security risks. So, I wanted to figure out how to get a full page screenshot in Google Chrome without Chrome Extensions. This is much easier than I expected. Generating full page screenshots in Chrome without extensions is a simple 3 step process.
Step 1: Inspect Element
To start, right click on the webpage you want to take a screenshot of and click on Inspect.
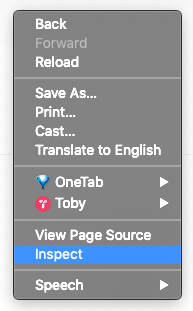
This should bring up something like the following at the bottom or right or left side of your screen.

Step 2: Open up the Chrome Command Menu
Now that you have the developer view visible, you need to hold down the following keys on your keyboard:
Command + Shift + P on a Mac
OR
Control + Shift + P in Windows and Linux.
This will bring up the following command menu:
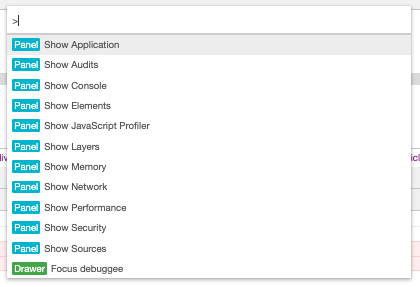
Type in screenshot to see your options regarding taking a screenshot.
Step 3: Take a Full Page Screenshot
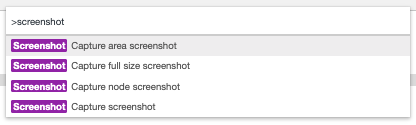
You’ll notice that there are 4 different options for taking a screenshot using the Chrome command menu. We’re the most concerned with the full-size screenshot.
Capture full-size screenshot
In order to take a full size screenshot, click on the Capture full size screenshot option.
After you click on that option, Chrome will automatically take a full-size screenshot of the page that you are on, i.e. a full page screenshot, and will download it to your computer. That’s all there is to it!
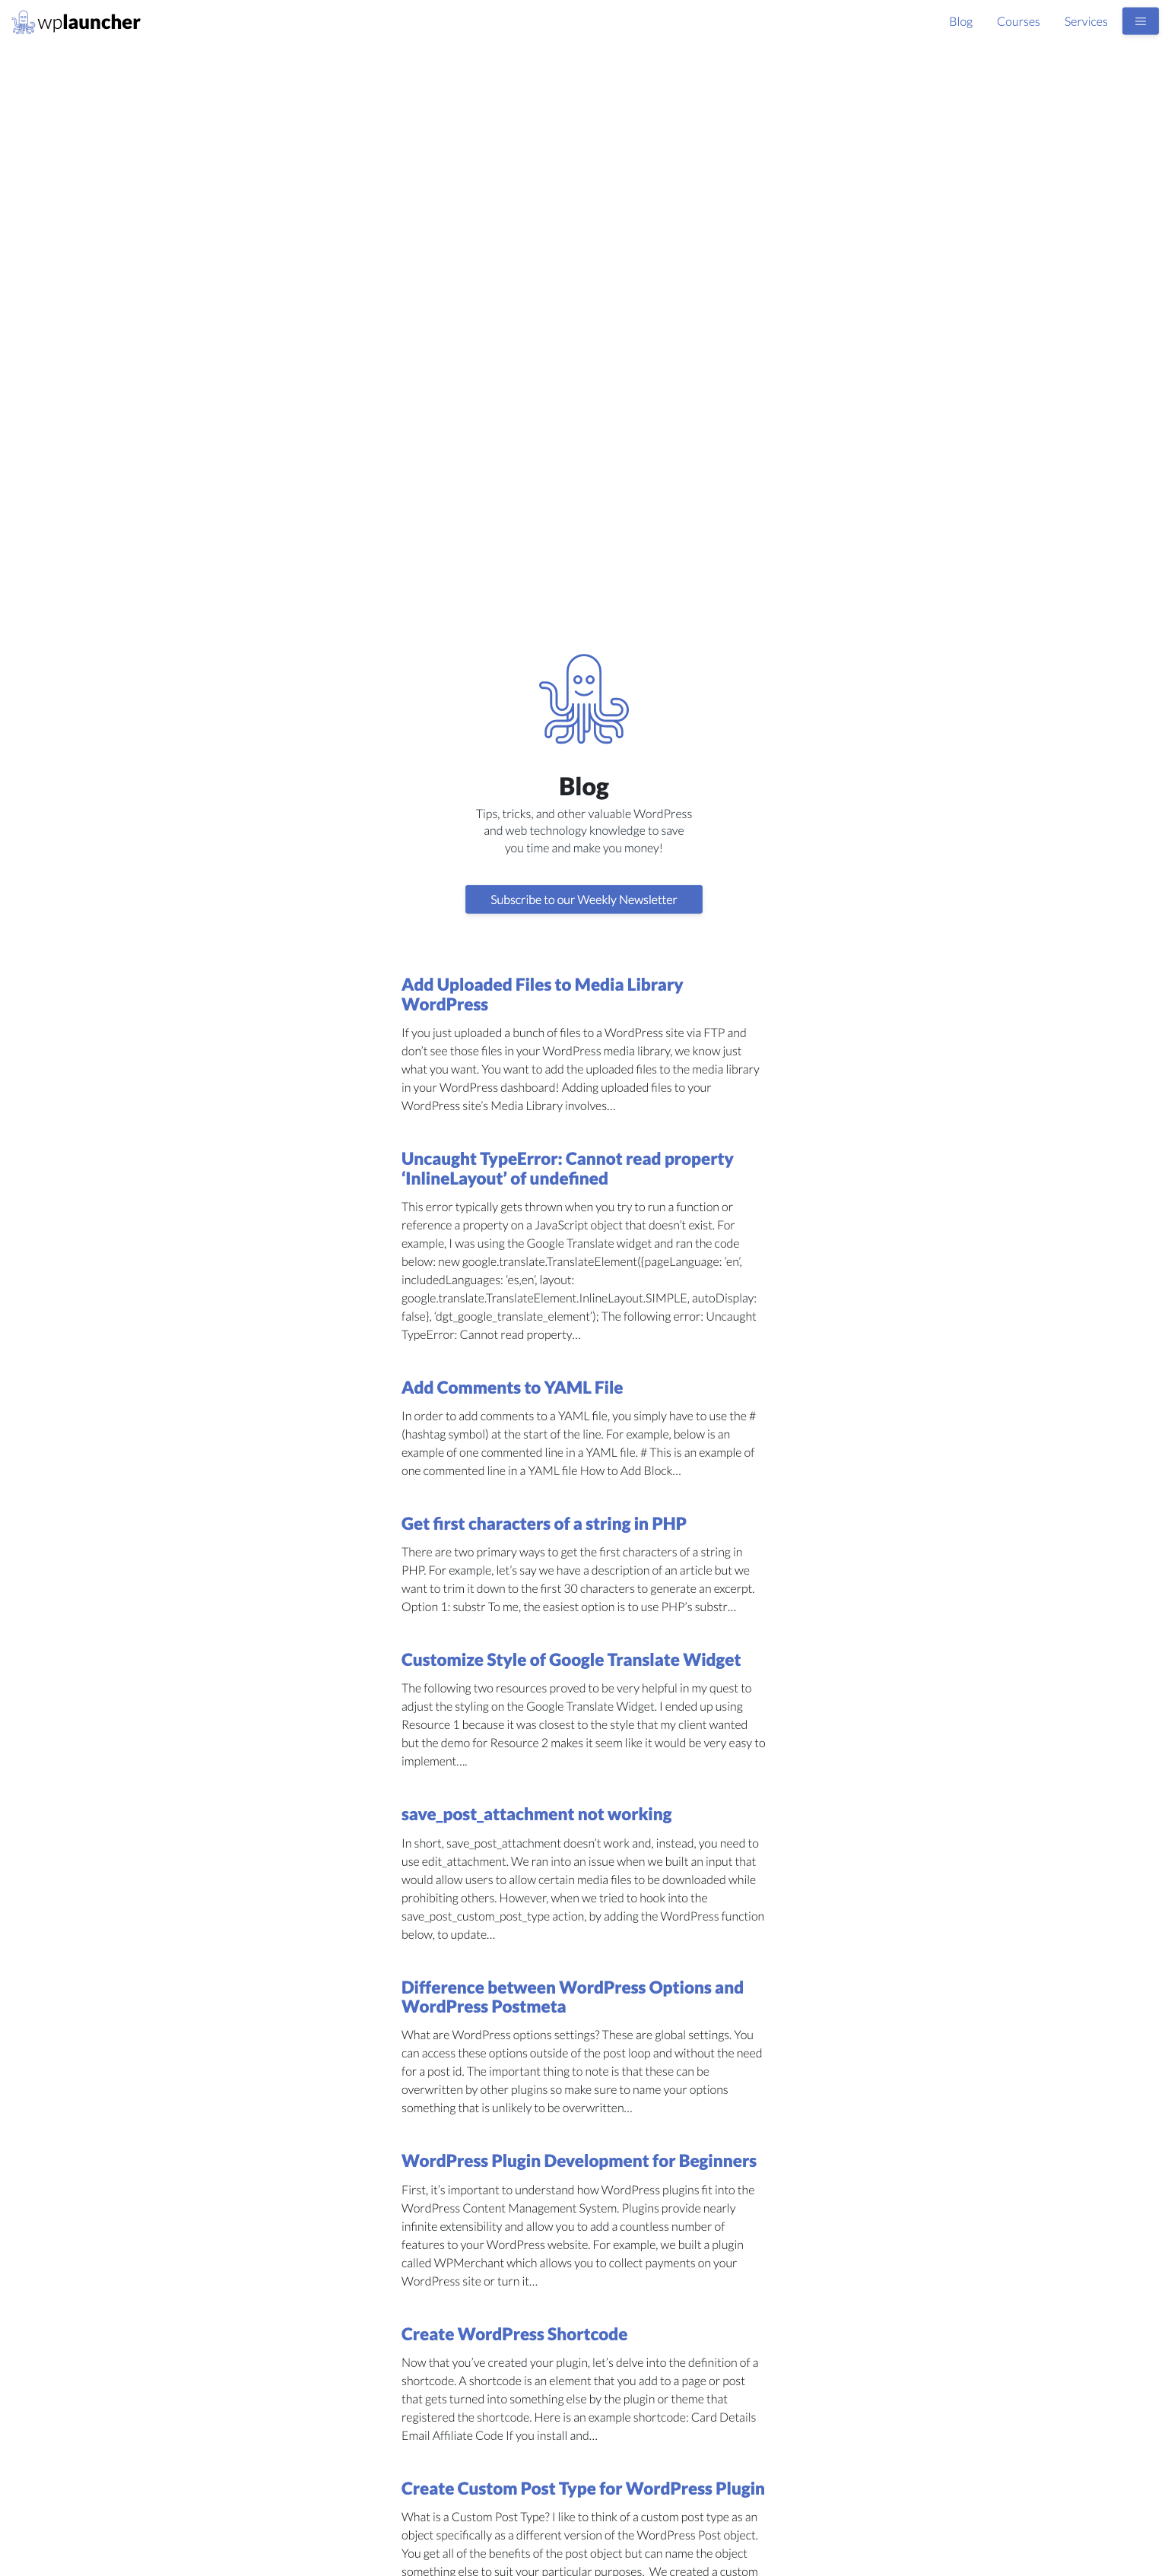
Here’s a full page screenshot of blog.wplauncher.com/blog:
But, as you can see from those options, you can also get a screenshot of an area, a screenshot of a node, and a regular screenshot using the command menu. These are easy for me to do with my laptop, so I don’t really have any utility for them, but if it’s easier for you to use chrome you simply have to select any of those three options to generate the type of screenshot that you want.
Capture area screenshot
To capture a screenshot of a selected area: click on Capture Area Screenshot.

Then, select the area that you want to get a screenshot of (see image below as an example).

You will end up with the following screenshot:

Capture Node Screenshot
To capture a screenshot of a node make sure you select that node in the elements tab prior to the clicking on the Capture Node Screenshot option. Then, after you click on Capture Node Screenshot, it should generate a screenshot of the selected node.
Capture Node Screenshot
To capture a regular screenshot, simply click on the Capture screenshot option from the Chrome command menu. This will only take a screenshot of what is visible in your viewport.