Could you get more sick of online ads and trackers? I can tell you that I can’t. Ads suck up your bandwidth and make for worse user experiences on countless websites that I frequent. And, as a developer, I’m conscious of my privacy while browsing and want to limit the data that I provide to big tech companies. We understand that advertising is critical to the survival of different news organizations and we definitely support an independent and free press, but we still hate ads and trackers. We outline two options below that help you block online ads and trackers to speed up, simplify, and clean your internet browsing so that you are less annoyed.
Option 1: Block Online Ads Using Brave Browser
Learn More About the Brave Browser
This is by far the easiest method. However, blocking and removing ads and trackers Only works while you’re using the Brave browser – so it works from device to device and not on apps and streaming services. Simply go to the Brave Browser website and click on the download button in the top right-hand corner and follow instructions to install the browser on your computer.
According to their website, the Brave browser increases your internet browsing speed by up to 2 times on desktop and 7 times on mobile. That’s worth it to me! It uses the same underlying architecture as Google Chrome so it also works with Google Chrome extensions (which was a must for me because I love using the Honey extension to save money). Brave also has an easy way to use Tor, which prevents your ISP from being able to see what websites you visit from your computer and hides your IP address from the websites you visit. You also can earn cryptocurrency by signing up to view partner ads while using Brave, but this is completely optional.
Option 2: Block Online Ads Using PiHole
This method is quite a bit more technical than Option 1 BUT it is a network-wide ad blocker, which means that it allows you to block online ads globally on all devices that use your internet service.
Step 1: Buy Raspberry Pi, USB Charger, and micro-HDMI cable
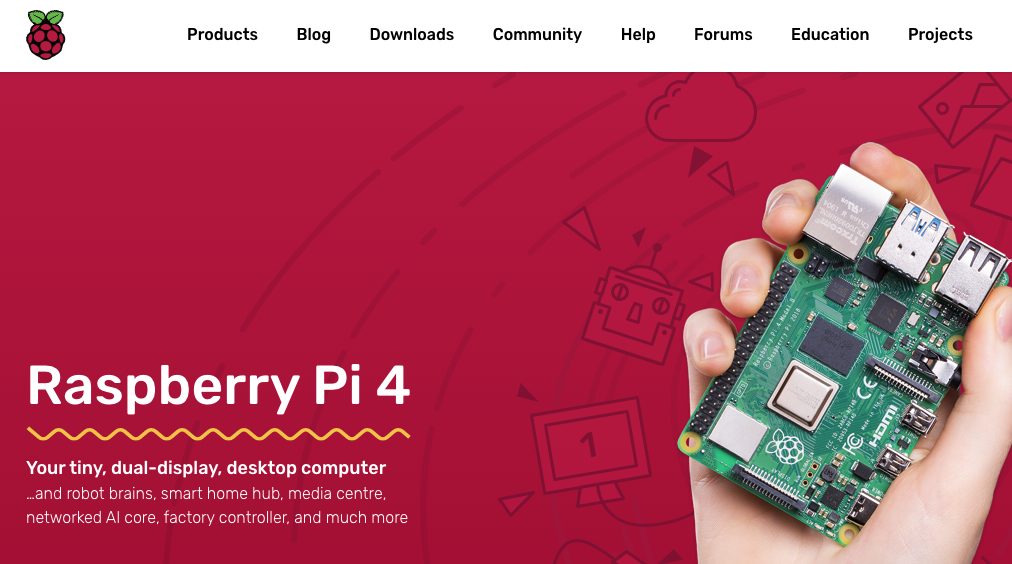
To start, you need to buy a Raspberry Pi, a USB charger, and a micro-HDMI to standard HDMI cable. A Raspberry Pi is a small server and gives you a chance to learn all about adding the Linux operating system to it as well as information about provisioning Linux servers.
Step 2: Install Linux on the Raspberry Pi
Once you have received your Raspberry Pi and all the accessories mentioned above, you need to install the Linux operating system on it. To do this, follow the instructions at https://www.techradar.com/how-to/how-to-install-ubuntu-on-the-raspberry-pi.
Step 3: Install PiHole
Once you’ve finished installing the Linux operating system, you need to install PiHole. The process is outlined on the PiHole website and there’s a big-picture outline of the process in the video below.
Congrats on blocking ads and trackers – enjoy!