There are 4 main ways to install WordPress Plugins. However, we’re going to focus on showing you how to install and activate WordPress plugins from your WordPress dashboard. There are 3 steps involved in installing and activating WordPress plugins for your WordPress website.
- WordPress Dashboard: You can manually install WordPress Plugins via the WordPress dashboard either by uploading a WordPress Plugin .zip file or by searching the WordPress plugin directory. You will also need to activate the plugin via the dashboard for it to be live on your site. Again, this process is covered below.
- FTP: You can upload a plugin file via FTP. If you do this, you will also have to activate the plugin
- Install WordPress Plugins via SSH: You can do this in a multitude of ways but the easiest is to install and activate a WordPress plugin using the WordPress Command Line Interface (WP-CLI). Here’s a post on installing WordPress plugins via SSH.
- Install WordPress Plugins via Composer: This is a more technical method and is primarily used by developers who use slightly different WordPress setups such as Bedrock. To install and activate a WordPress plugin via composer you would add the plugin to a composer.json file, run composer update (to update your composer.lock file), and then on production run composer install to add all of the plugin files referenced in your composer.lock file to your plugins directory. In this case a popular WordPress package manager called wpackagist.org is used and includes all plugins that exist in the WordPress plugin directory.
Step 1: Login to your WordPress Website
In order to install and activate a WordPress plugin via the WordPress dashboard for your website, you need to login to your website’s WordPress dashboard. To do this, you need to navigate to the wp-login.php page associated with your site – just add /wp-login.php to the end of the domain name you are using for your WordPress site.
https://www.your-wordpress-domain.com/wp-login.phpFor example, if your website is called www.wplauncher.com, you would navigate to the following URL:
https://www.wplauncher.com/wp-login.phpYou should see the following login form when you’ve reached the login page.
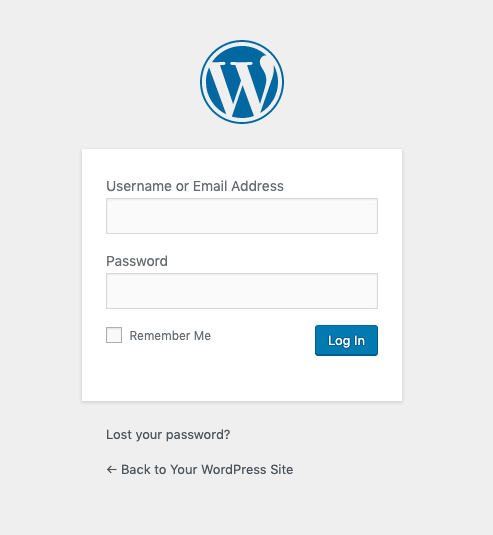
Enter in the username and password that your WordPress website hosting provider gives you.
If you don’t have a WordPress hosting provider, check us out at WPLauncher.
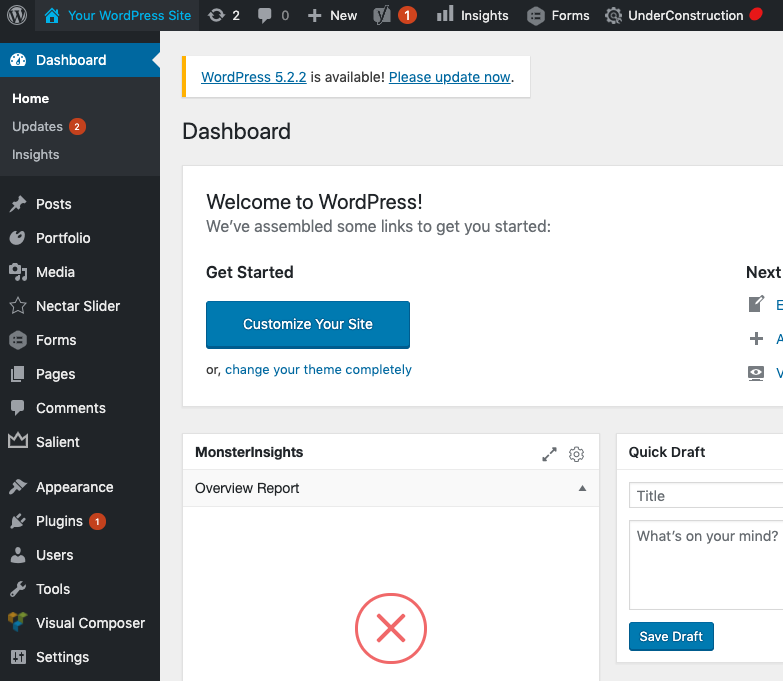
After successfully logging in, you will then be redirected to the WordPress plugin dashboard – which looks like the following image:
Step 2: Add New WordPress Plugin
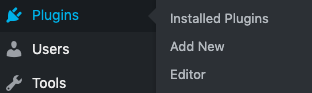
Hover over Plugins in the left sidebar and click on Add New
Step 3 Option 1: Search for, Install, and Activate the WordPress Plugin
This step involves finding the WordPress plugin that you wish to install on your WordPress site via searching for it in WordPress’ plugin directory.
If you instead want to upload a plugin that you bought from a developer or that you built, continue to Step 3 below.
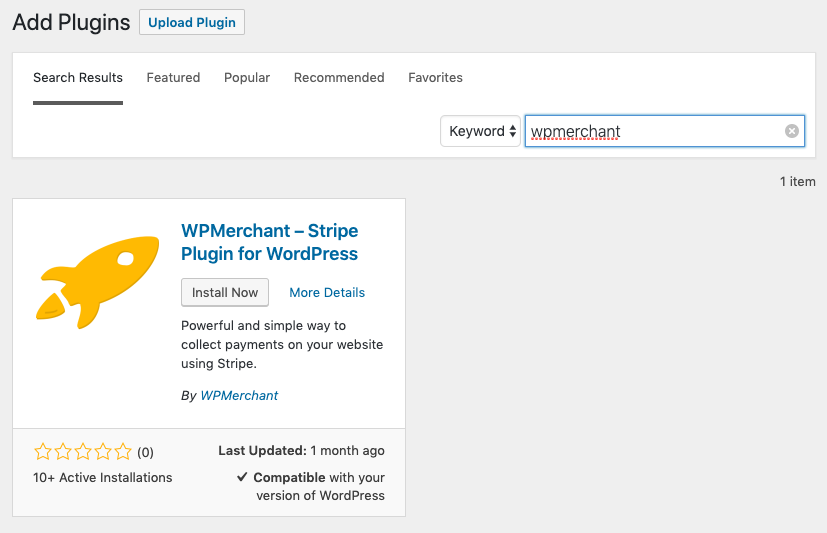
If you know what you are looking for, simply type in the name of the plugin in the Search plugins… field.
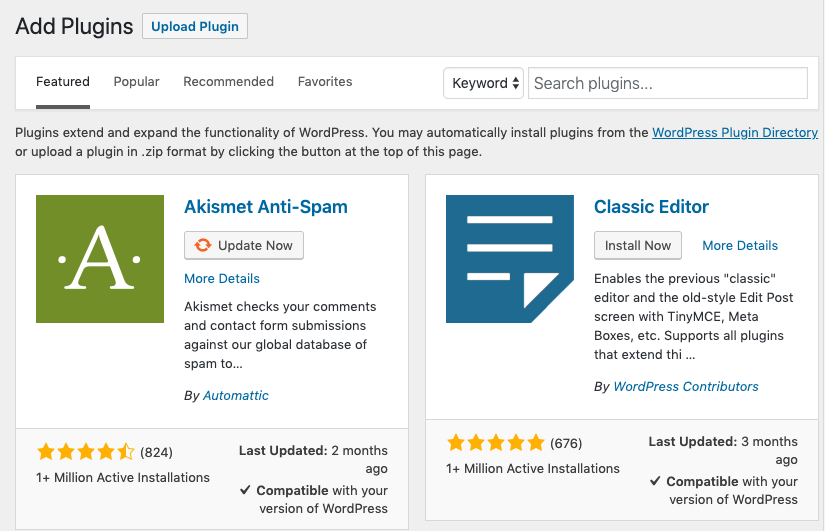
If you don’t know what plugin you are looking for, search the directory for different functionality or search for plugins that offer that functionality on Google and then come back to the plugin search page. I would suggest using WordPress plugins that have lots of downloads, are compatible with your WordPress version, and have been updated recently. It’s also helpful to use WordPress plugins that come from a trusted source or have a significant number of 4 or 5 star reviews.
Once you’ve found the WordPress plugin of your dreams ;), then, click on the Install Button.
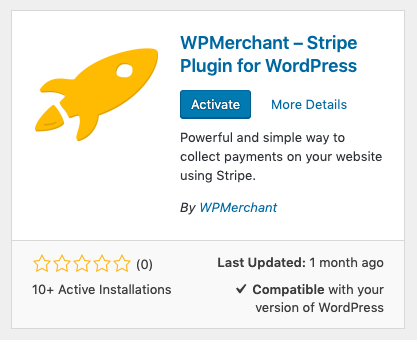
Once the plugin has been installed an Activate button will appear, click on that to activate the plugin.
Step 3 Option 2: Upload, Install, and Activate the WordPress Plugin
This method is unnecessary if you have completed Step 2 above but is an option in case you ever buy a custom plugin from a company or web developer. If you go this route, you need to go through the following install and activate two-step process.
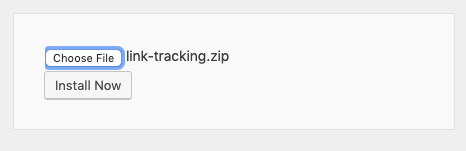
Click on the Upload Plugin button in the top left corner. This will bring up the following Choose File button.

Click on the Choose File button, select the .zip file you want to upload, and click Open (the text may be different if you are using a PC – but just make sure the file name you choose is listed next to the Choose File button).

In order to finish uploading the plugin .zip file though you need to click on the Install Now button.
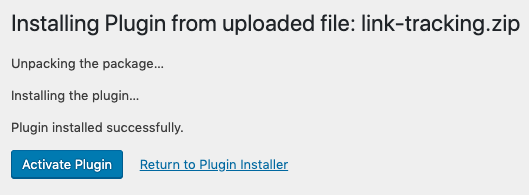
Once the plugin has been successfully installed, you will be redirected to another page and asked to Activate the plugin. Click on the Activate button to ensure the functionality from the WordPress plugin is live on your website.
That’s all there is to it, now your plugin has been added to your site and is ready to be put to use!