One small step for man, one giant leap for man/womankind!! You’ve decided that you want to use one of the highest level WordPress Hosting products around.
Alternatively, you could choose to host your site on WPLauncher’s hosting platform to get the same features at a lower price. Also, if you decided that you want to use Dreamhost as your WP Hosting solution, then click the Next button above or click the following link to Start with Your Shared Hosting Provider: Dreamhost.
Now, let’s get you signed up for WPEngine!! Click that bright yellow button below:
Next, Pick a WP Hosting Plan
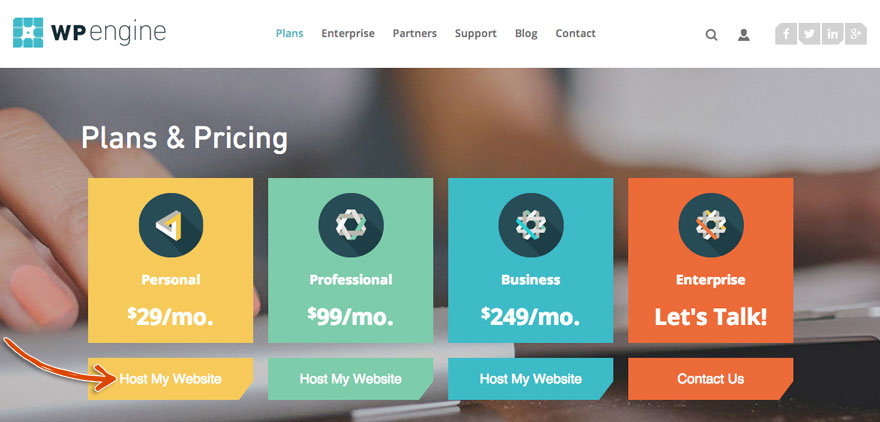
Select the plan that is the best fit for what you need for yourself or for your business. We always default to the least expensive option because you can always upgrade your plan later. If you need more information about the WPEngine plans and what you’re getting, check out our Ultimate WPEngine Review. Click on the Host My Website button associated with the plan that you would like to use.
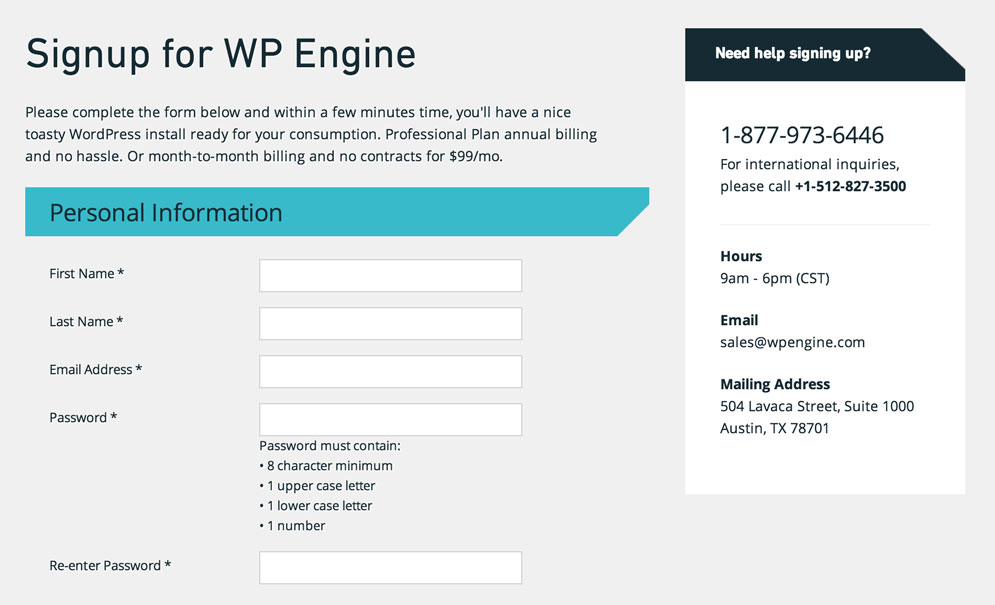
Fill Out the Personal Information
After selecting a hosting plan, you are taken to the signup form below where you enter your account information. Make sure to fill out the Personal Information section in its entirety. Remember to save the Username and Password that you enter in this section in order to access the site later.
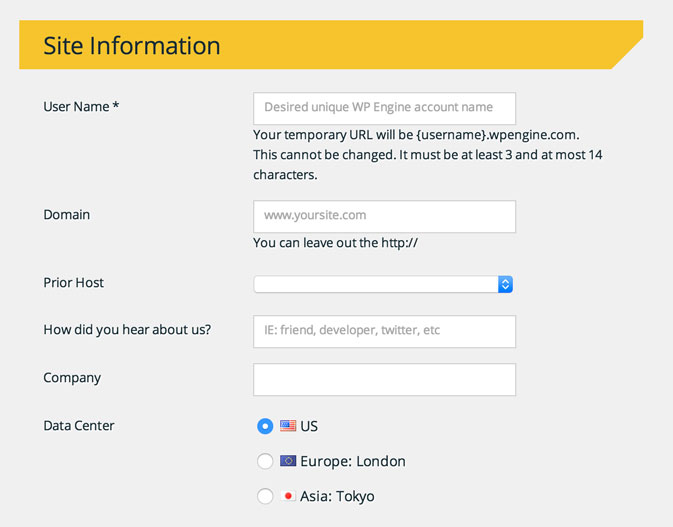
Fill Out the Site Information
As you scroll down this page, you come to the Site Information section. Fill out as much information as you can (you are only required to add a username) and keep scrolling down the page.
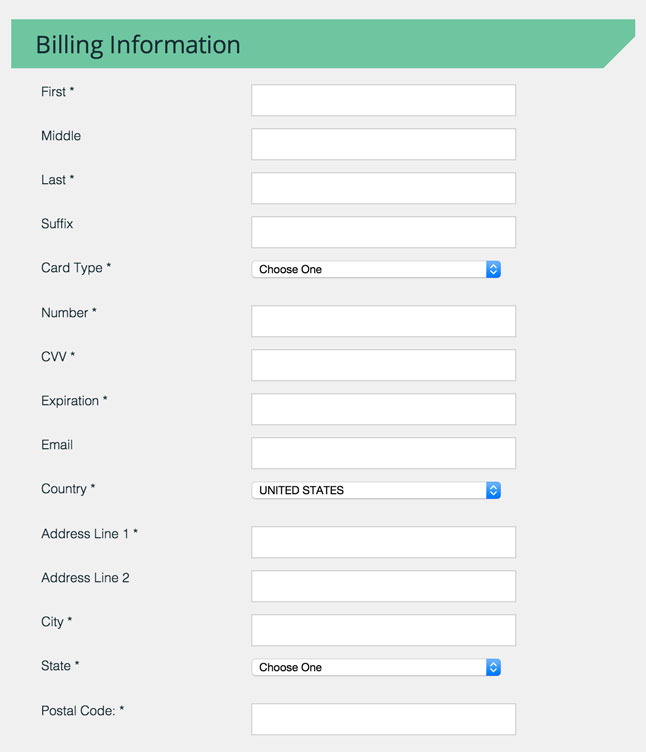
Fill Out the Billing Information
You should now reach the Payment Information section. Enter in your credit card and address information and move onto the final section.
Confirm Your Purchase & Create Your Website
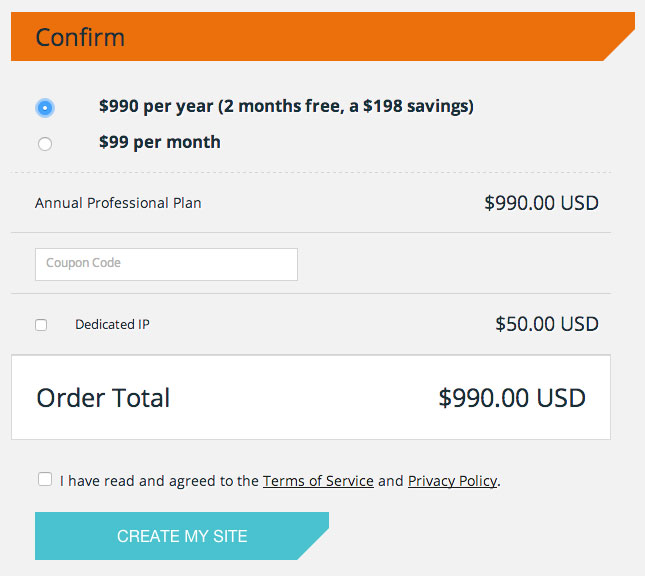
The last part of the WPEngine sign up form is the Confirm section where you select how you would like to pay for your service. For the Professional Plan, you can choose $99/month or you can choose to get 2 months of hosting for free by paying for an entire year at $990. Being the thrifty thoroughbreds that we are 😉 and having the money budgeted to be able to do this, we decided to go with the entire year.
The Personal plan is $29/month or 2 months of free service if you pay for the entire year at $290. The Business Plan is $249/month or 2 months of free service if you pay for the entire year at $2,490. Again, if you’re not sure which plan to go with, we recommend going with the least expensive option because you can always upgrade your plan later.
Check the Terms of Service box and click the Create My Site button:
Save your Blog and Login URLs
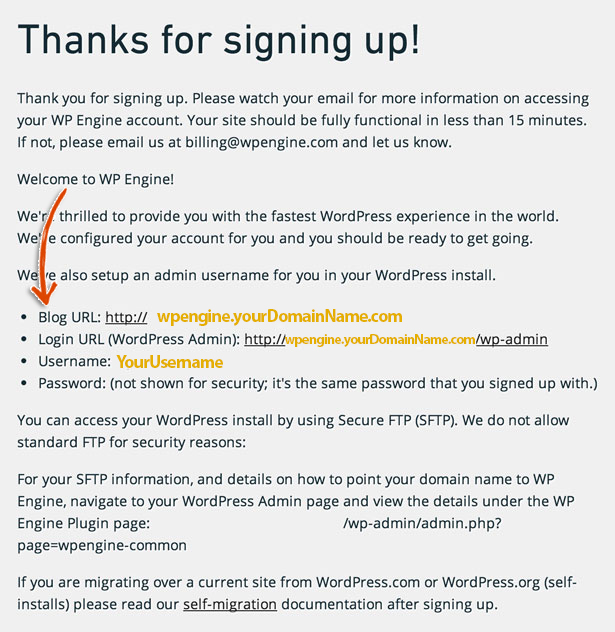
You did it! You can ALMOST start building a sweet website that’s visible to the world! We say almost because it takes WPEngine a couple minutes to fire up a shiny server for you. Make sure to save the blog and login URLs (and the username if you didn’t save it from above), as these items will be used throughout the remainder of this launch guide. This is what you should see after you click the Create My Site button:
Check Your Email
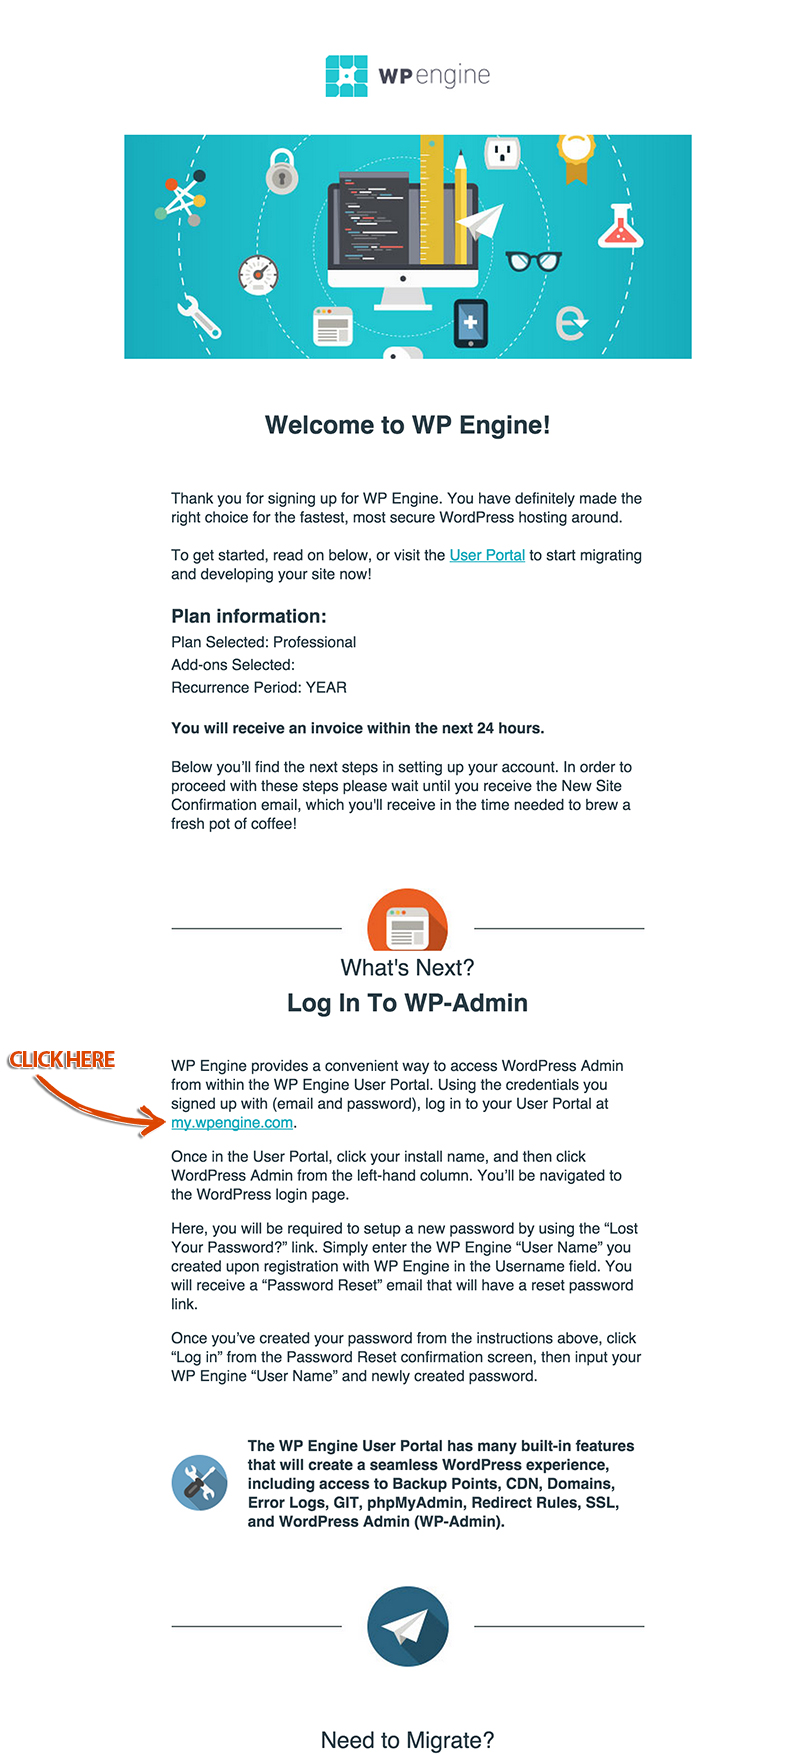
Now it’s time to start building that sweet new website! After a minute or two, we checked our email and found two emails from WPEngine. The first email contained important on-boarding information.
Let’s go to your User Portal by clicking the link that says my.wpengine.com.
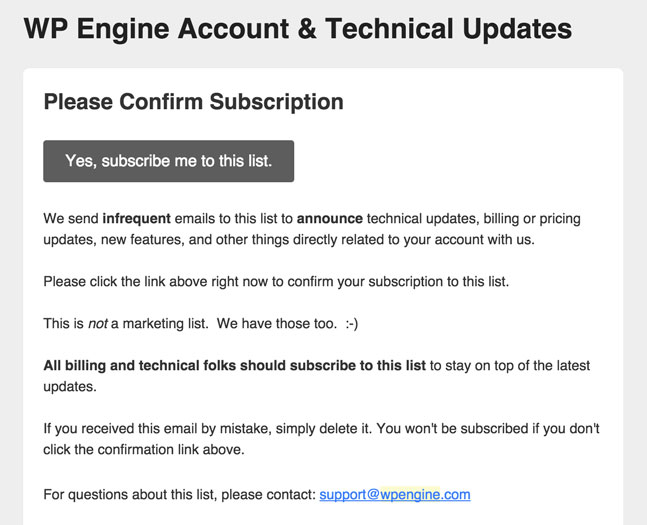
The second email we received is asking us to subscribe to the WPEngine Account and Technical Updates Newsletter. We subscribed and would suggest subscribing to this, just so that you’re aware of “technical updates, pricing updates, new features and other things” related to your WPEngine account. The more information that you collect re your host the better (as it is in life 😉 ).
Getting to your WordPress Dashboard
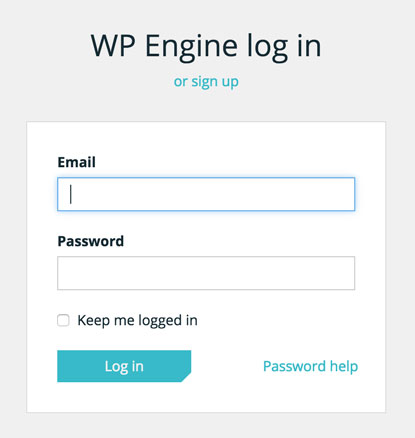
After following the link from the WPEngine Welcome email, you’ll be taken to the WPEngine dashboard login page. If you would like to login to the WPEngine dashboard, use the email and password that you entered into the sign up form. If that’s not working or you forgot your password for whatever reason, follow their forgot password instructions.
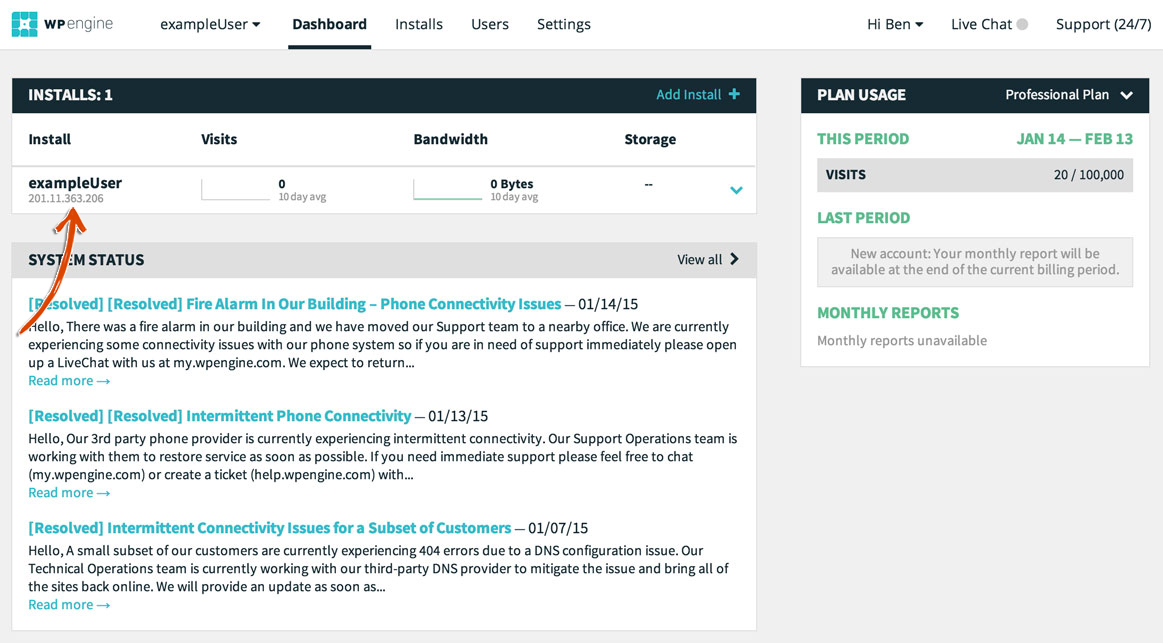
Once you’re logged in, the WPEngine dashboard should look like the page below. From here, let’s get you to the WordPress dashboard (since that is where all the magic happens for creating your new website). Click the install name for your new website and then click WordPress Admin from the left-hand column.
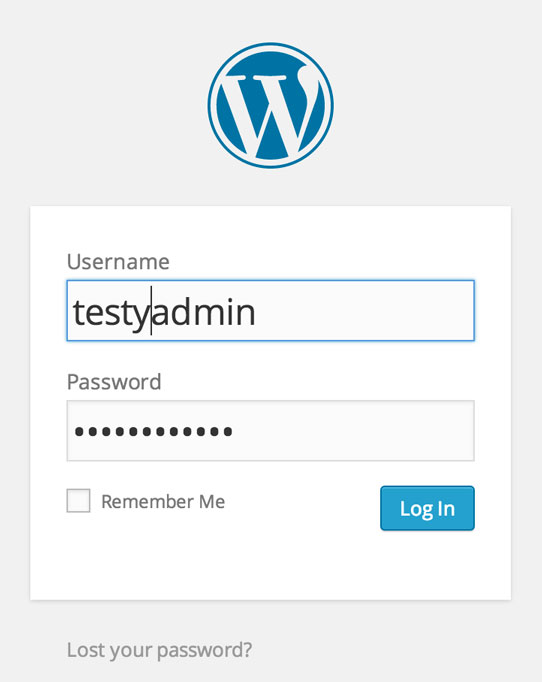
You’ll be navigated to the WordPress login page.
Use the username and password that you entered into the form (and hopefully saved) and your login url (yourdomain.com/wp-login.php).
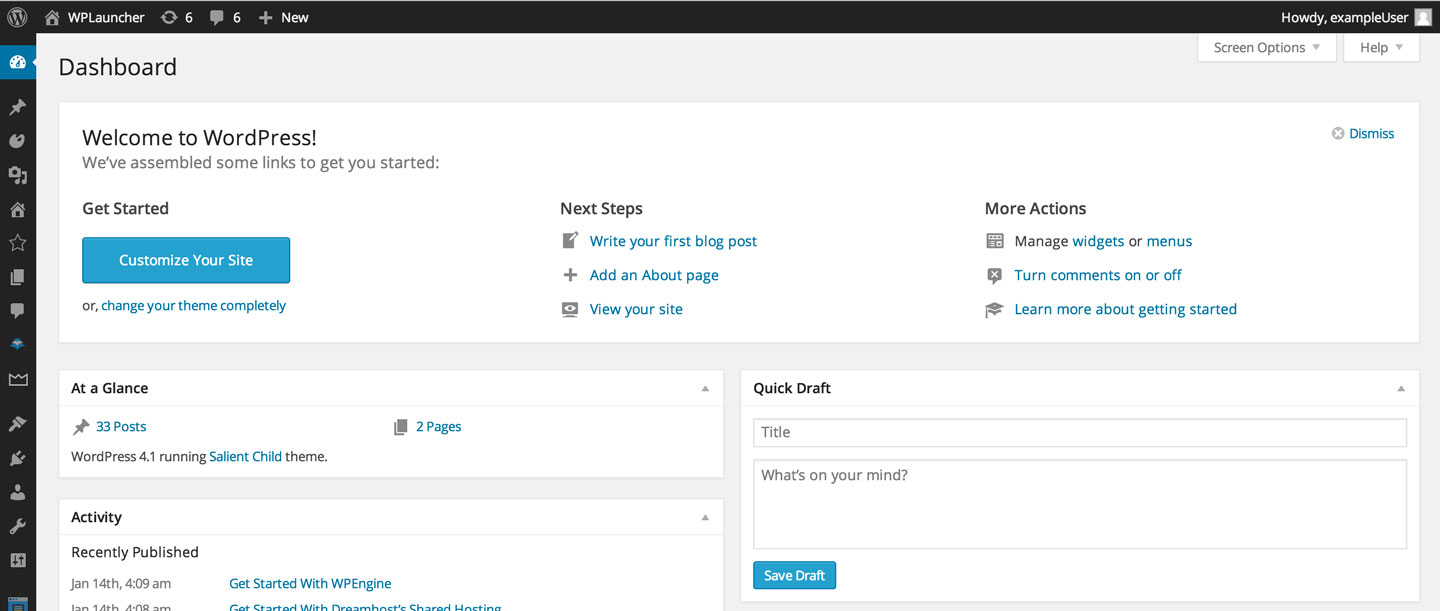
You’re going to get very familiar with the dashboard below so introduce yourself and get to know this sexy thang.
Mission Accomplished
You’re in an elite group of people who have been set up on the best production grade WP Hosting solution in existence. WPEngine provides an architecture that can handle growing to behemoth size!! If you’ve completed this step, it’s time to learn how to get a domain name.
If you click on the Next button, you will be thrown to Start with your Shared Hosting Provider: Dreamhost, so don’t be alarmed, you can just skip that stuff. We recommend clicking on how to get a domain name. So, get on with it already and go on to the next step silly pants 😉
Mission Control Disclosure:
We want to be totally transparent with you about how we are able to spend our valuable time creating these blazing, amazing, fantastically mind fazing free launch guides. We make money by referring you to services that we use and that we believe in. Our recommended products/services come at NO additional cost to you. In other words, you are buying the products/services at the same cost as any other user but you are supporting us by purchasing products after clicking on our links (because we get a commission). We are always looking to improve on what we suggest in order to give you the best recommendations. You keep the lights on and our bellies full and we are really grateful to you for that. 🙂 We have absolute gratitude, that defies any latitude, for the magnitude of your loyal attitude. Thank you!