After having added three plugins to the WordPress plugin directory, I still have to look through my own documentation each time I submit a plugin. So, why not publish it here and share it with you fine people?! I tried to simplify the process as much as possible and put together the 5 steps that I follow when I add a plugin to the WordPress plugin directory. I also included a bonus step describing how to develop in teams when a plugin is in the WordPress directory.
By the way, there’s always something gratifying about getting your plugin accepted into WordPress’ Plugin Directory. I hope you feel that way once your plugin has been added to the plugin directory as well!
Step 1: Check whether your plugin name is being used and Create Plugin Name
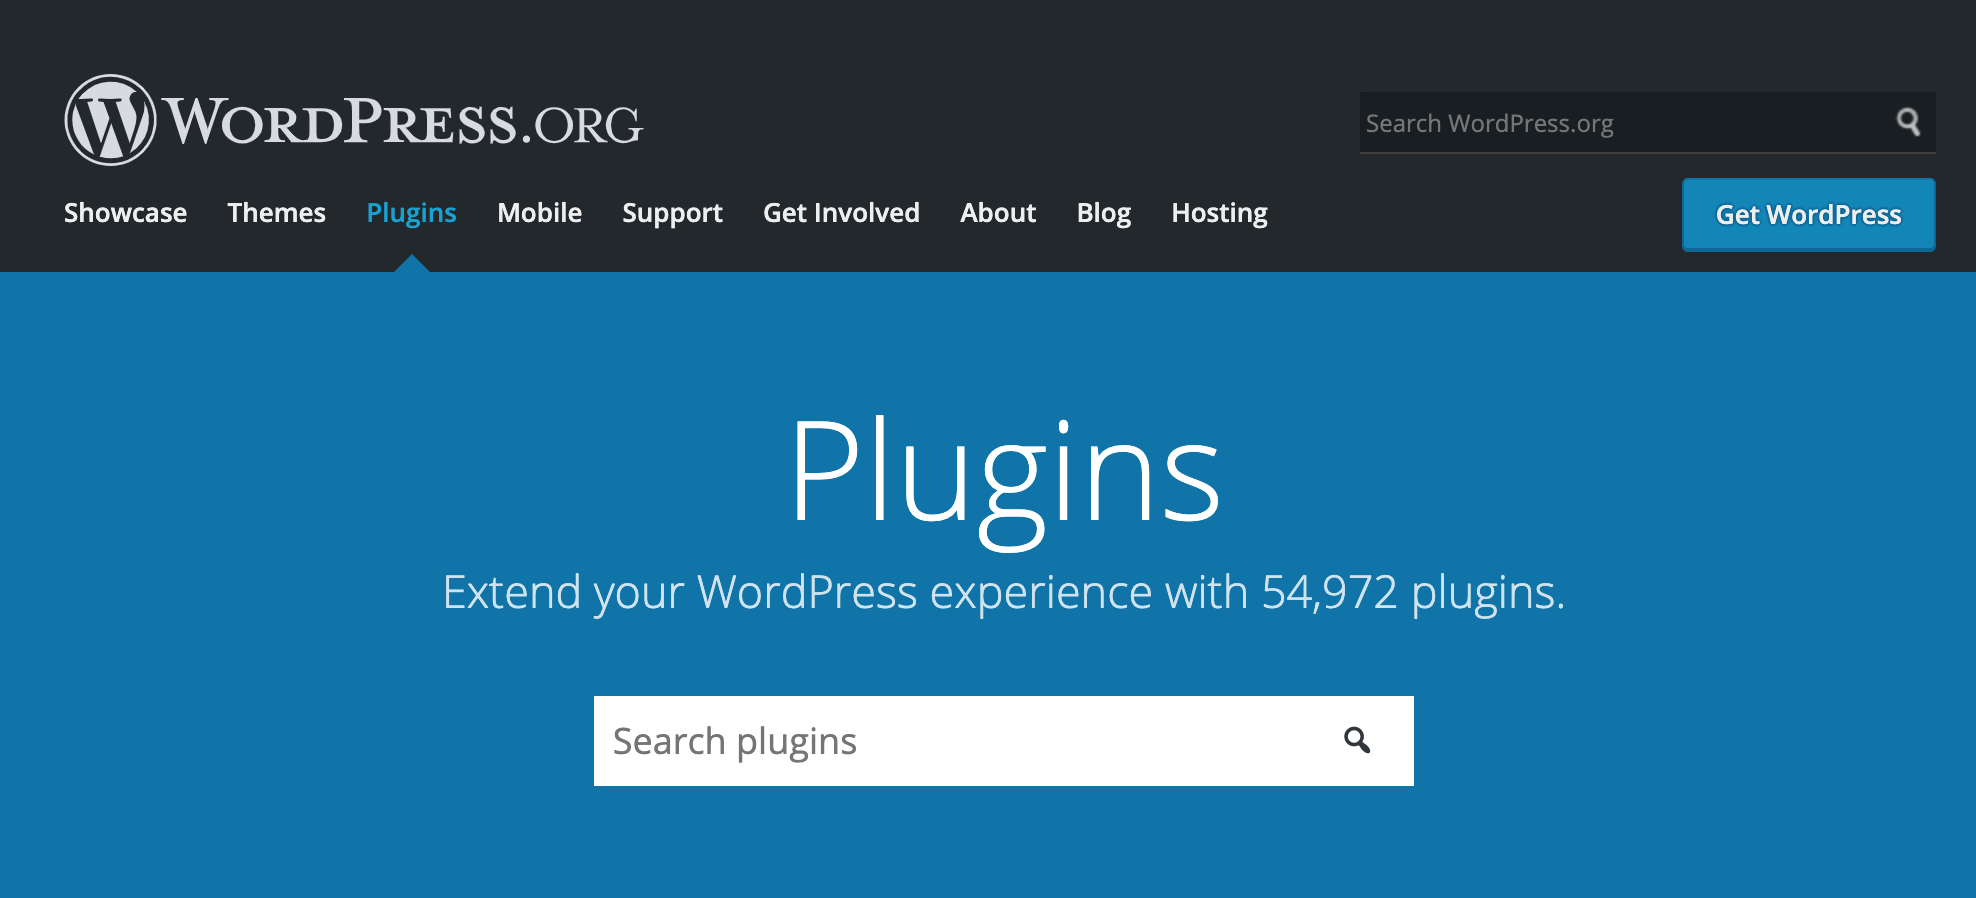
Go to wordpress.org/plugins and search for your plugin name in the search field. There’s no guarantee that you will be allowed to have the plugin name even if it doesn’t exist in the WordPress plugin directory (as it’s possible someone else may be in the process of submitting it), but it’s helpful to get a sense of what’s available before building out your plugin. This is typically my first step so that I can name everything according to the plugin name.
My next step is to make sure my plugin name abides by WordPress’ policies. For example, wordpress and plugin should not be included in the WordPress plugin name and “names and trademarks of other companies and plugins” should not be placed at the beginning of a plugin name.
Step 2: Create a working WordPress Plugin that Subscribes to WordPress’ guidelines
This is obviously the most important of the 5 steps. First, you need to make sure you create a WordPress plugin that works. If you don’t know where to start regarding creating a workable WordPress plugin, I suggest checking out our free WordPress Plugin Development for Beginners course detailing how to create a working and professional WordPress plugin.
While you’re building out your WordPress plugin, if you have the desire to add it to the WordPress Plugin Directory, make sure to follow the WordPress plugin guidelines outlined at https://wordpress.org/plugins/about/guidelines/. A brief summation of these guidelines is included below:
- “Plugin must be compatible with GPU v2 or later”
- “Plugin must not do anything illegal or be morally offensive”
- Plugin must “use the Subversion repository”
- “Plugin must not embed external links on [a user’s] public site without explicitly asking the user’s permission.”
- “Your plugin must abide by [WordPress’] list of detailed guidelines, which include not being a spammer and not abusing the systems”
- Some of these include: ensure all code in the plugin is as secure as possible, don’t obscure code (make it all human-readable), trialware is prohibited, SaaS is allowed, don’t track users without their consent, don’t take over the admin dashboard, etc. Descriptions of all of these detailed guidelines are provided here.
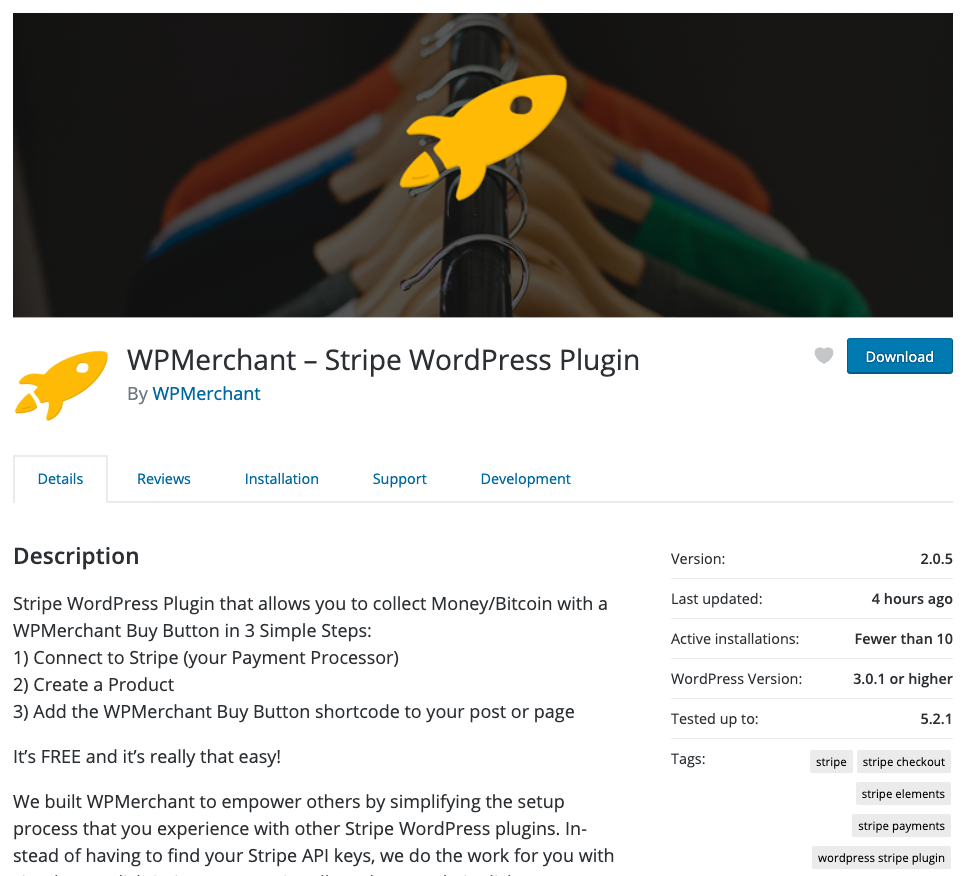
Step 3: Update and Check ReadMe file
After building out your Plugin, you need to make sure you update your ReadMe file so that your plugin listing page in the WordPress directory is as good looking and clear as possible to convert visitors to that page to potential users of your plugin. An example of a plugin listing page is shown in the image below:
There is a ton of information that can be updated in your ReadMe file, which is always a bit overwhelming for me. But, the default ReadMe file included in the WordPress Plugin Boilerplate makes it a bit easier by showing a bunch of different default values in the ReadMe.txt file that you can change up to fit your needs. Once you update the ReadMe file to fit your needs, run it through the WordPress ReadMe Validator to ensure everything is set up properly.
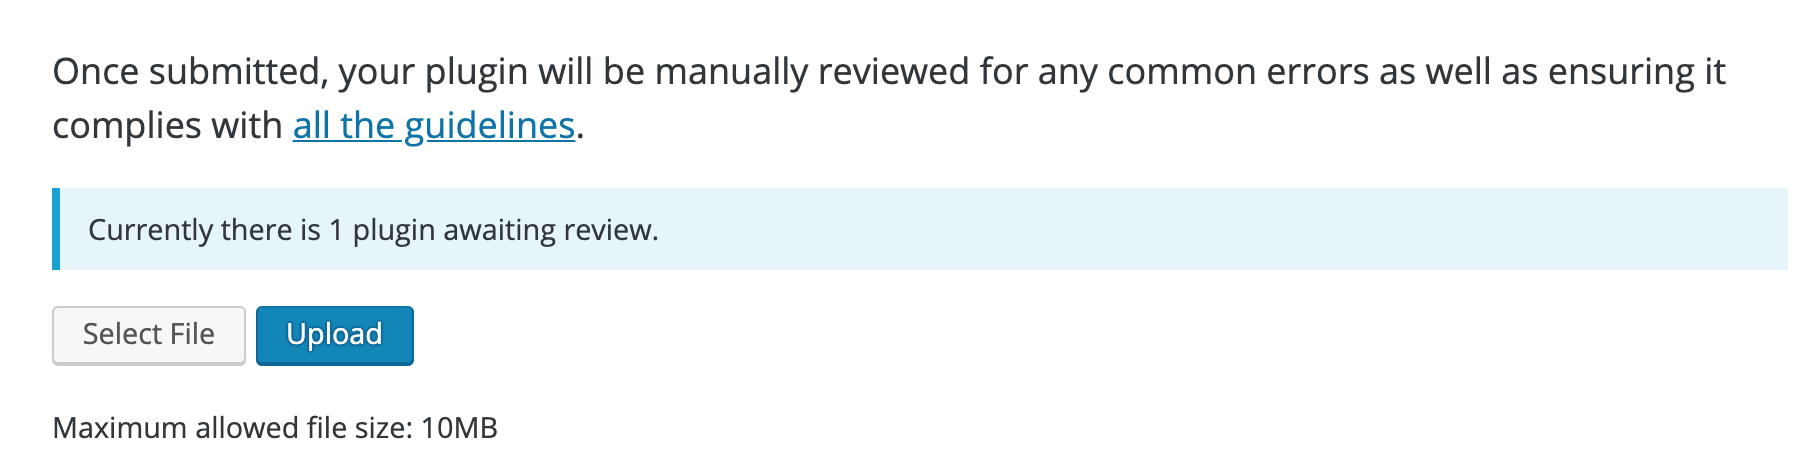
Step 4: Submit Plugin to WordPress Directory
In order to add your plugin to the WordPress Plugin Directory, make a zip of your current WordPress plugin, go to https://wordpress.org/plugins/developers/add/, login/create your WordPress account, submit your plugin (the initial form looks like the image below), and wait.
You’ll likely wait between 1 to 10 days to hear whether you need to make changes to your plugin or whether your plugin is accepted or rejected. Once you receive a message of approval from WordPress, CONGRATS, you are off to races, and can continue to the next step in the process!
Step 5: Add your plugin to Subversion (SVN)
svn co https://plugins.svn.wordpress.org/{$plugin_name} {$plugin_name}Accept temporarily or permanently by typing in t or p and clicking enter. This will add the following directories within the {$plugin_name} Subversion repository directory to your computer:
 A    {$plugin_name}/tags
 A    {$plugin_name}/assets
 A    {$plugin_name}/trunk
 A    {$plugin_name}/branches
The trunk folder includes all of your plugin source code files. Move the plugin source code files that exist on your computer locally into the trunk directory, navigate to your plugin’s root directory (the directory that includes tags, assets, trunk, and branches), and then run the following command to add the newly added files to your SVN repository to be tracked:
svn add trunk/*The assets folder includes all of your plugin’s images (particularly those images used for the display of the plugin’s directory listing page:
svn add assets/*In order to push the changes that you made locally to your SVN repo to WordPress, run the following command:
svn ci -m 'First commit'You will be asked for your WordPress username and password. Once the changes have been committed to WordPress’ plugin repository, you will start to see the plugin page at wordpress.org/plugins/{$plugin_name}.
Bonus Step: Developing Plugins in Teams
When developing a WordPress plugin that exists in the plugin directory with a team, make sure to pull in changes made to your WordPress plugin repository by running the SVN update command before committing any changes.
svn upAgain that svn up command pulls the changes that are in WordPress’ plugin repository into your local plugin repository. This ensures that you pull in the latest changes that a contributor has made to a plugin and don’t overwrite each other’s changes when continual updates are made to the plugin.
And, that’s all there is to it! If you ever need to make changes to or update your plugin in the WordPress Plugin Directory, check out our post on that here.