Step 9 – wooohoooo – you’re 1 small step away from giant leaps in your ability to completely launch a WordPress blog! T-Minus 1 step left in site launch! Buckle your seat belts and get ready – are you sick of the rocket references yet 😉
In this step, we’re going to show you how to create 6 different types of blog posts. So, if your spirit is telling you to post a quote to your blog, write a normal post, post a video, post an audio file, post a gallery of images or post a link – there’s no need to scratch your head and randomly search through google for the answer because we will show your beautiful self how to post all of these things!!
Standard Post
A standard post is one that is typically a mix of images and text or just text. An example could be sharing your thoughts on a topic.
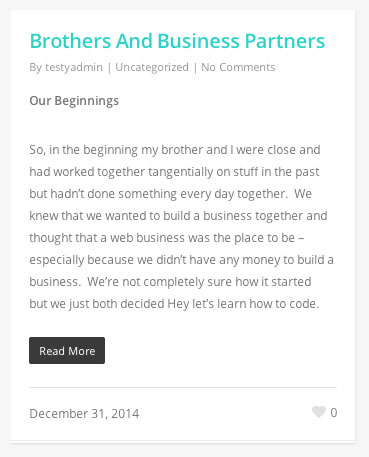
We decided to write a blog post about working as business partners with your brother.
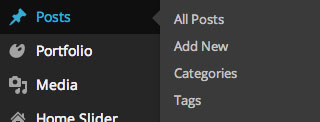
Hover over the Posts tab in the left sidebar and click the Add New link.
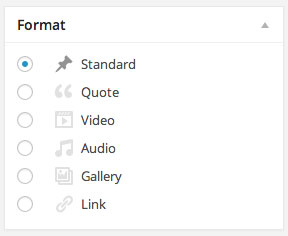
Select Standard as the Format.
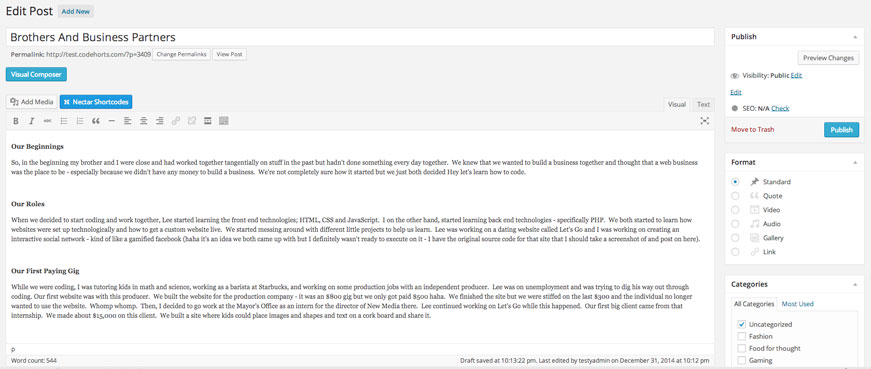
Enter the blog content into the text area. We’re just going to have a couple paragraphs on how it is to work with your brother and maybe a picture of our handsome mugs.
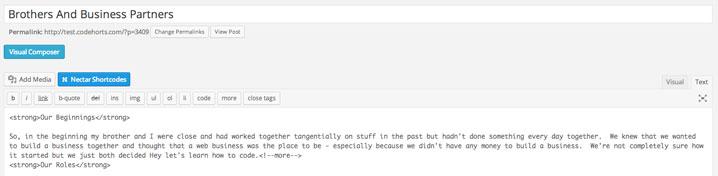
Click on the Text tab and then add <!–more–> at the end of the first paragraph. This will add a Read More button after that paragraph so that your entire post won’t be shown in you blog feed page.
Click the blue Publish button.
Voila! Check out what our post looks like in Salient’s Masonry layout:
Quote Post
This is a pretty self explanatory post type. Are you feeling inspired by a Martin Luther King Jr quote today? This is a good one we found today; “Those who love peace must learn to organize as effectively as those who love war.” Post that bad boy on your blog.
Being WPLauncher Astronauts, we love this Neil Armstrong quote “That’s one small step for man; one giant leap for mankind.” We love it so much we’re going to marry it… to our blog 😉 How could we not love this when he is, IN FACT, congratulating us on starting WPLauncher. We’ll take it from here Neil and give you some props on our blog – it will probably make you super famous but you don’t have to thank us.
So, like the Standard post type, start by hovering over the Posts tab in the left sidebar and click on the Add New link.
You should be shown the Edit Post page below. Make sure to enter the name of the person you’re quoting in the Enter Title Here field.
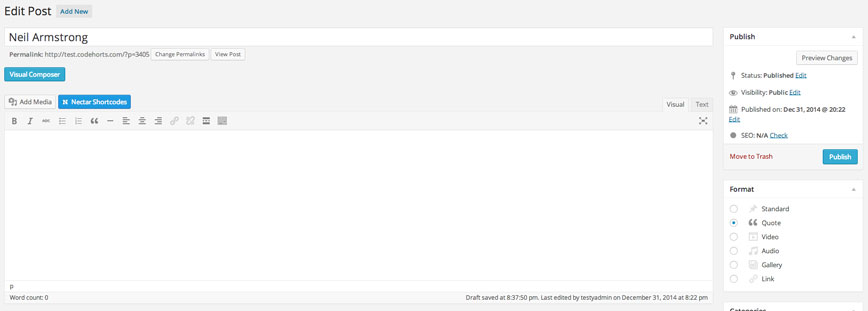
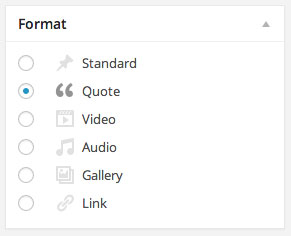
Next, choose the Quote format for your blog post.
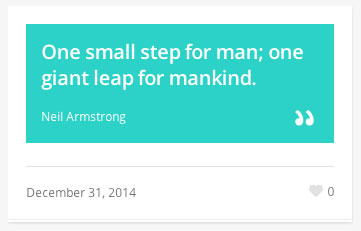
 Lastly, scroll down the Edit Post page and you will see a Quote Settings section. Enter the quote into the Quote Content text area.

Click the blue Publish button and your quote post is live! Check out what our post looked like in the Masonry style.
Video Post
Video time – show off your video production skillz or share a YouTube video that you love. Here’s a video of Lee and I giving a pitch (although Lee definitely did the heavy lifting as you’ll see) at a Startup Weekend event in Santa Monica in 2012. For those of you unaware of startup weekend, it’s where you code for two days straight and try to create a Startup – check out the video to see our results!
Hover over the Posts tab in the left sidebar and click the Add New link.
You should arrive on this page. Add the title of the post and enter in any content that you want in the text editor.
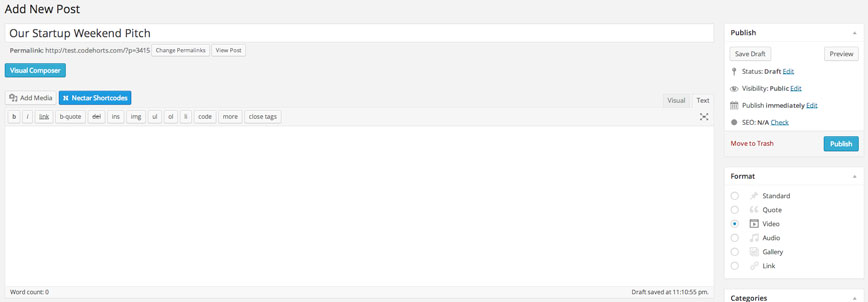
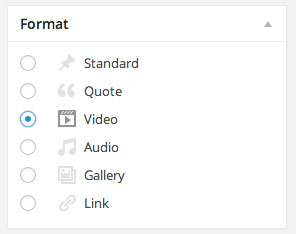
Select Video as the Format.
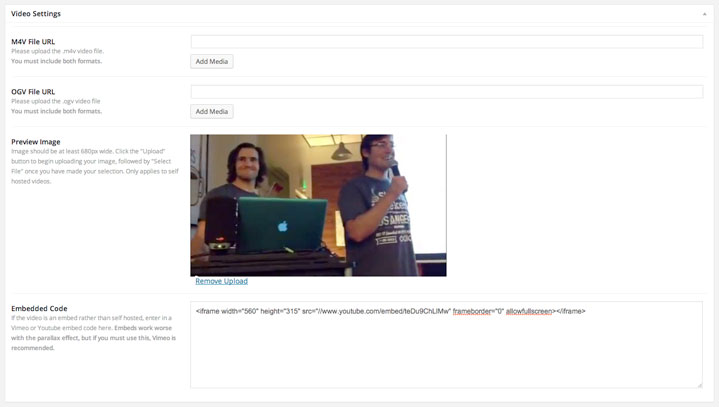
Scroll down the Add New Post page and either upload the video file that you want to use (need to upload it in both M4V and OGV formats) OR add an embed code into the Embedded Code field. We prefer using embed codes because the video plays a ton faster (bc the load of pulling the video from your server’s file system and the quality of the playback is all figured out by YouTube which tends to be a hell of a lot better experience for your users than whatever server you’re using).
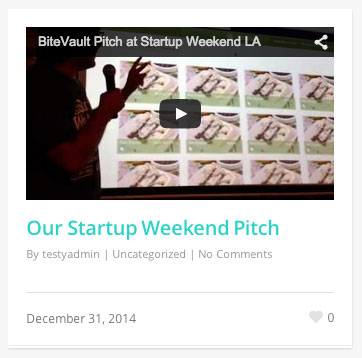
Make sure to click the blue Publish button once you’ve added everything. Check Check check it out below!
Audio Post
See if your users are listening to you by posting an audio file. We’re going to post audio of a rocket launch – not a WPLauncher one yet but soon it will come to be!
Hover over the Posts tab in the left sidebar and click the Add New link.
You should see this page:
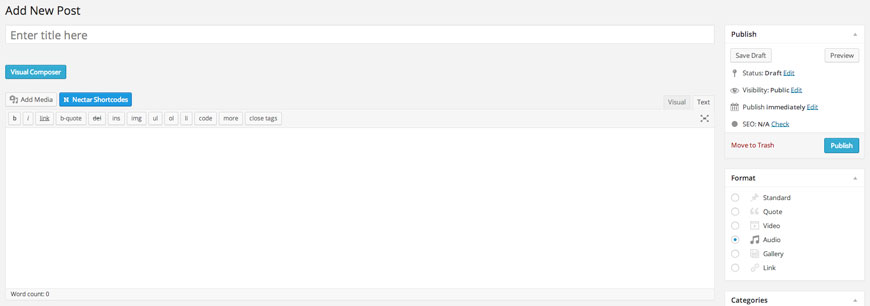
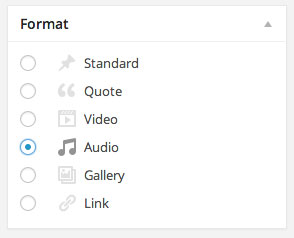
Select Audio as the Format.
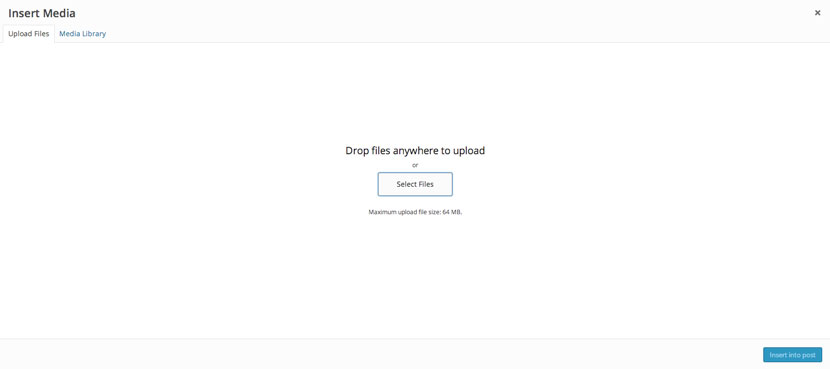
Either find a url associated with your MP3 file OR click the Add Media button at the top of the page and upload the MP3 file that you want to include in your post (and copy the url associated with that uploaded MP3 file).
Scroll down the Add New Post page and type in the url associated with your MP3 file in the MP3 File URL field.

Make sure to click the blue Publish button. DJ AM over here – see what your post looks like and click play to hear what it sounds like!

Gallery Post
What if you just went to a conference to a faraway land or just traveled to Hawaii and wanted to share some photos with your users? This is the post type to use my friend. We’re going to add some pictures from our recent trip to Hawaii.
Hover over the Posts tab in the left sidebar and click the Add New link.
You should see this page:
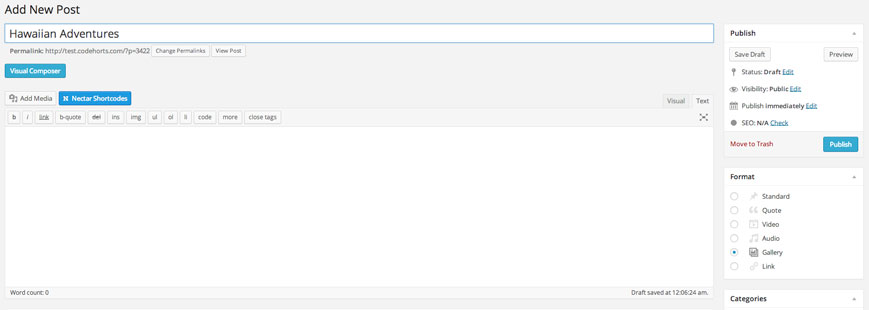
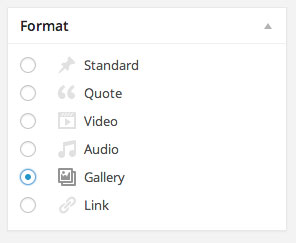
Select Gallery as the Format.
Click the Add Media button and then click on the Create Gallery link on the left sidebar.

Upload the files that you want to be included in the gallery.

Then, select the files that you want to use to create the new gallery – we selected 4 images for our gallery. Then, click the Create a new gallery button.
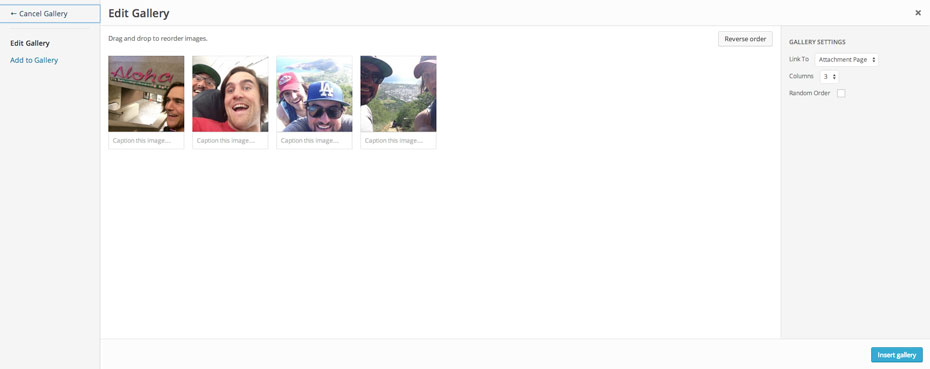
Next, click the Insert Gallery button. This should add the gallery shortcode to your post. Make sure to click the blue Publish button. If you scroll down the Add New Post page, there’s a section called Gallery Configuration. There’s only one option in this section.

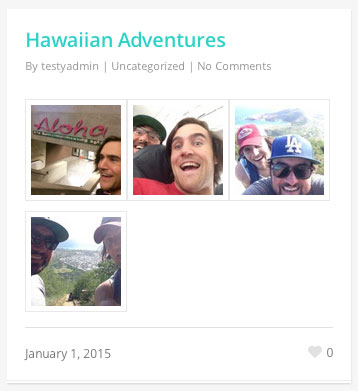
If you leave the box next to Gallery Slider unchecked the post will look like the below.
If you check the box next to Gallery Slider, the post will look like the below.
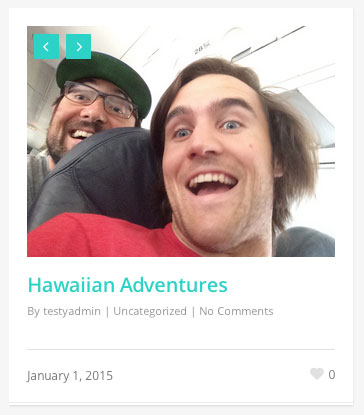
So, it’s up to you which you like better, as to us, we prefer the slider version.
Link Post
Last but not least is the Link Post type. We’re going to post a link to our awesome website – not sure if you’ve heard of it – it’s called (wait for it)…. ….. …. why WPLauncher of course!
Hover over the Posts tab in the left sidebar and click the Add New link.
You should land on this Add New Post page.
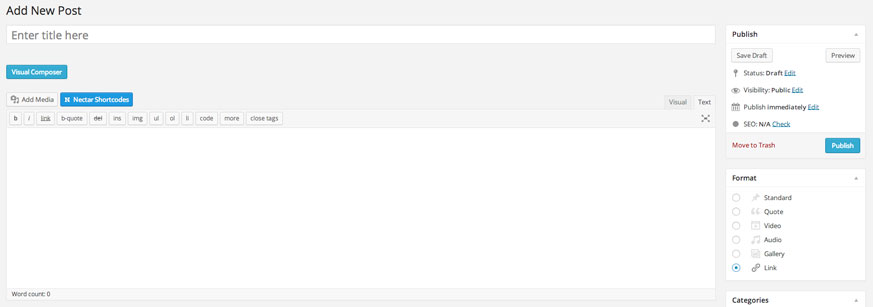
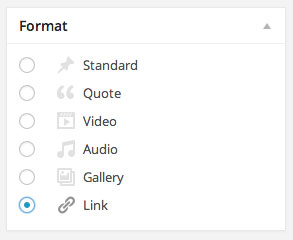
Select Link as the Format.
Then, scroll down the page and enter the link url in the Link Settings section.

Make sure to remember to click the blue Publish button and then check out your handiwork! As an example, here’s our beautiful link post:
