Using Inkscape to vectorize an image takes 3 simple steps.
Step 1: Open PNG Image in Inkscape
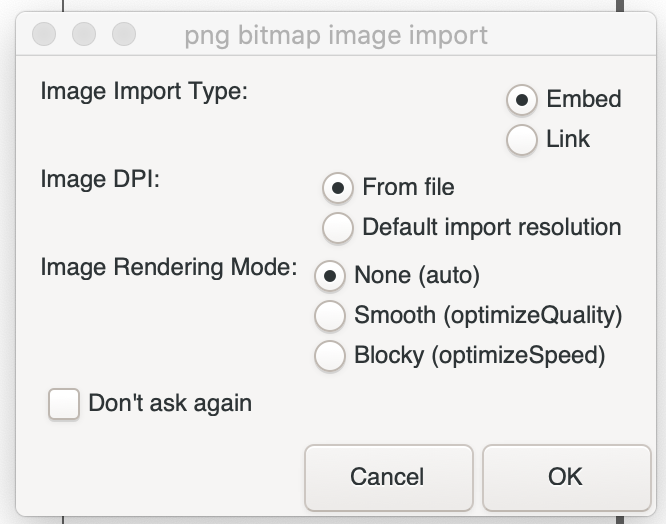
Open image in Inkscape or drag an image onto your Inkscape document. If you drag it into your document, you may see the following prompt (I used the default settings below):
Click on your image to select it.

Step 2: Trace Bitmap (Path -> Trace Bitmap)
Then, hover over Path in the top Inkscape toolbar and click on Trace Bitmap.

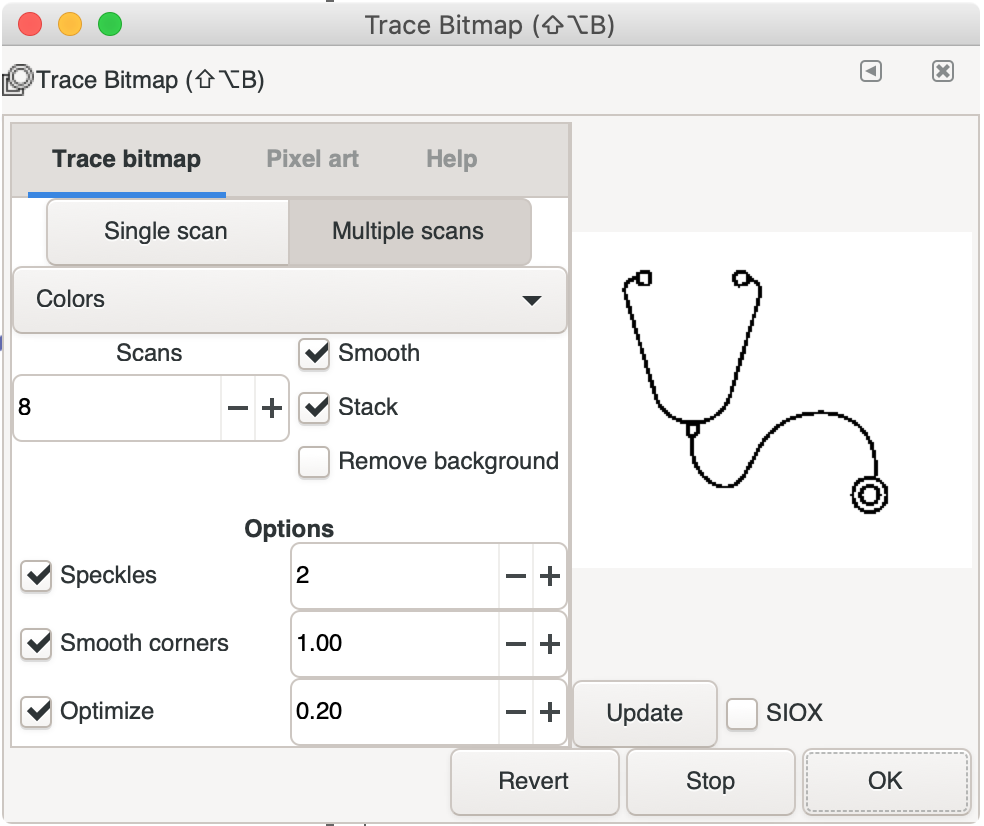
This will bring up the following window. You’re going to want to use multiple scans, so click on the Multiple scans button, and select Colors from the drop-down menu in order to maintain the existing colors on the image in the new vector. You may need to increase the number of scans to cover all of the colors.
Step 3: Complete the Vectorization
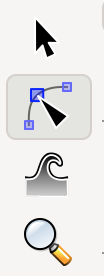
Once you click OK in the Trace Bitmap window, Inkscape will take a few moments and vectorize your image. Once your image has been successfully vectorized, click on the Edit Paths By Nodes icon (it looks like a cursor with dots in a circle, see the image below).
Now, when you click on the image, you will notice a bunch of dots around the image. These dots allow you to adjust the shape of the newly created vector to whatever you would like.

Now you can use your newly created vector on the web and not be worried about pixelation at different device widths.